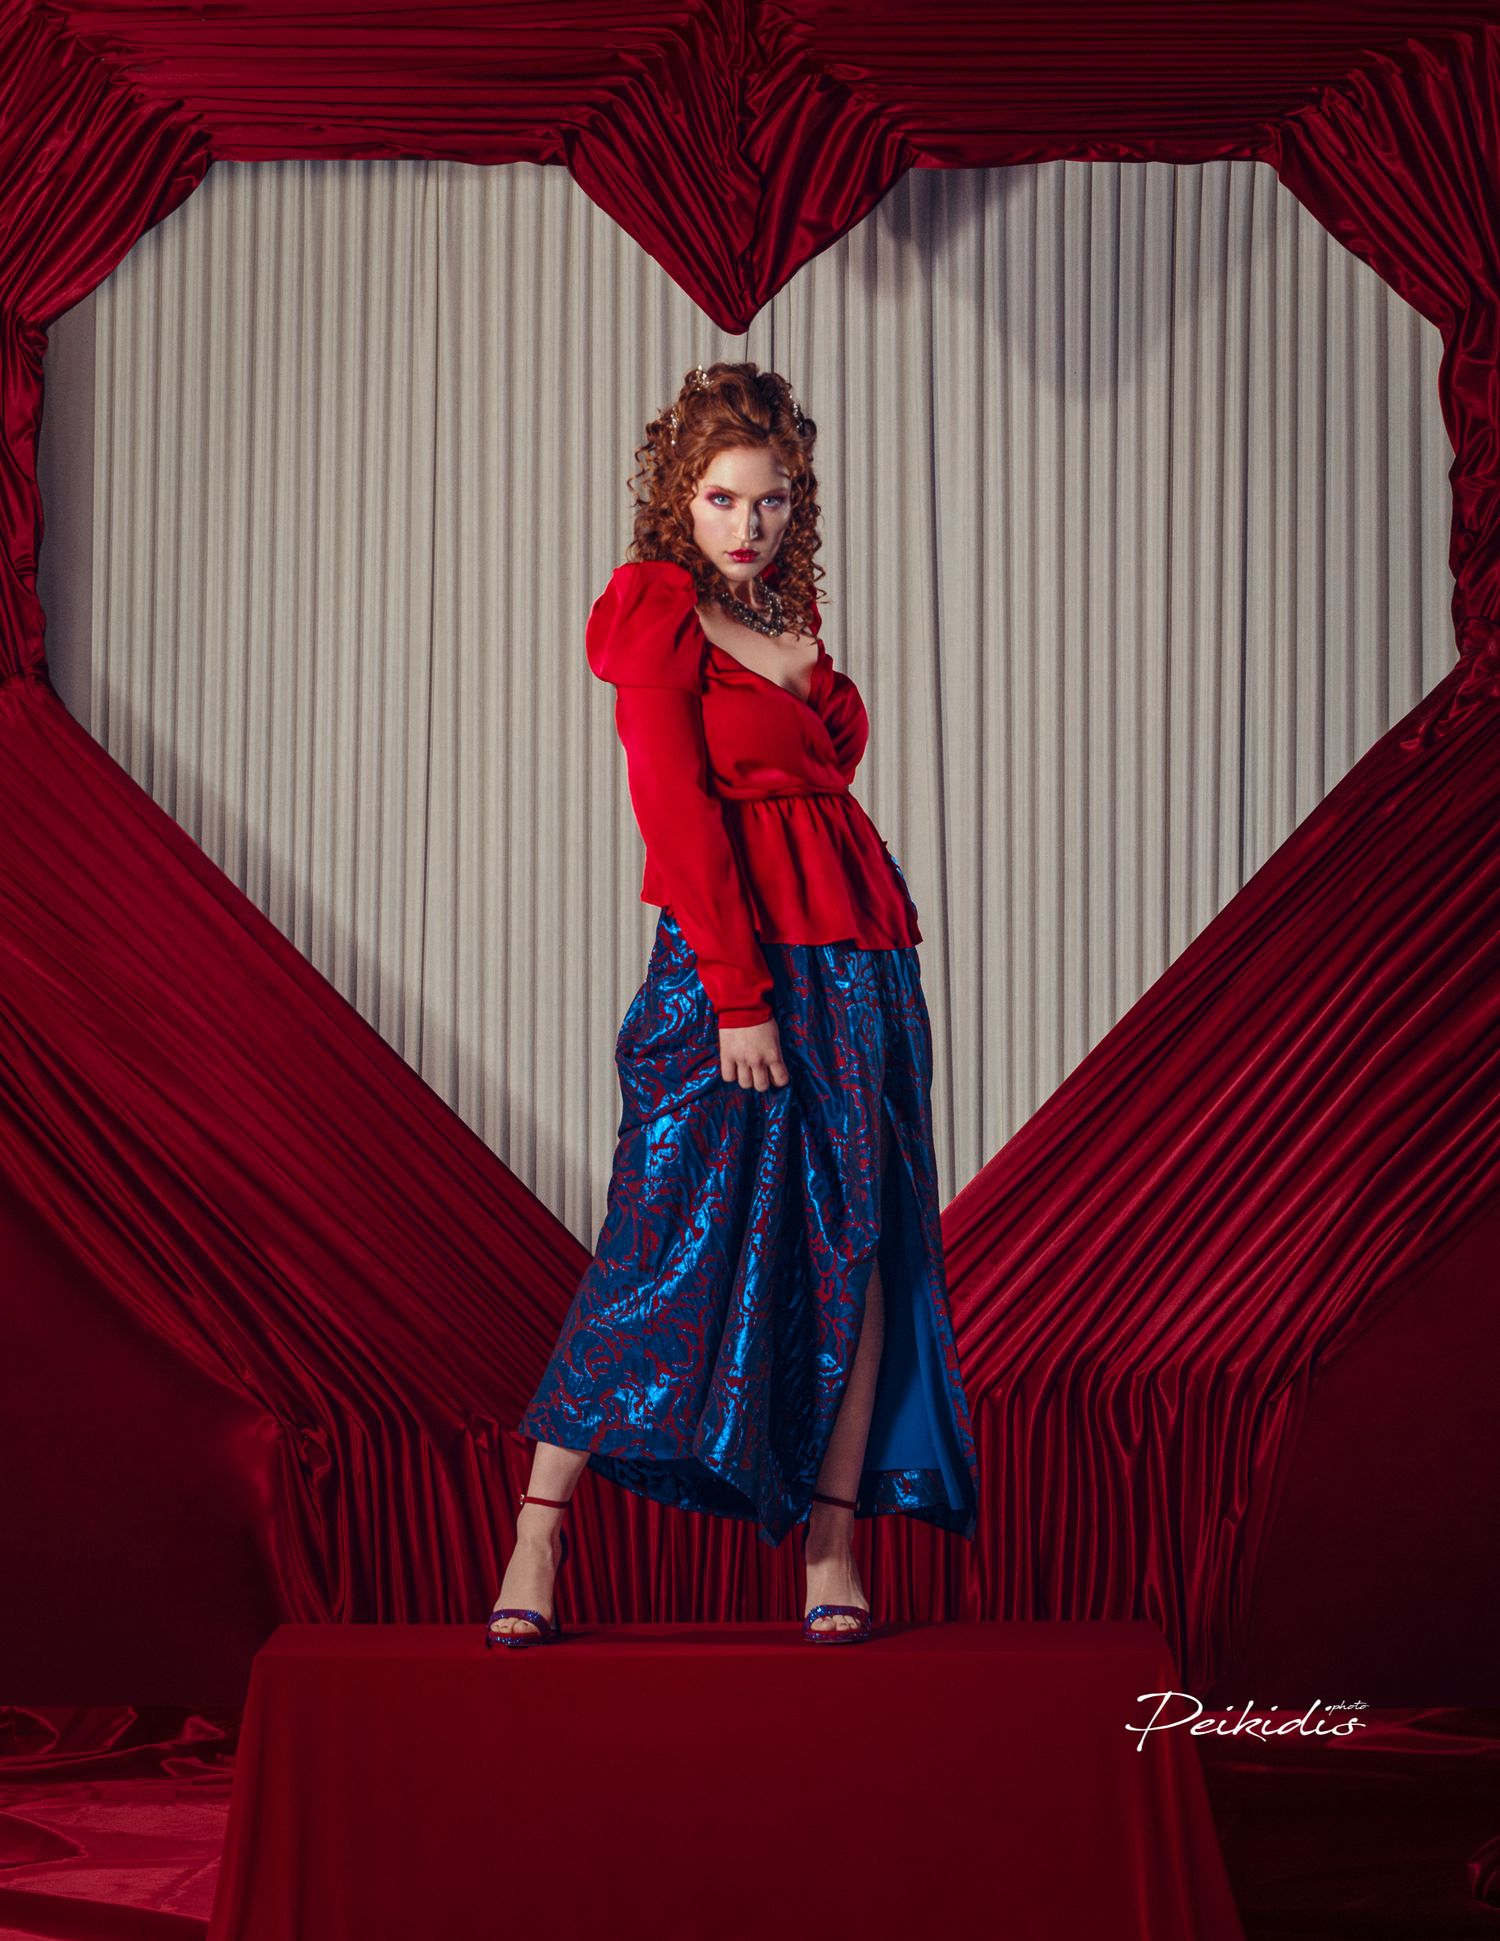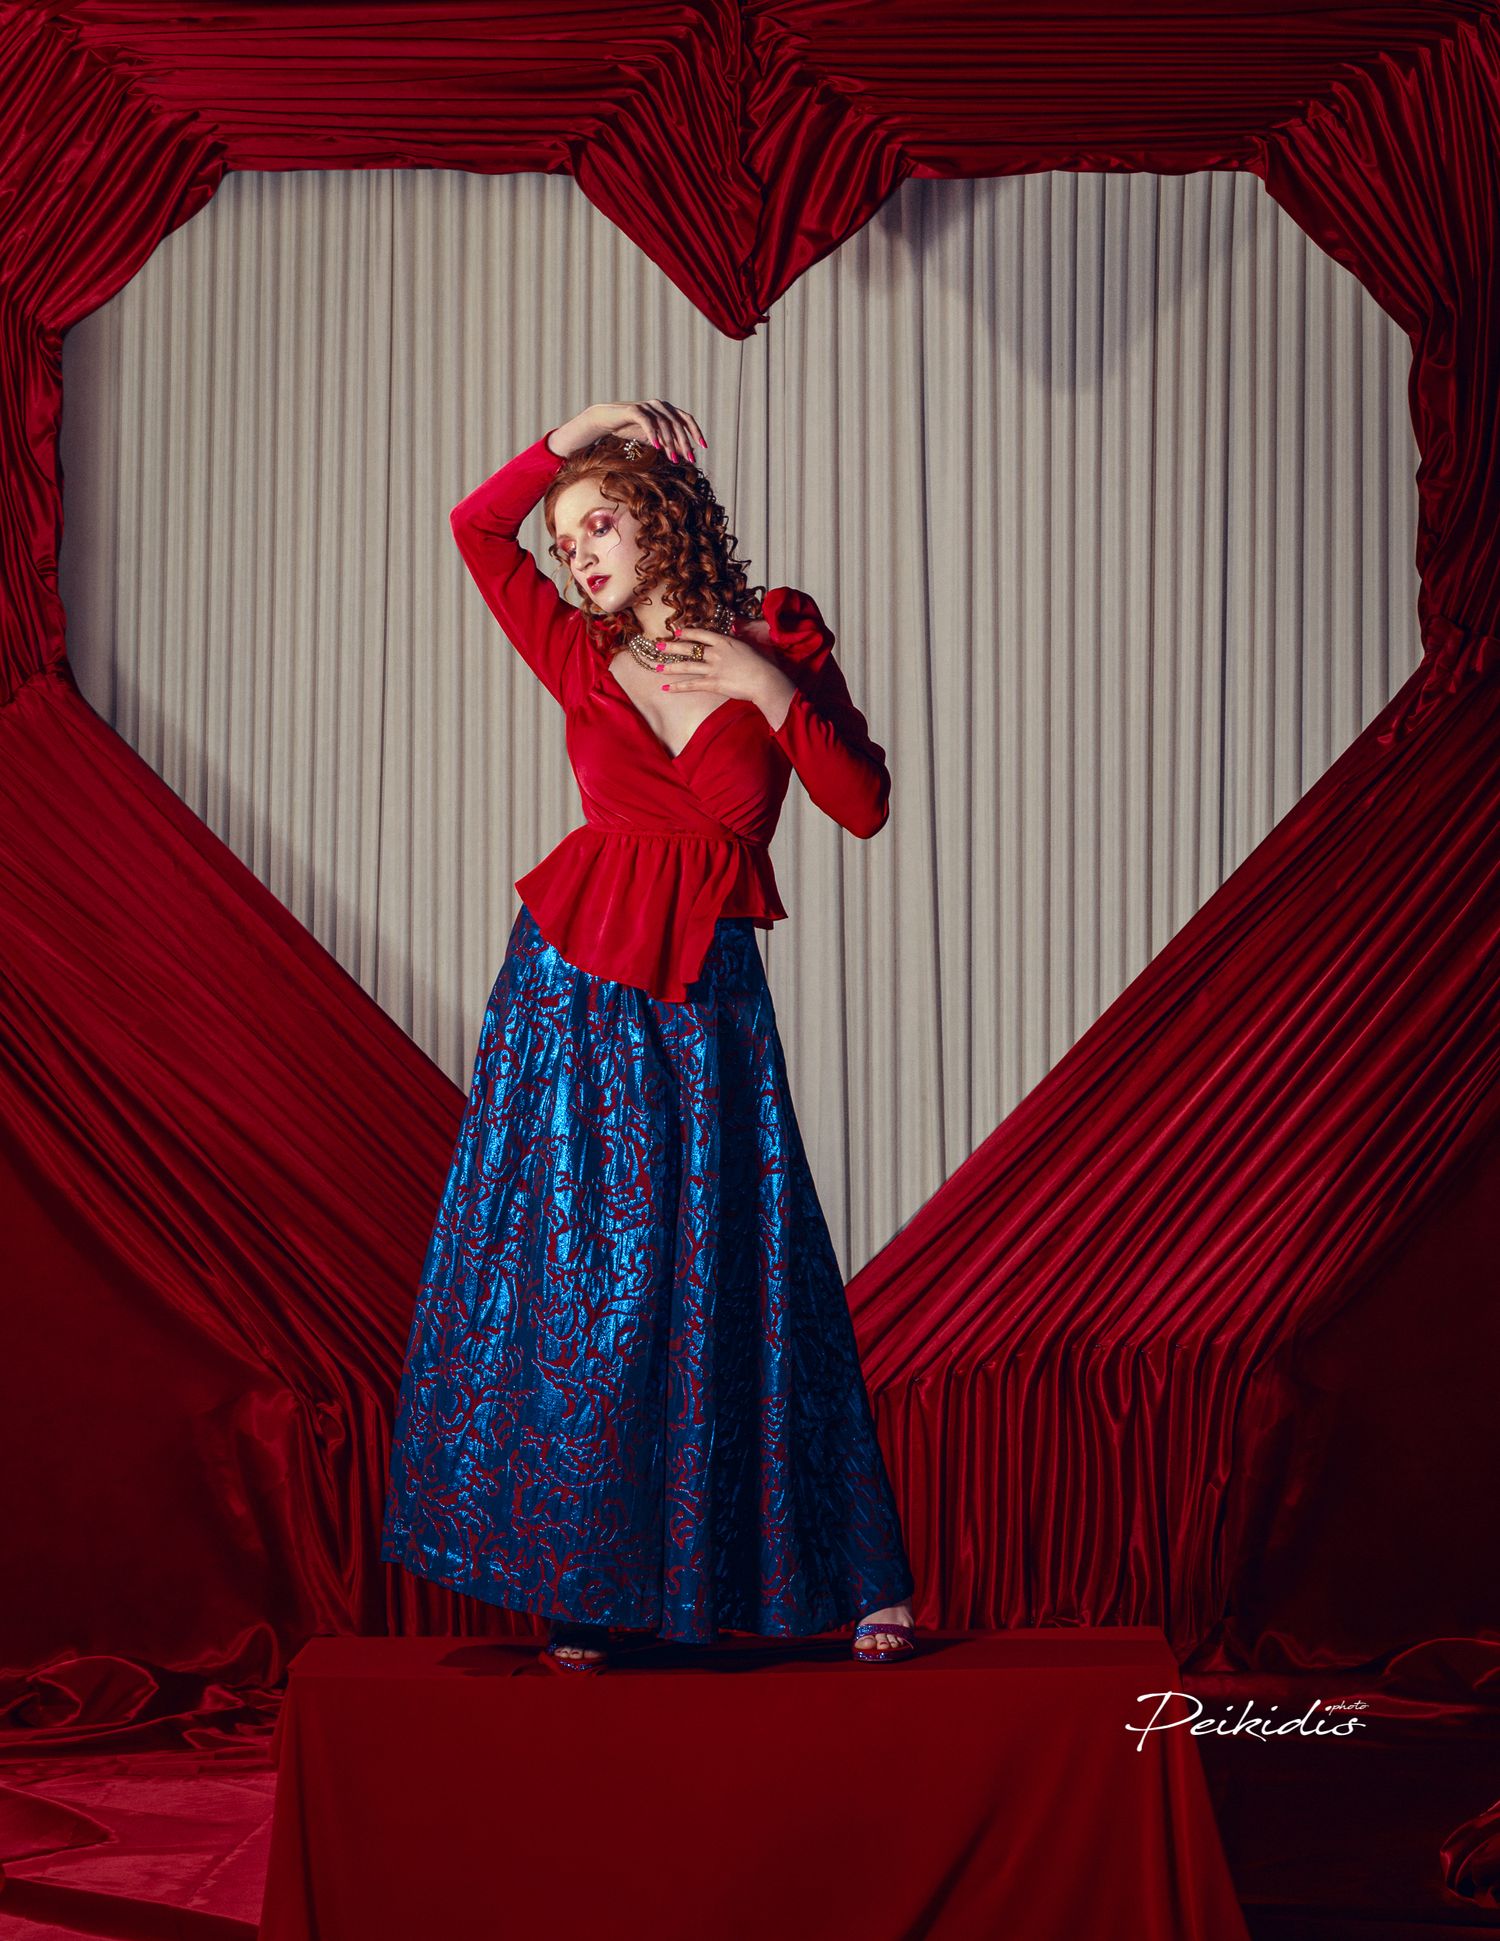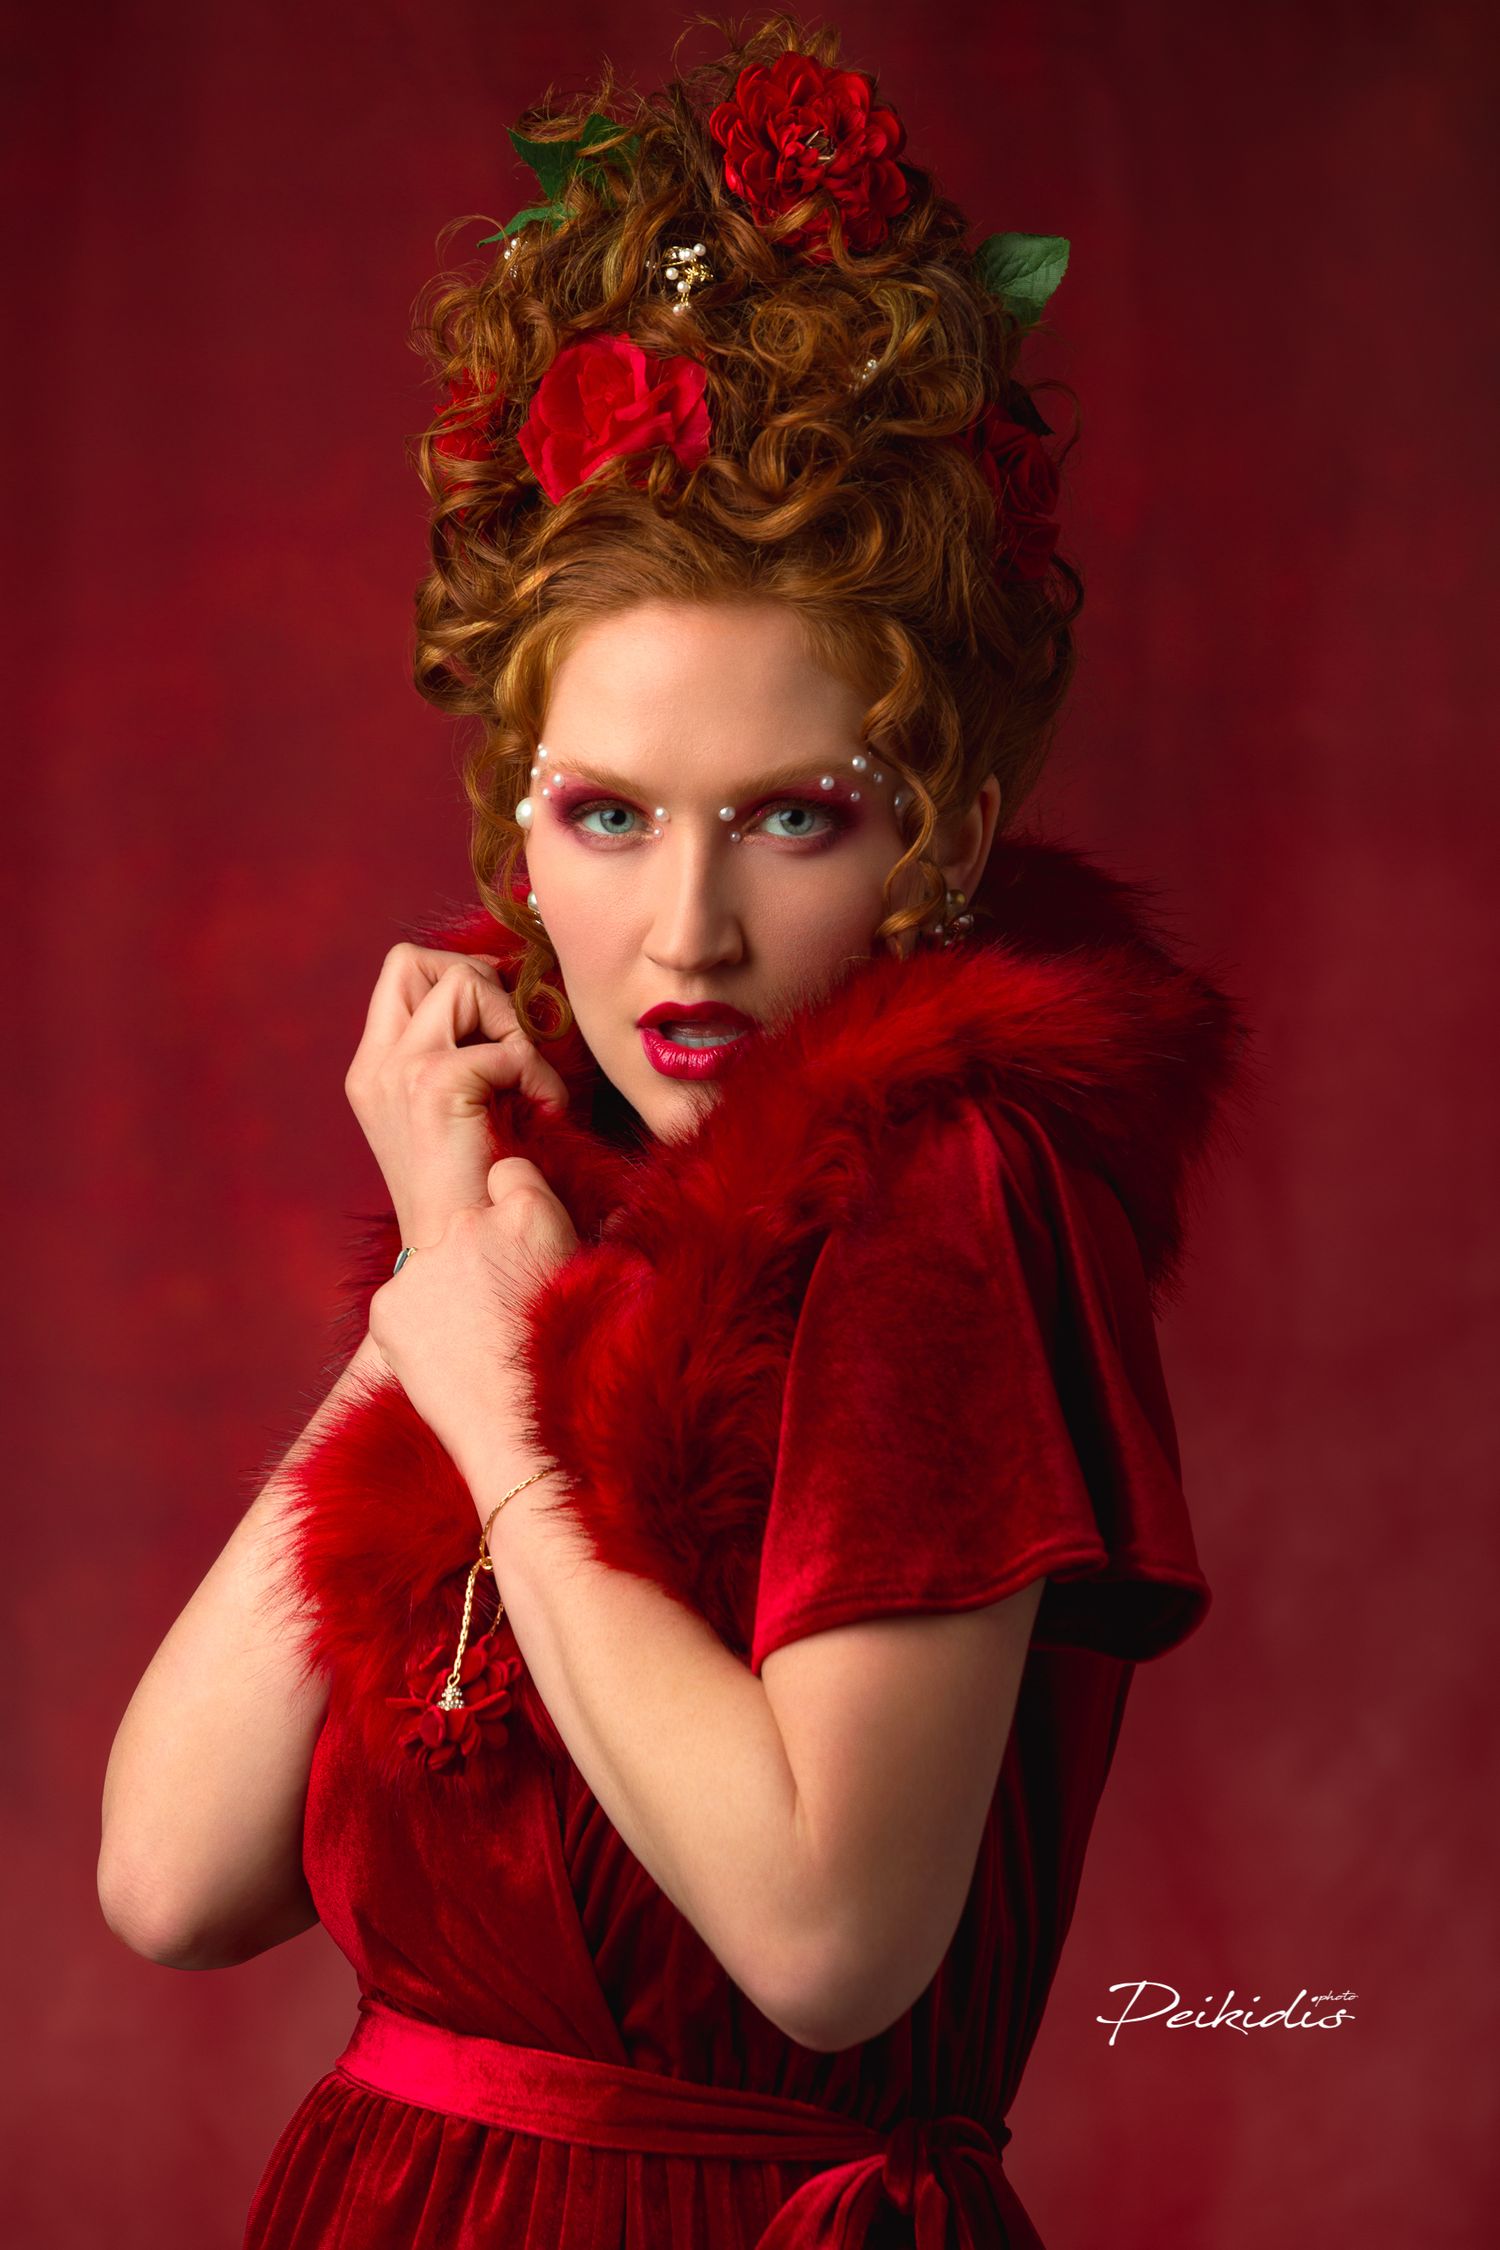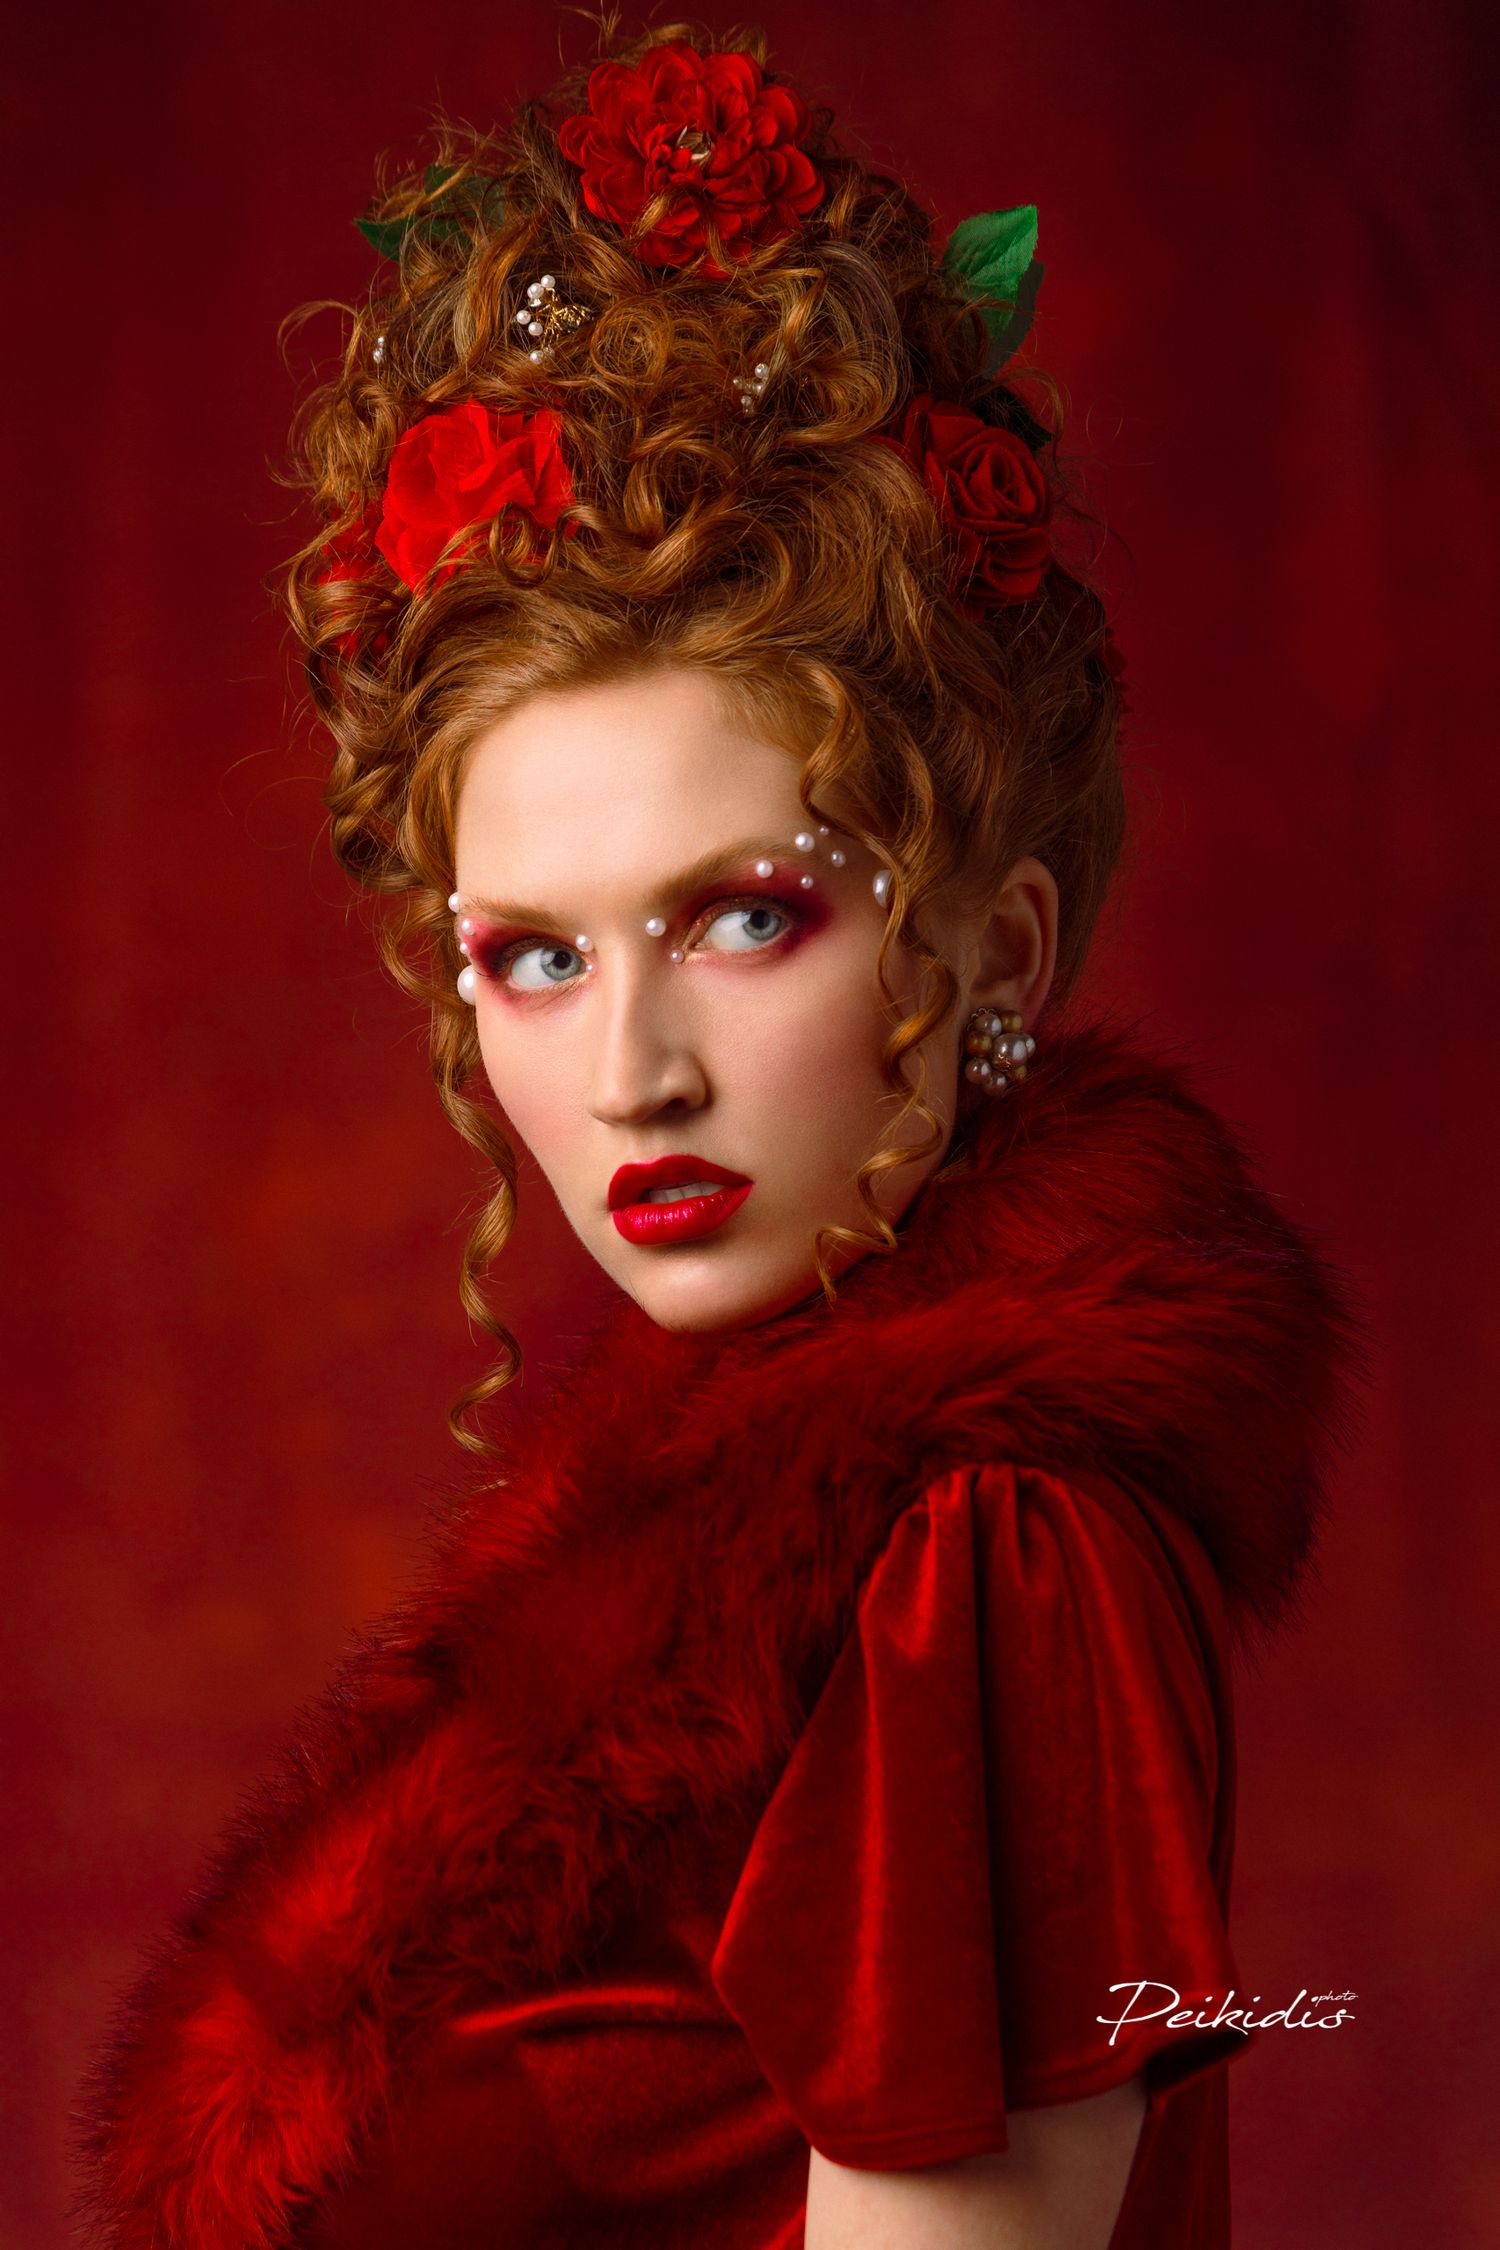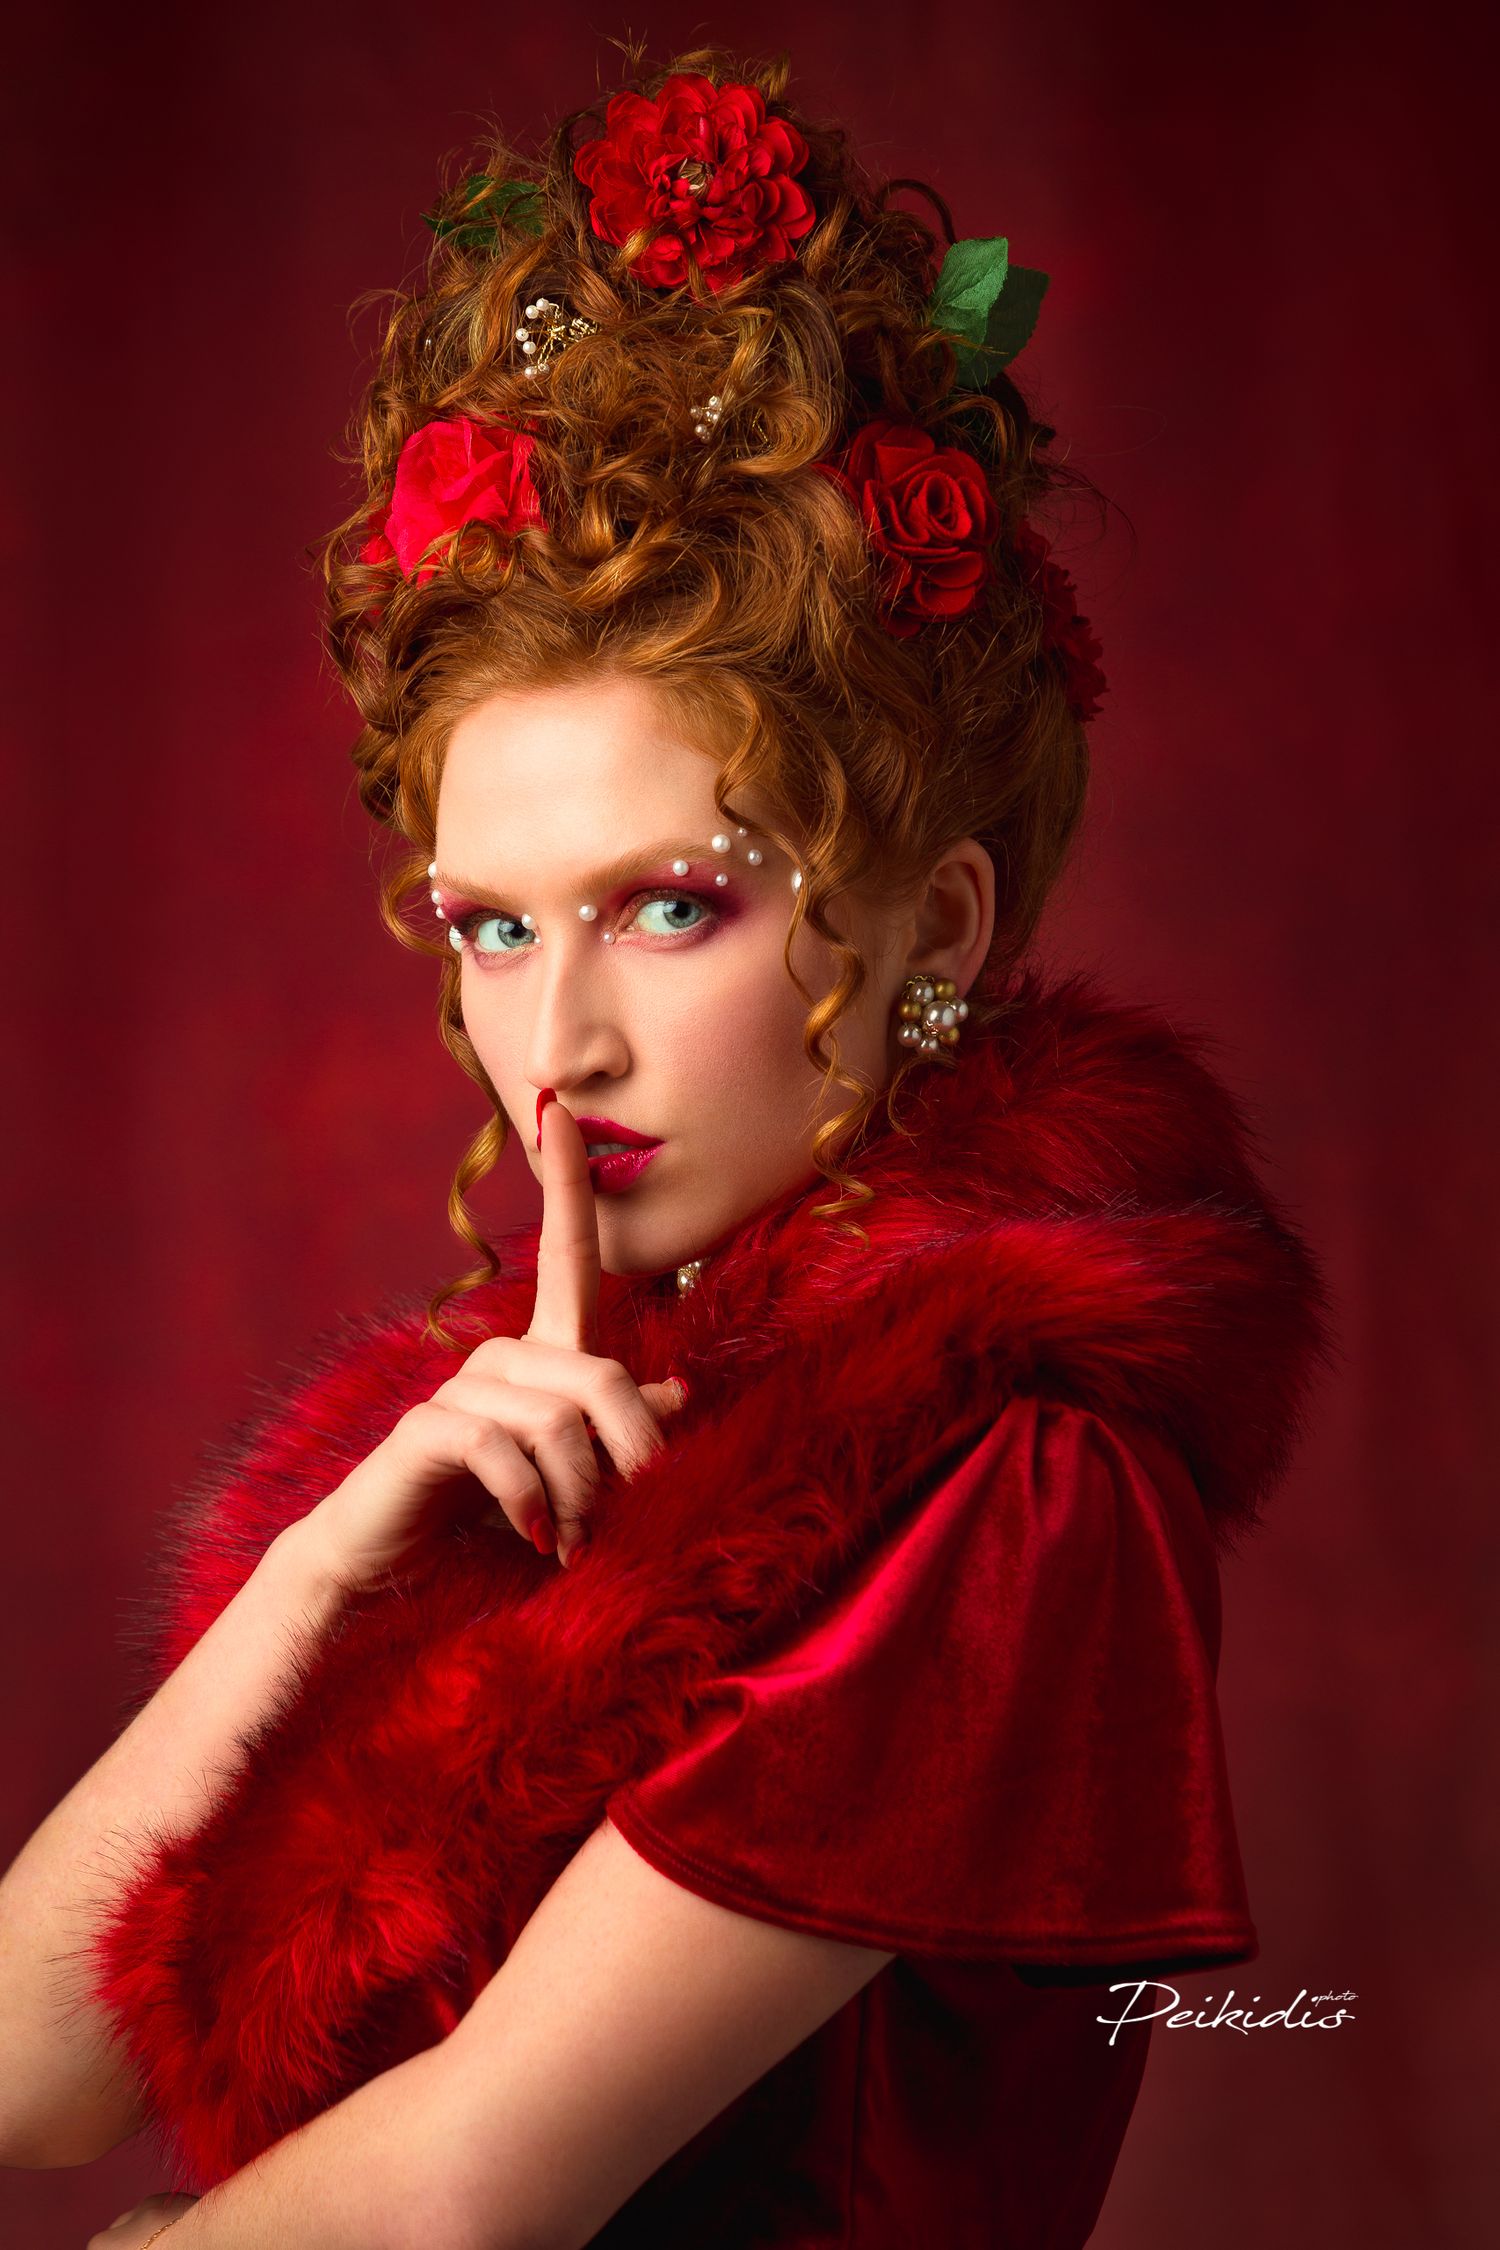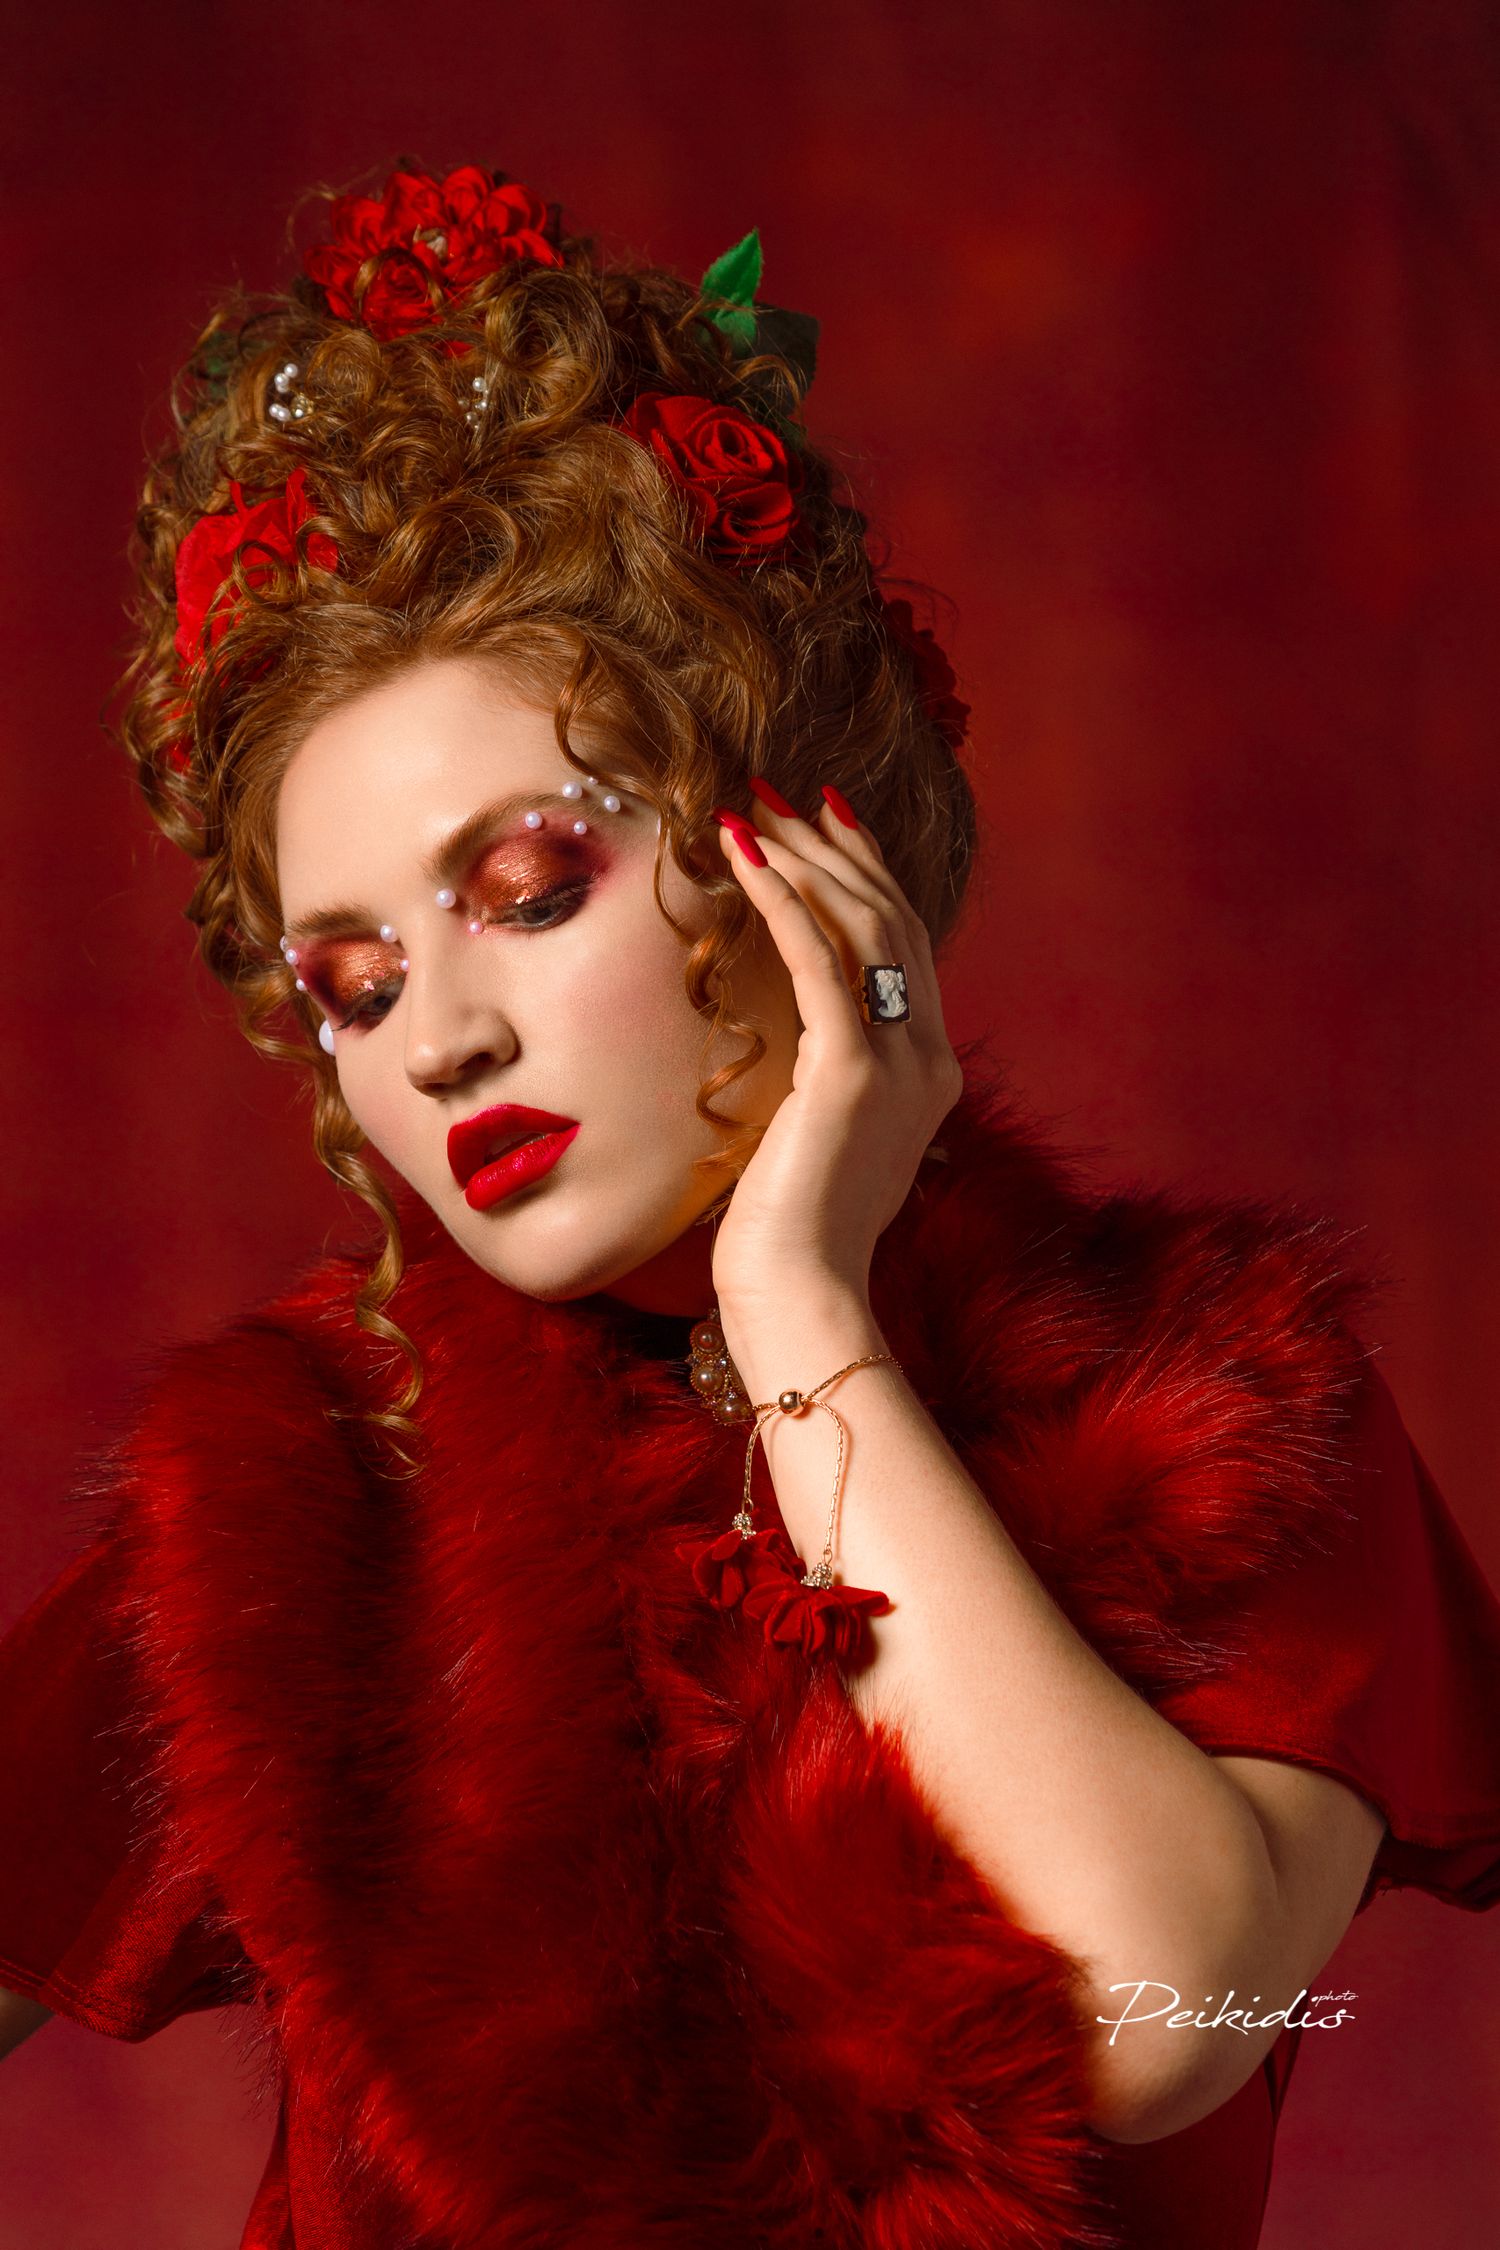
I was not planning on doing a Valentine's Day shoot this year until I had a cup of coffee with a friend that has experience with decorative ceiling plaster and decorative sheetrock. I always wanted to build a set for a photoshoot but never had a good concept in mind. As luck would have it, earlier that day I received an email from Lindsay Adler's Learn+ class reminding me that the deadline for the Valentine's Day themed photo submission is ending in a few days. I put two and two together and decided, a week before February 14th mind you, to build a set for the themed photoshoot.
This is how it went.
The plan
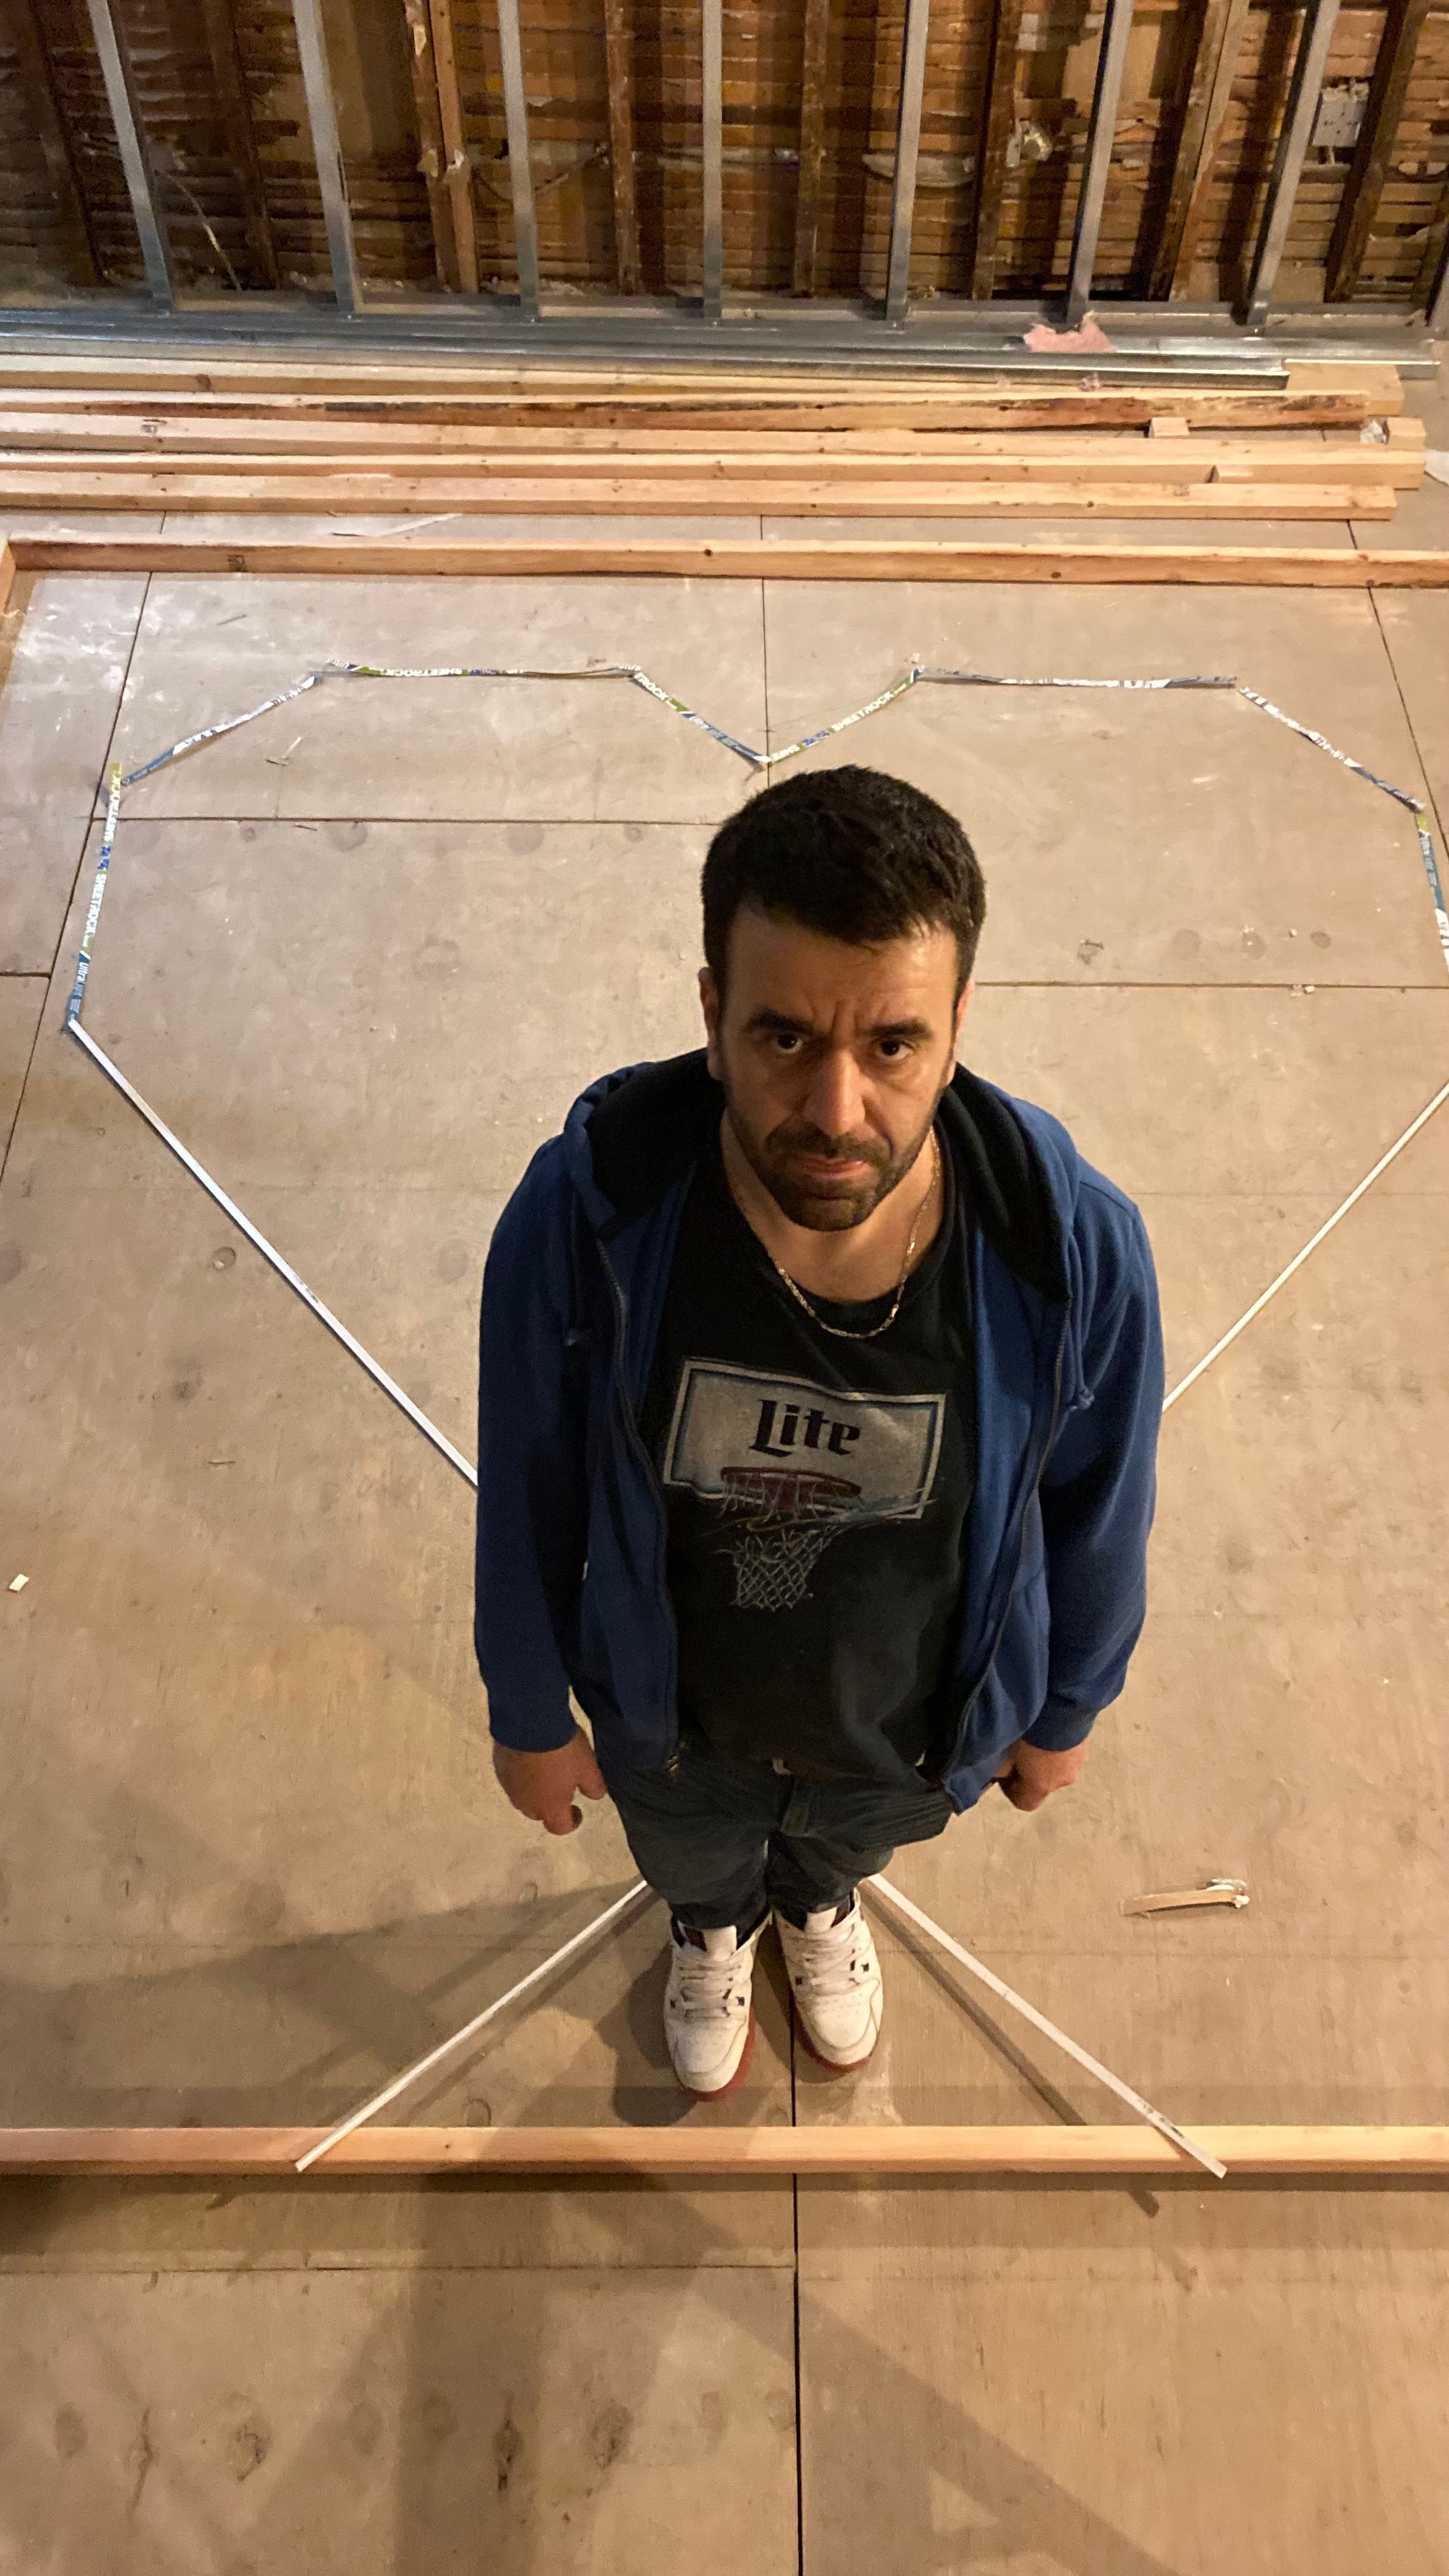
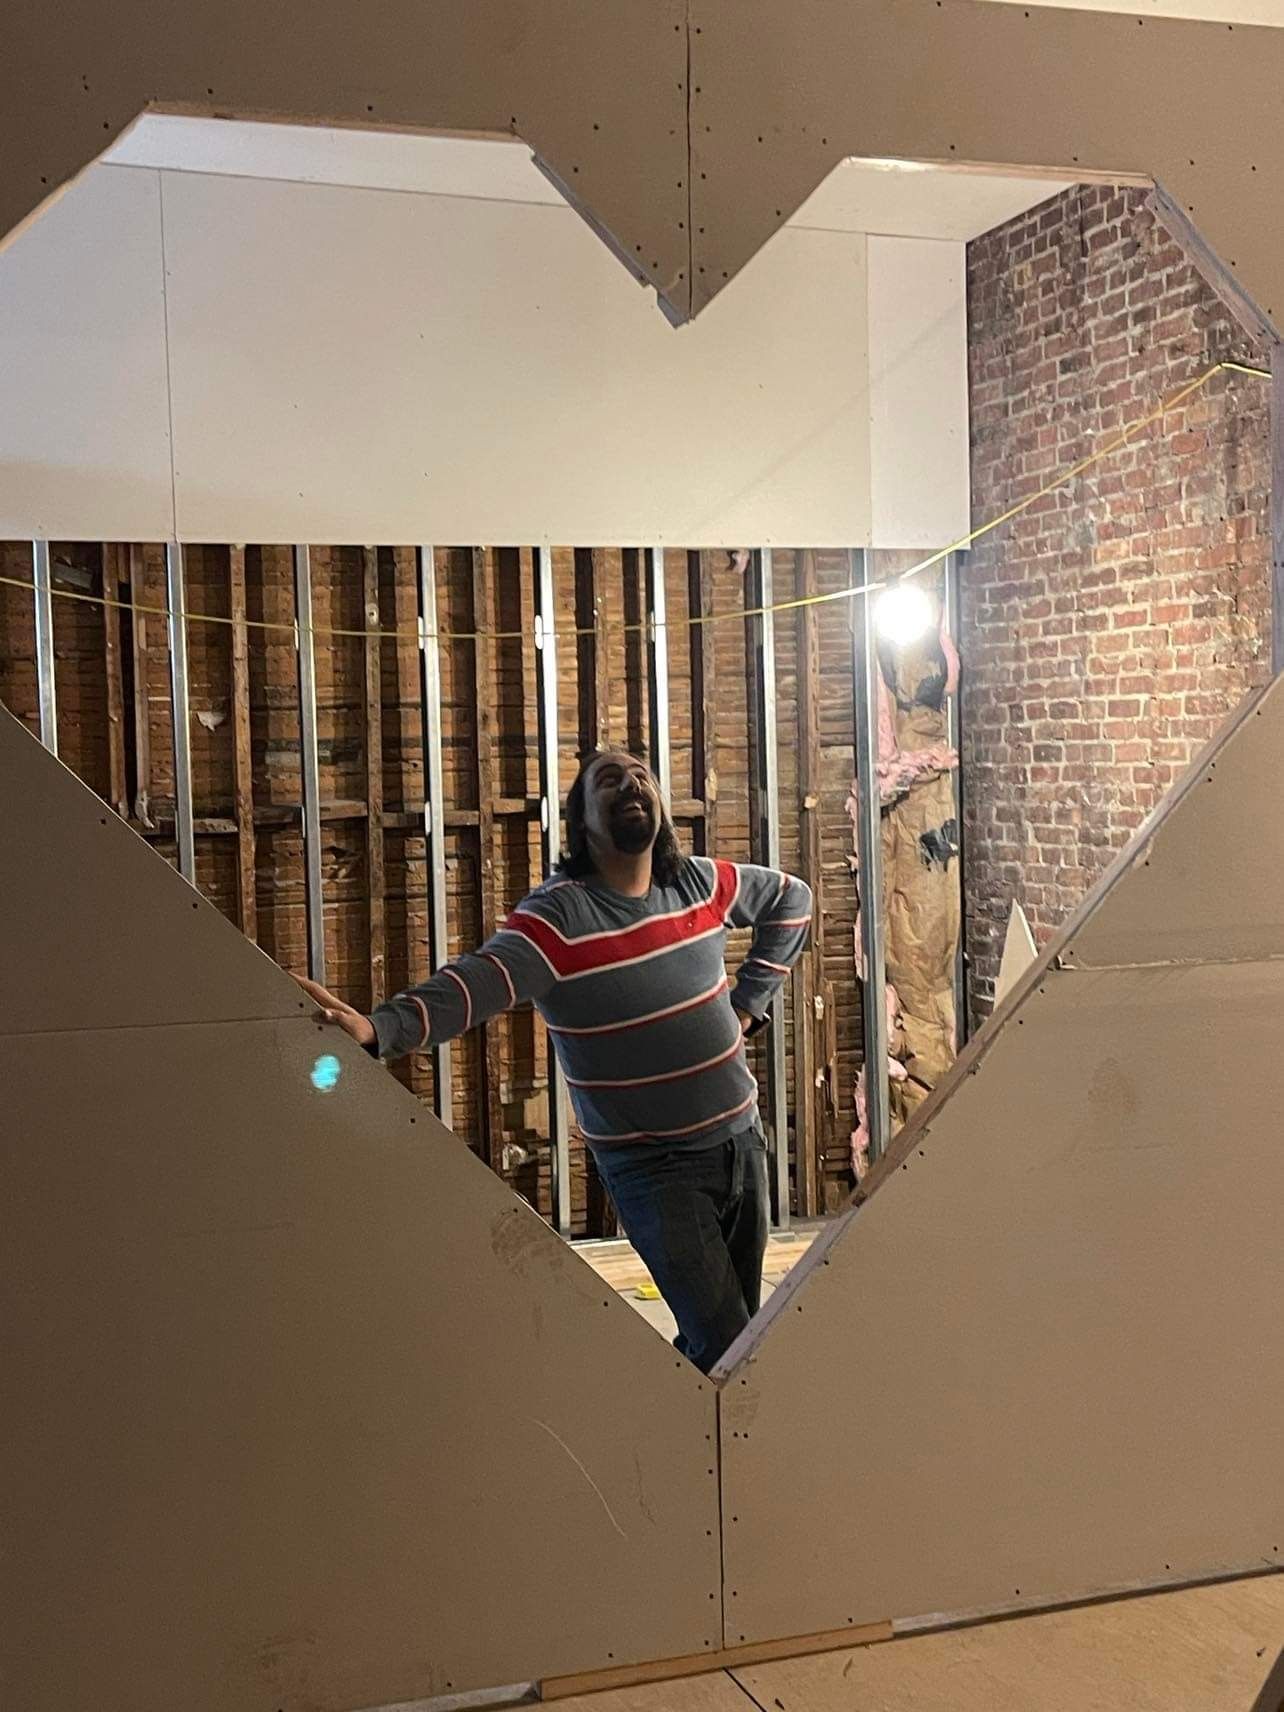
If the design looks rushed, that's because it is. Given that I had very little time, I wanted the design to be simple. The thing that would make it interesting would be its size. A massive 10 by 10 feet structure.
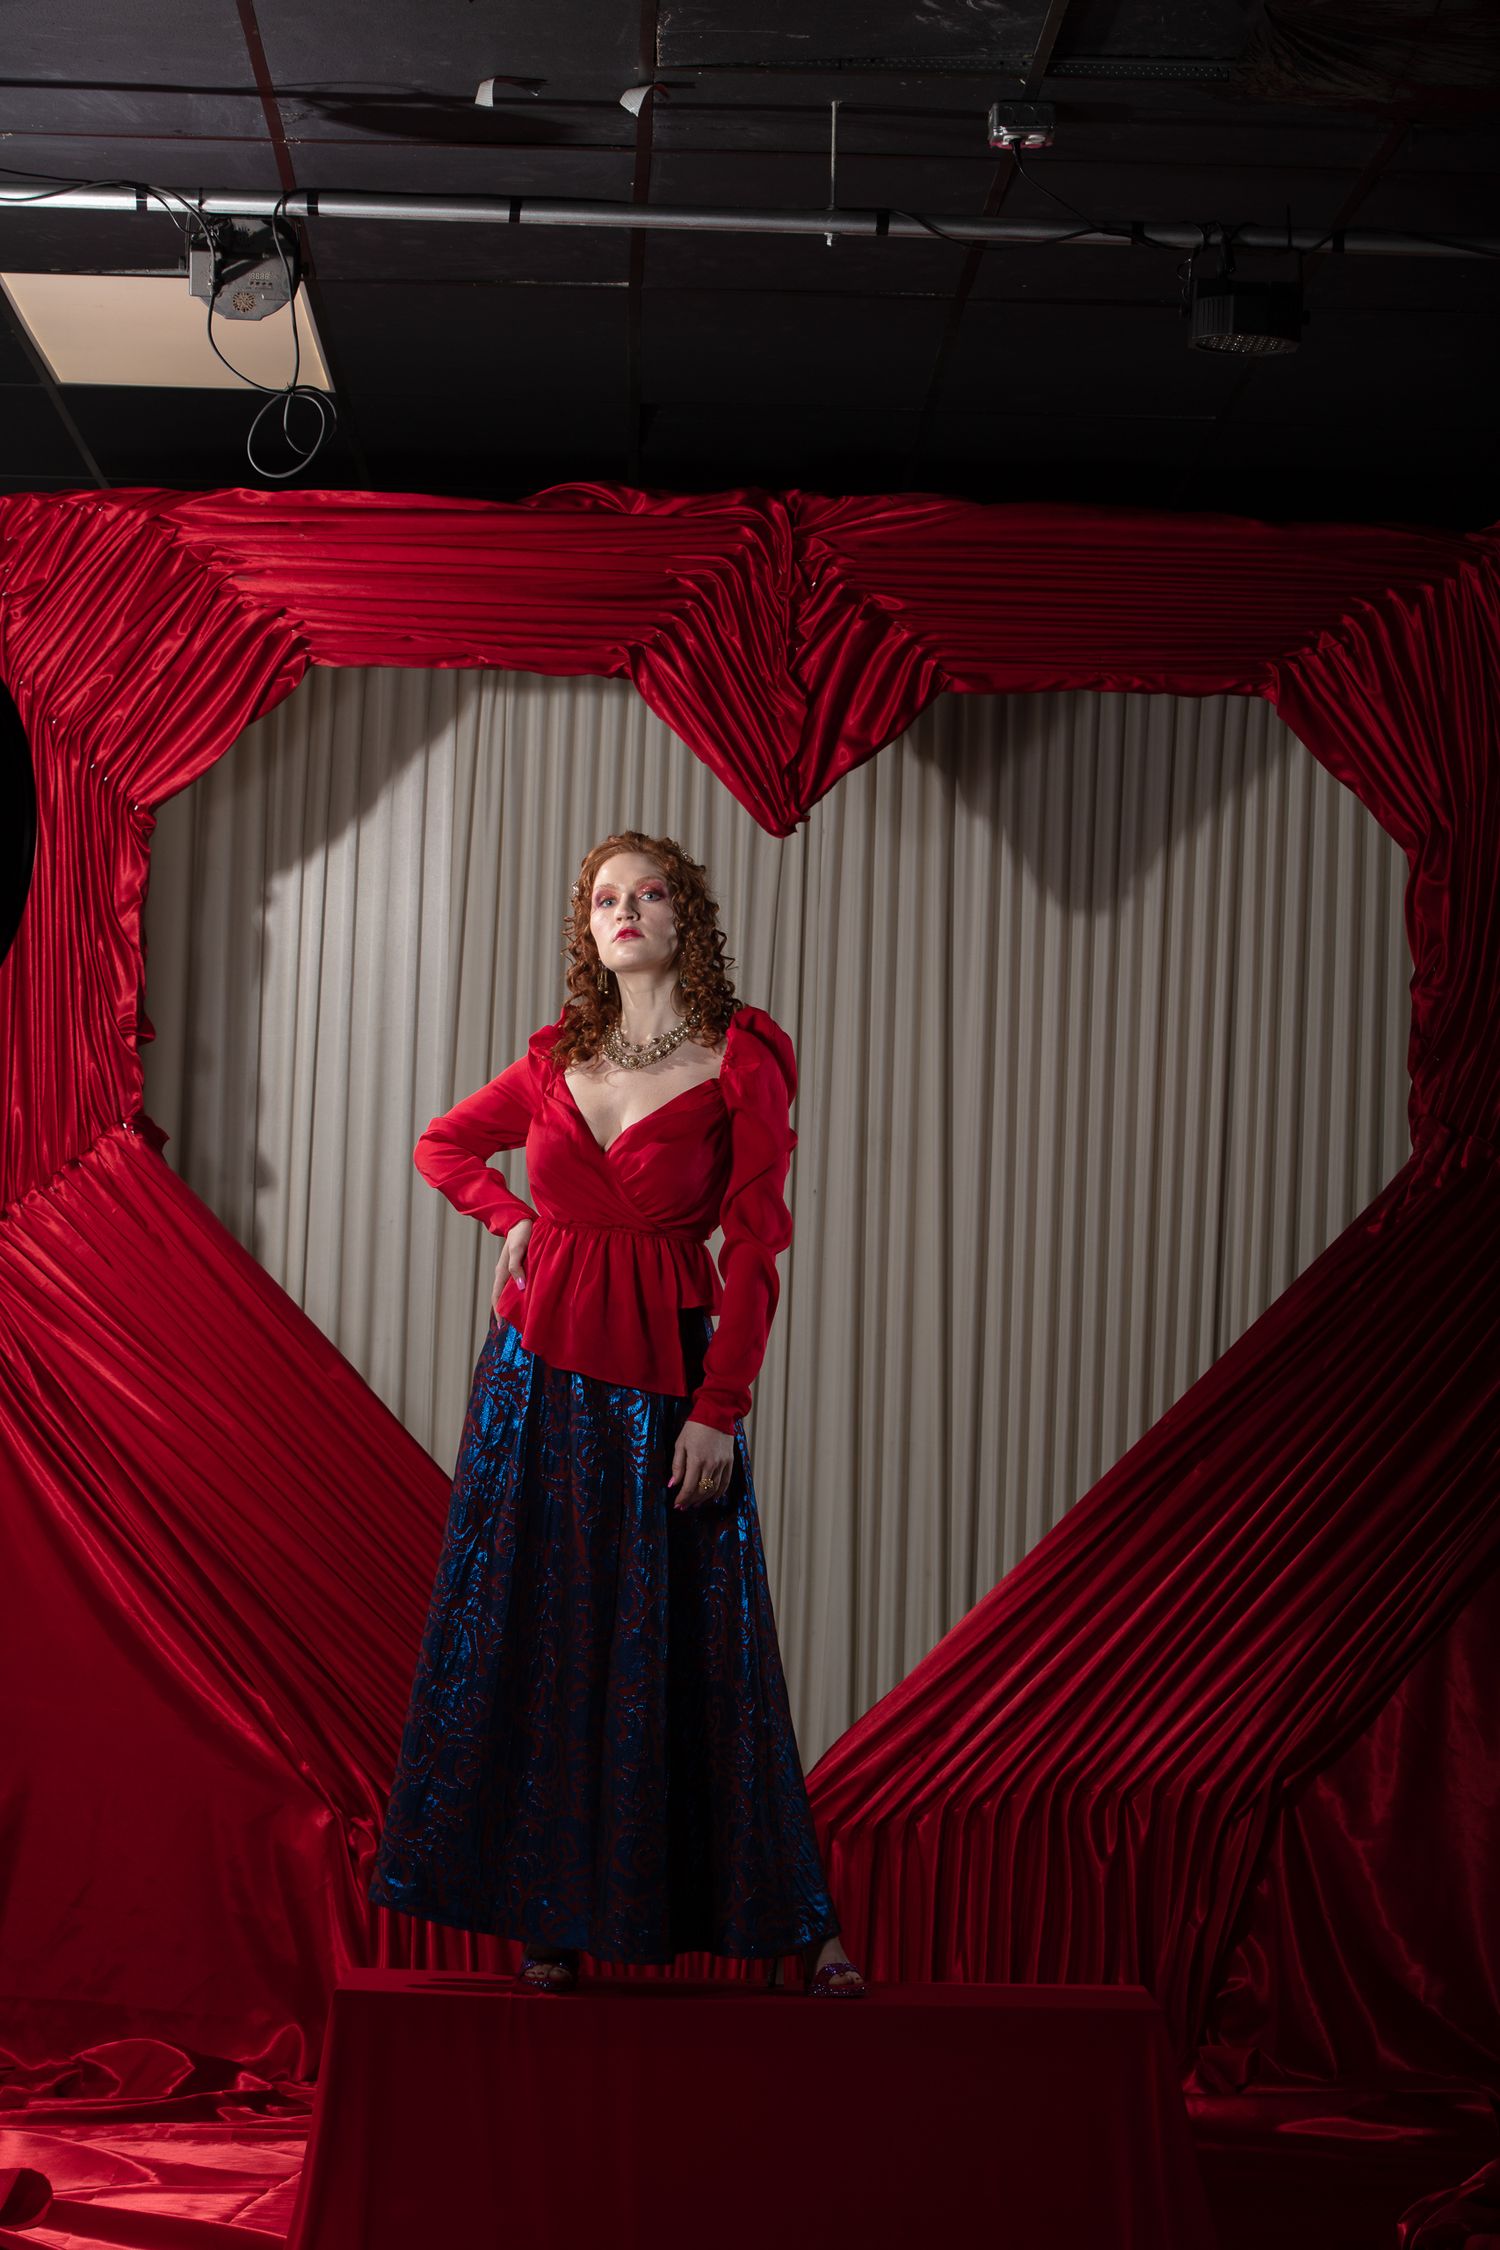
To make it a liiiittle bit more elaborate, I decided it would be in two layers. One layer would be a wall with a heart-shaped hole in the middle and red fabric going around it, and the other layer would be a cream-white draped wall. We also decided not to have the two layers at fixed positions so we could control the depth.
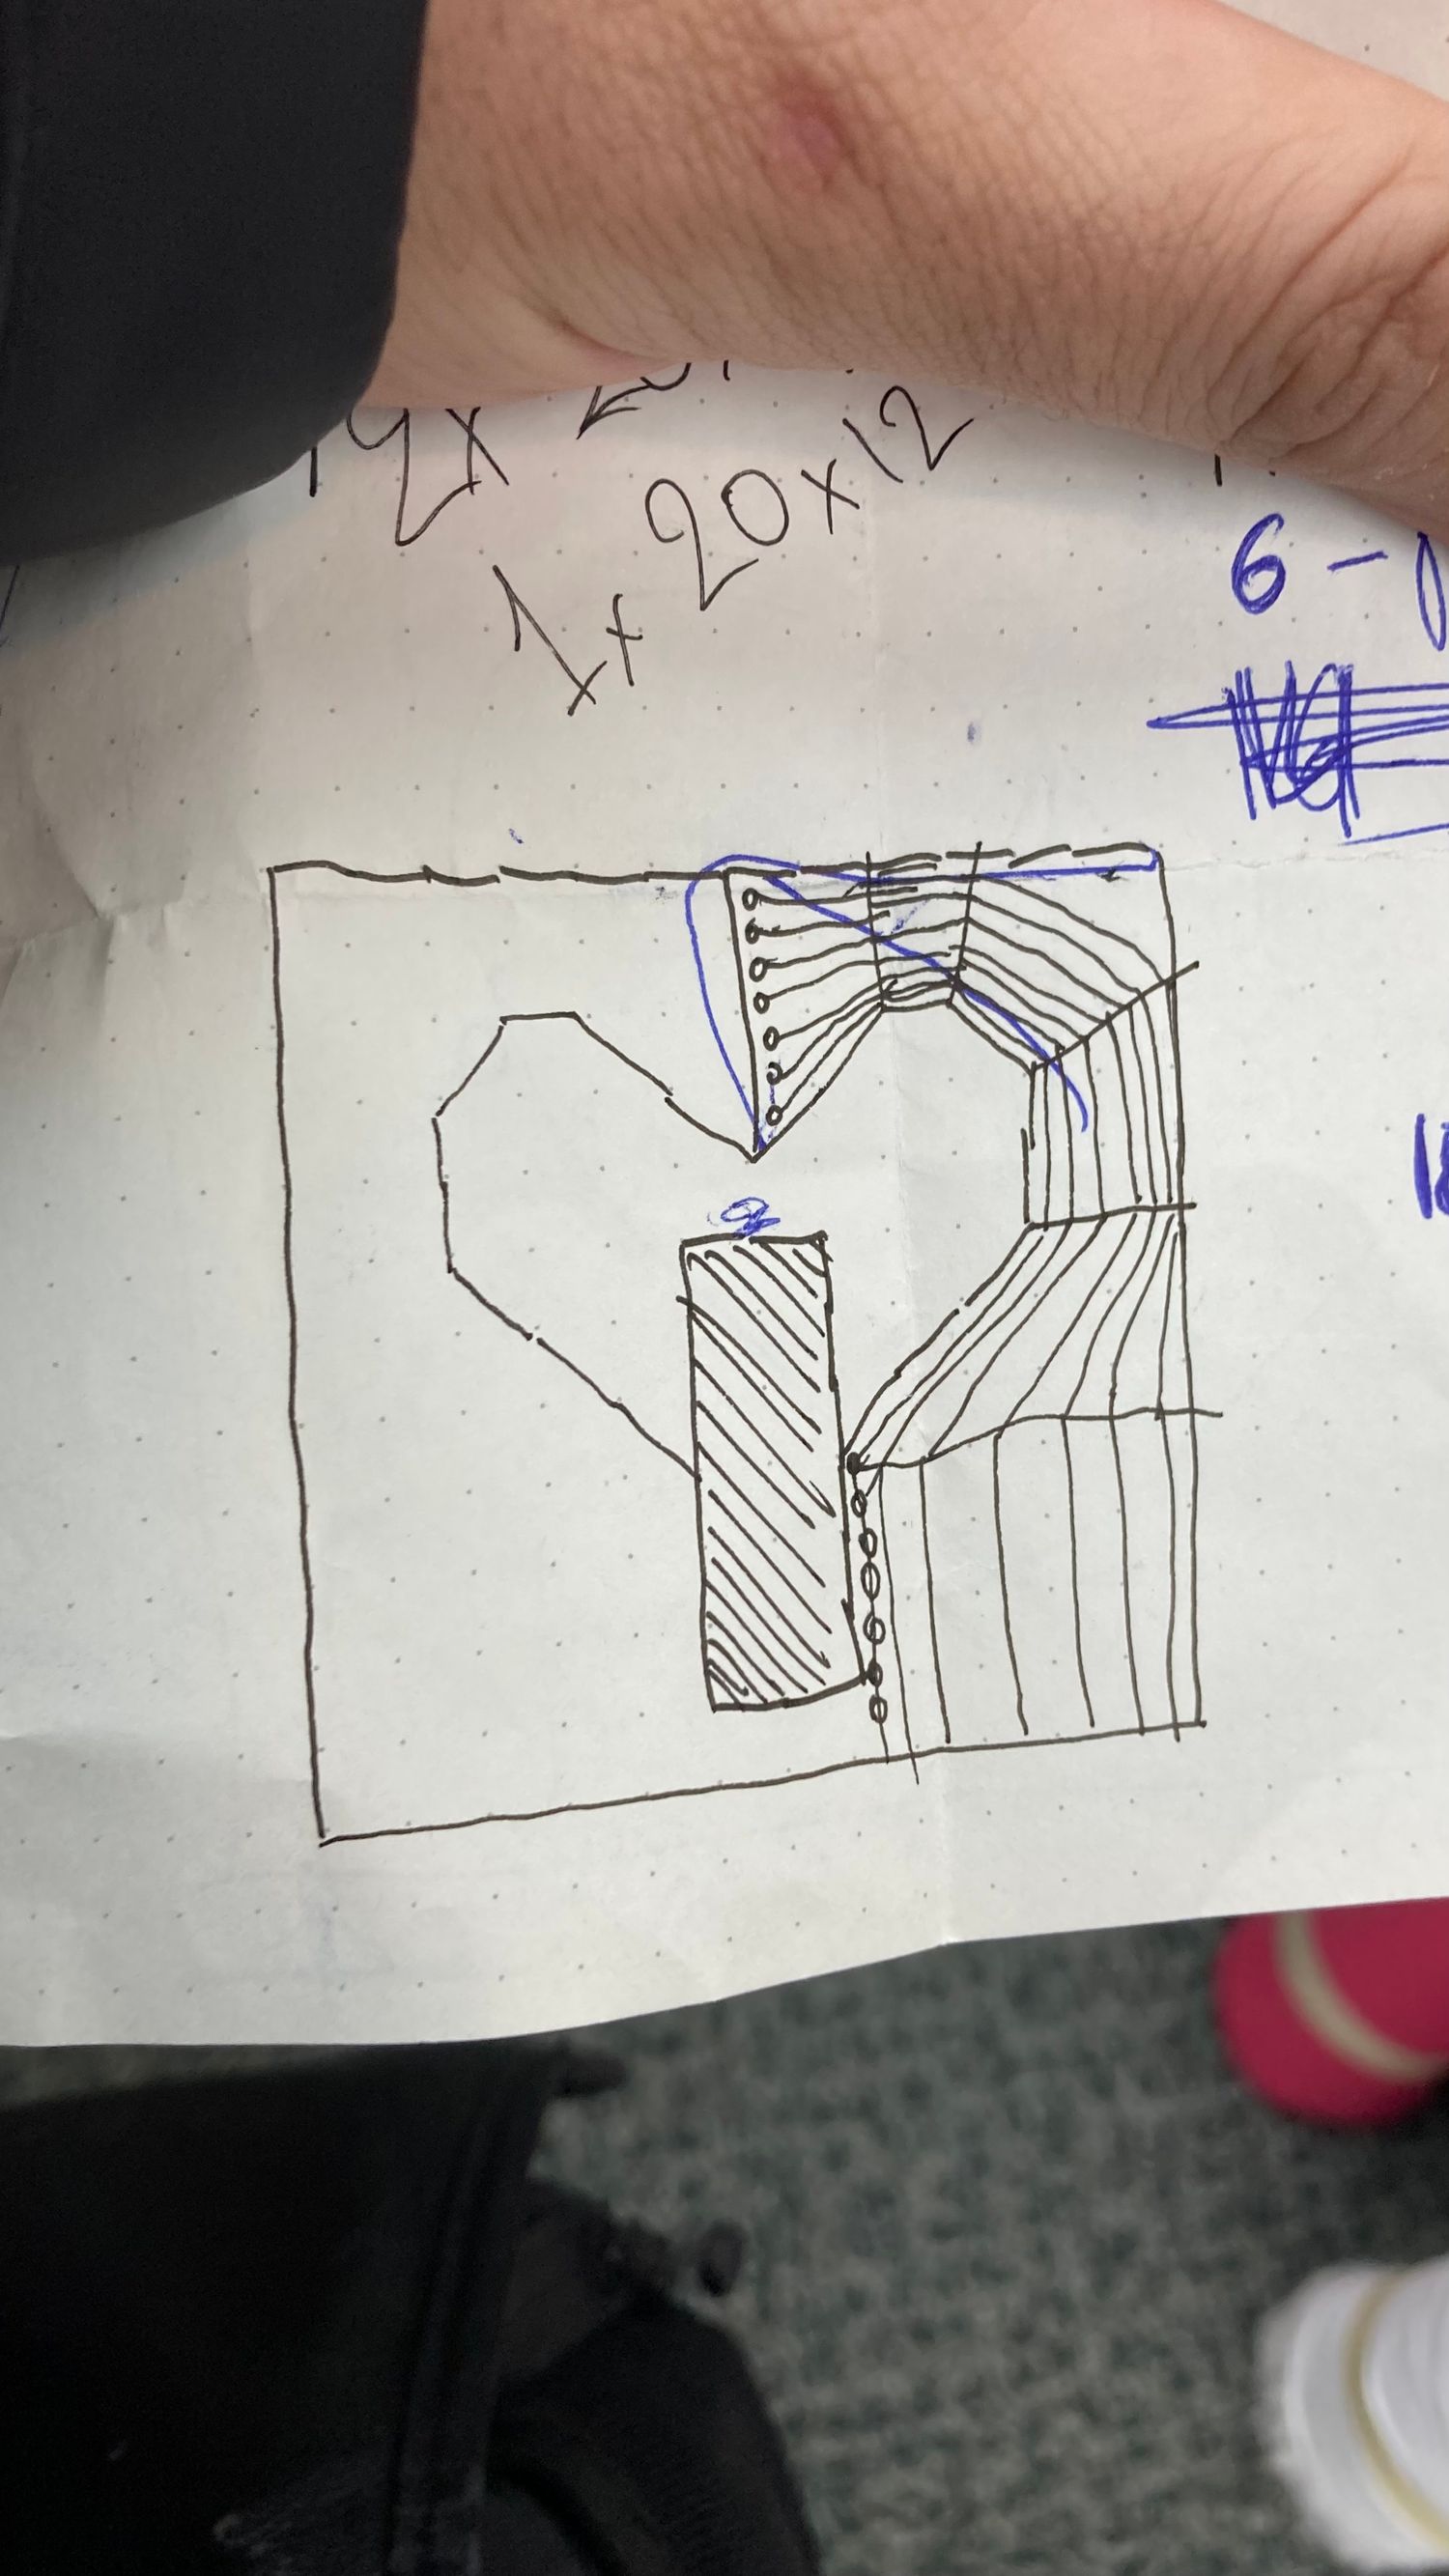
Initial idea on paper
Obviously the primary color would be red; I'm not one to stray away from clichés. But I did want to experiment with less saturated reds. And then I remembered Lindsay Adler did a baroque-themed portrait a few months prior, so I decided I might as well go full Lindsay Adler on this project.

Mood board inspired by Lindsay Adler
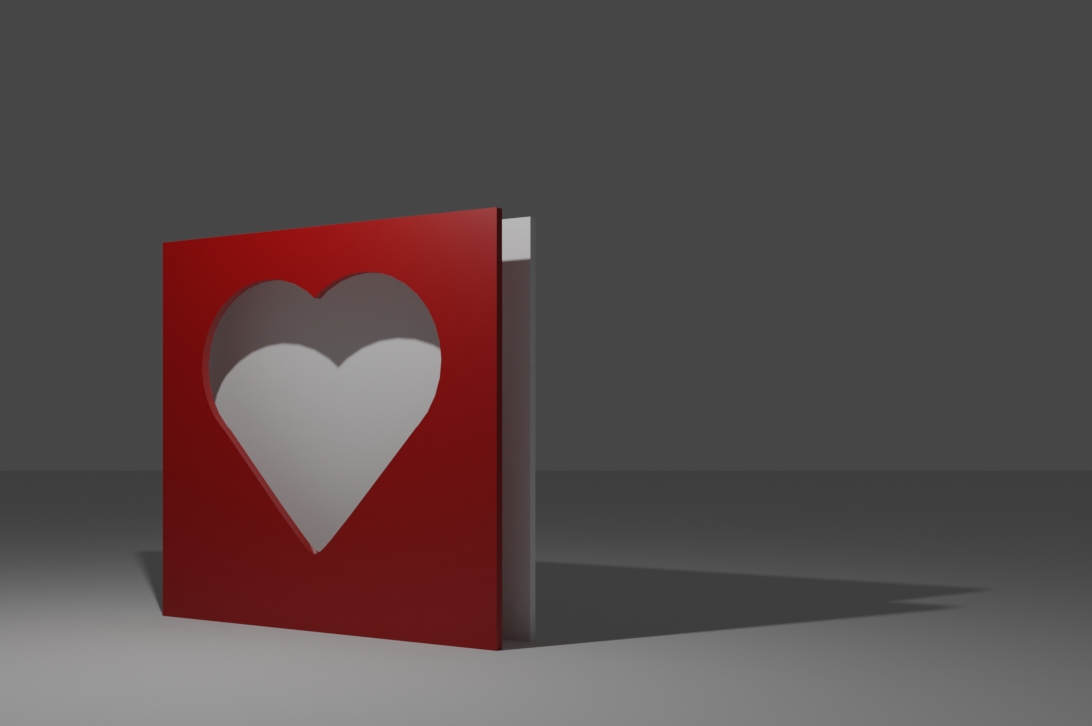
Belnder 3D rendering
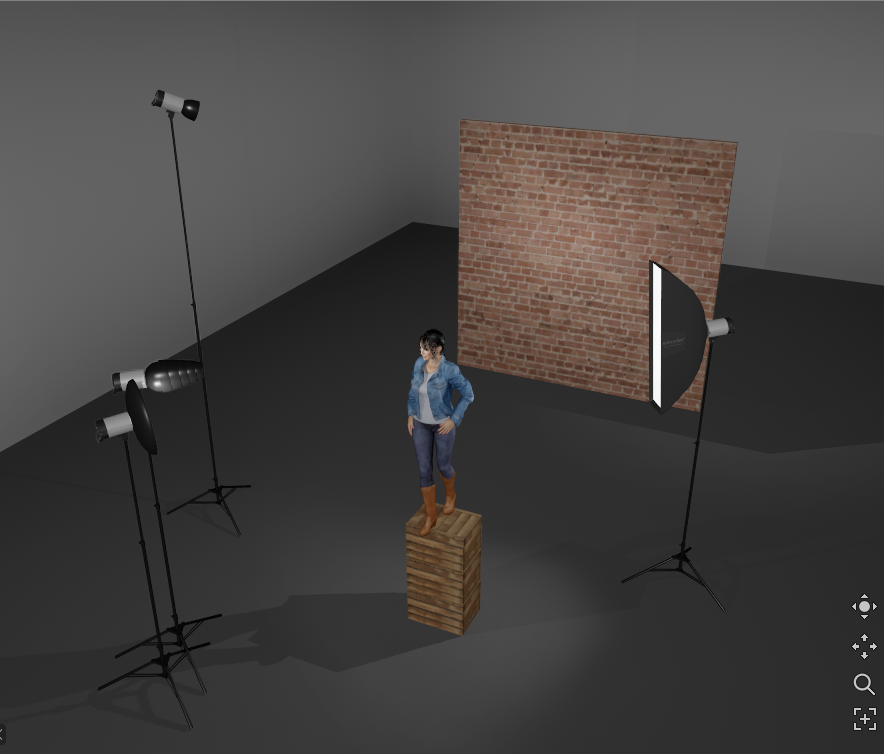
set.a.light 3D mock up
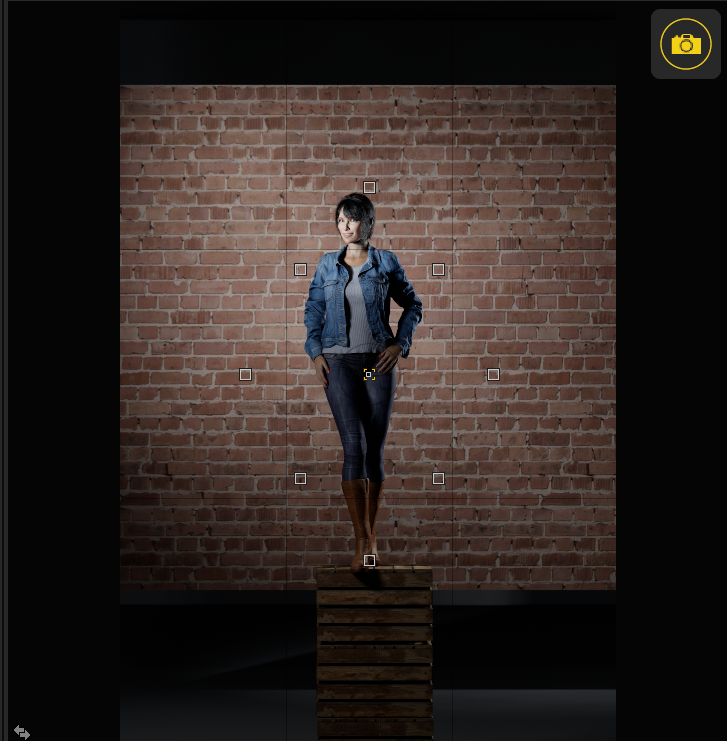
set.a.light 3D shot
The team
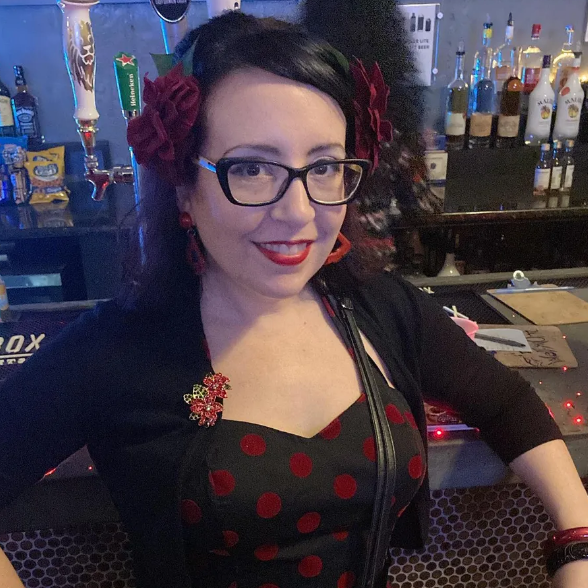
Jessica Rose
I was extremely lucky to not only have found the stylist Jessica Rose, but that she was be able to deliver on the concept in such a short amount of time. And while the mood board was all red, Jessica brought a maxi skirt so gorgeous I couldn't resist not shooting it. The skirt is by Maeve, and is called Maeve Pleated Shimmer Maxi Skirt.
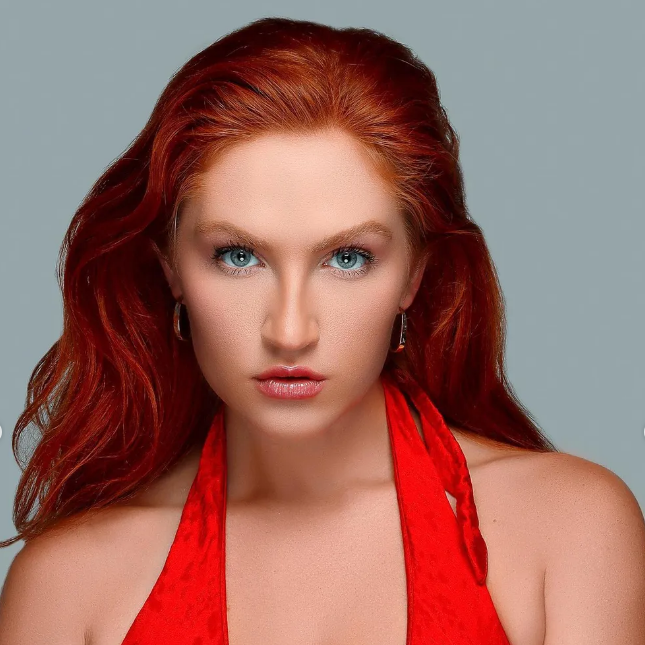
Shannon Murphy
Shannon replied to my post on a Facebook group and as soon as I saw those fierce blue eyes and fire-y red hair I knew she was perfect for this concept.
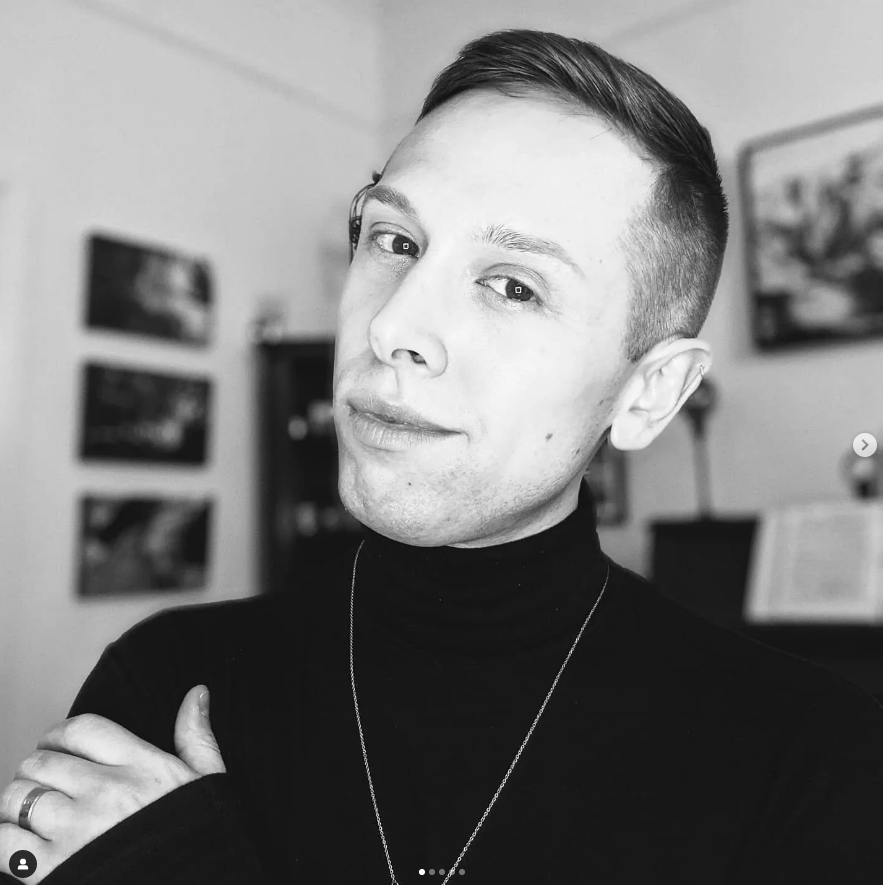
Jake Aebly
I found Jake on Instagram. I loved his work so I reached out. Jack was available, and brought so much to the shoot. Those rhinestones was just the cherry on top of the already great work.
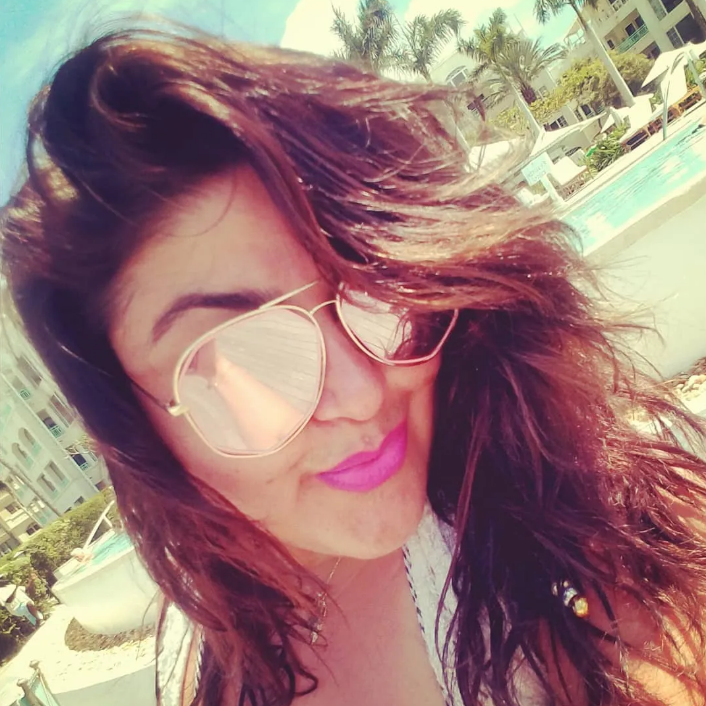
Stephanie Maroulis
I've worked with Stephanie so many times, this was a no-brainer. No matter what I through at Stephanie she always delivers.
The Structure
Fabric
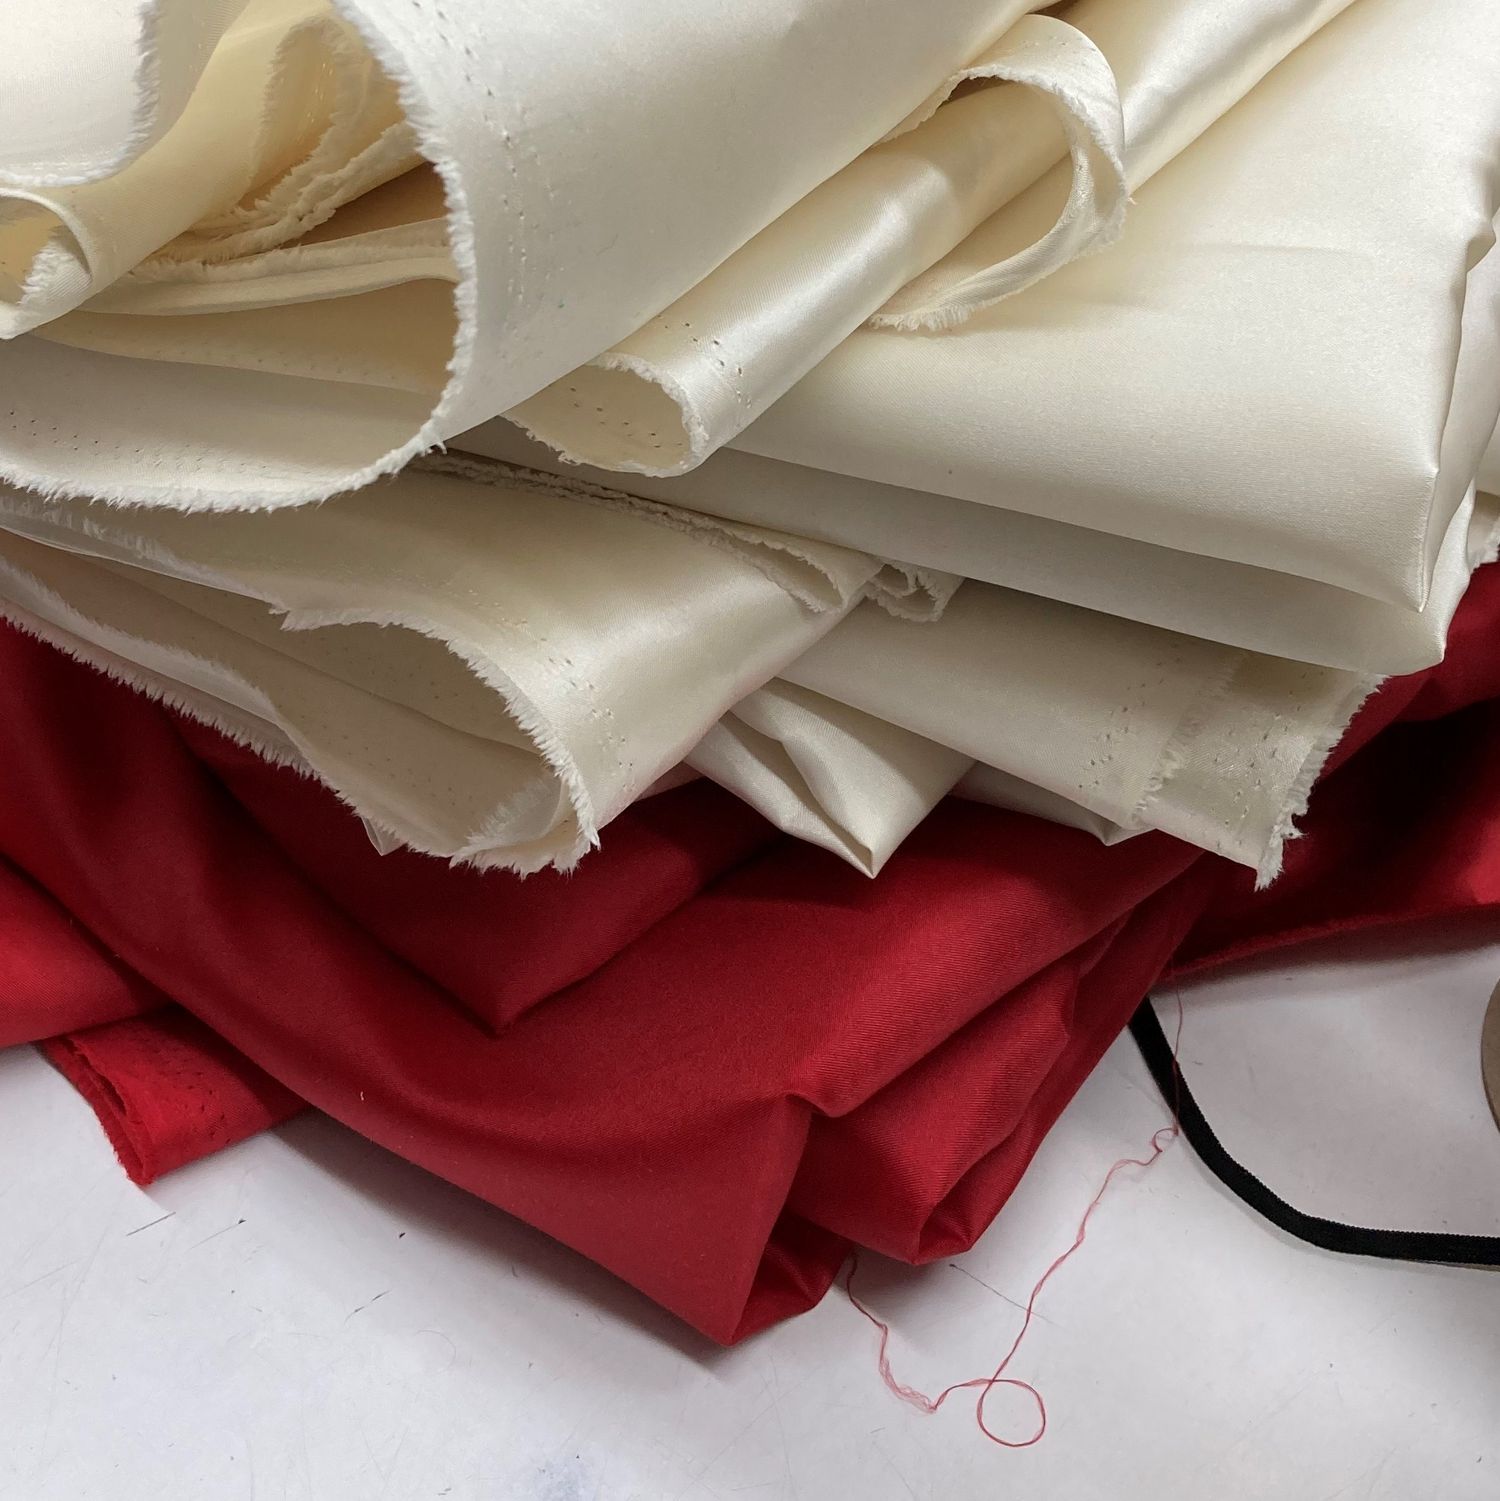
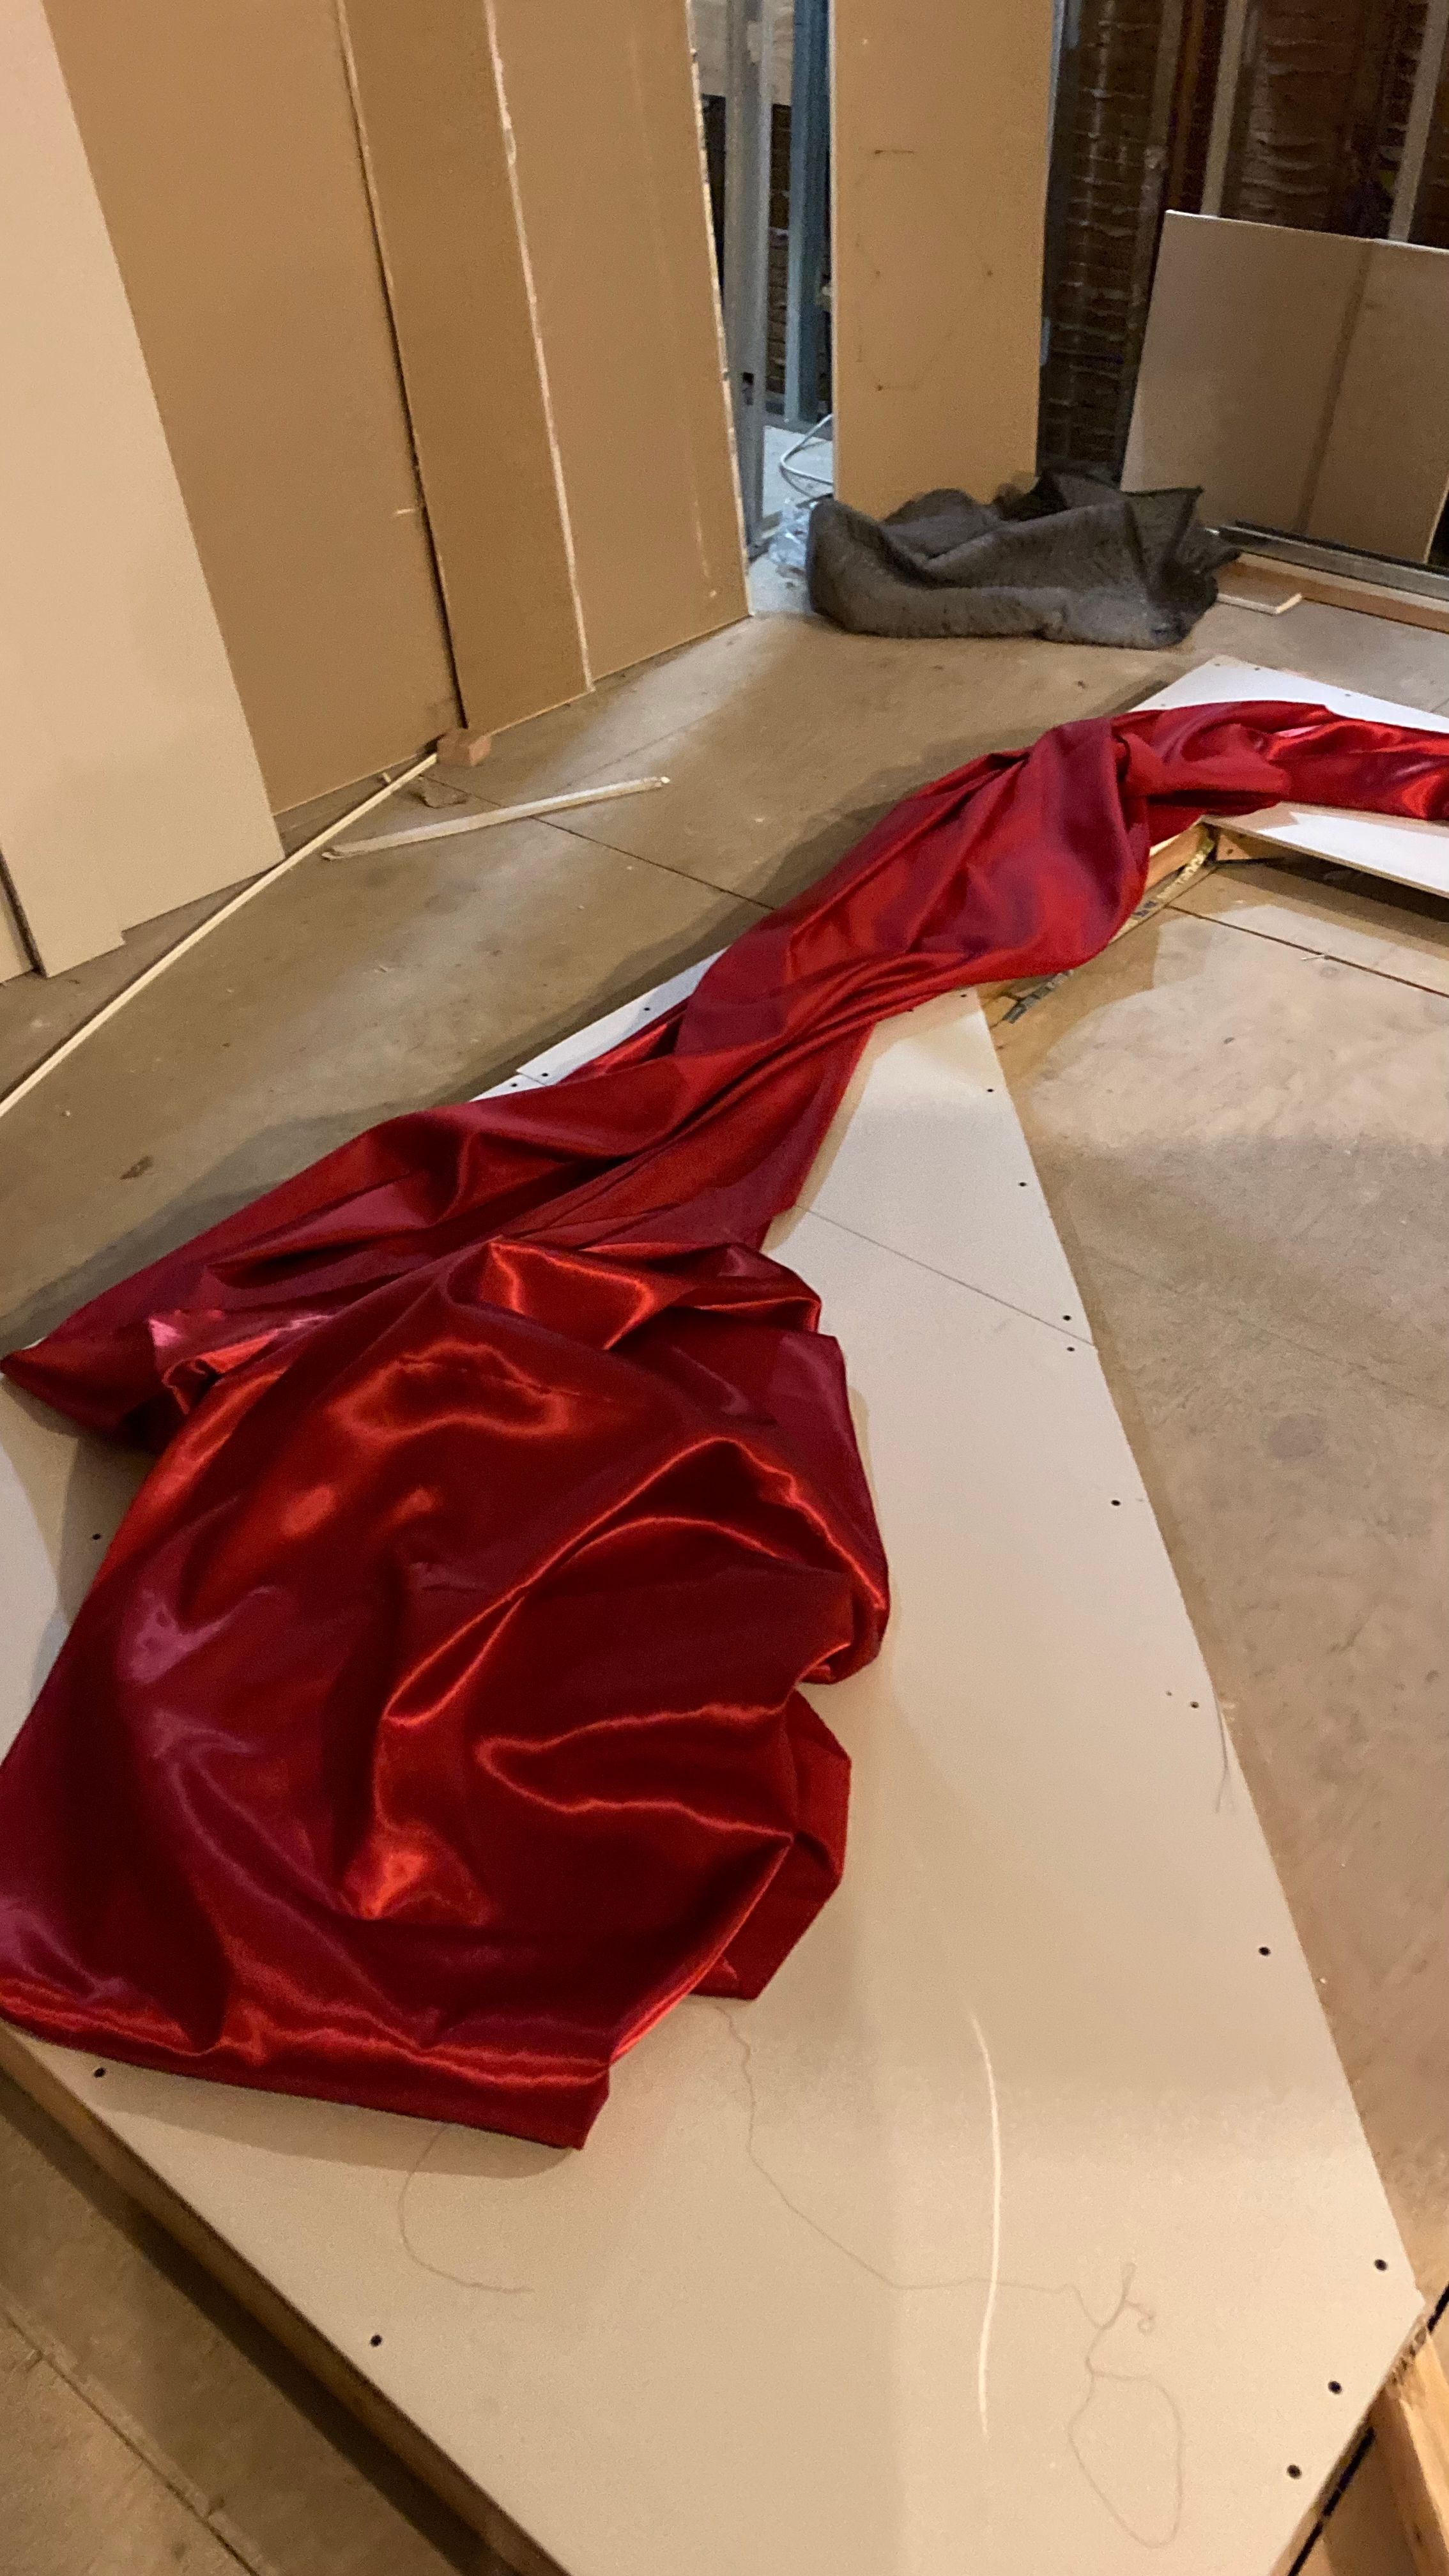
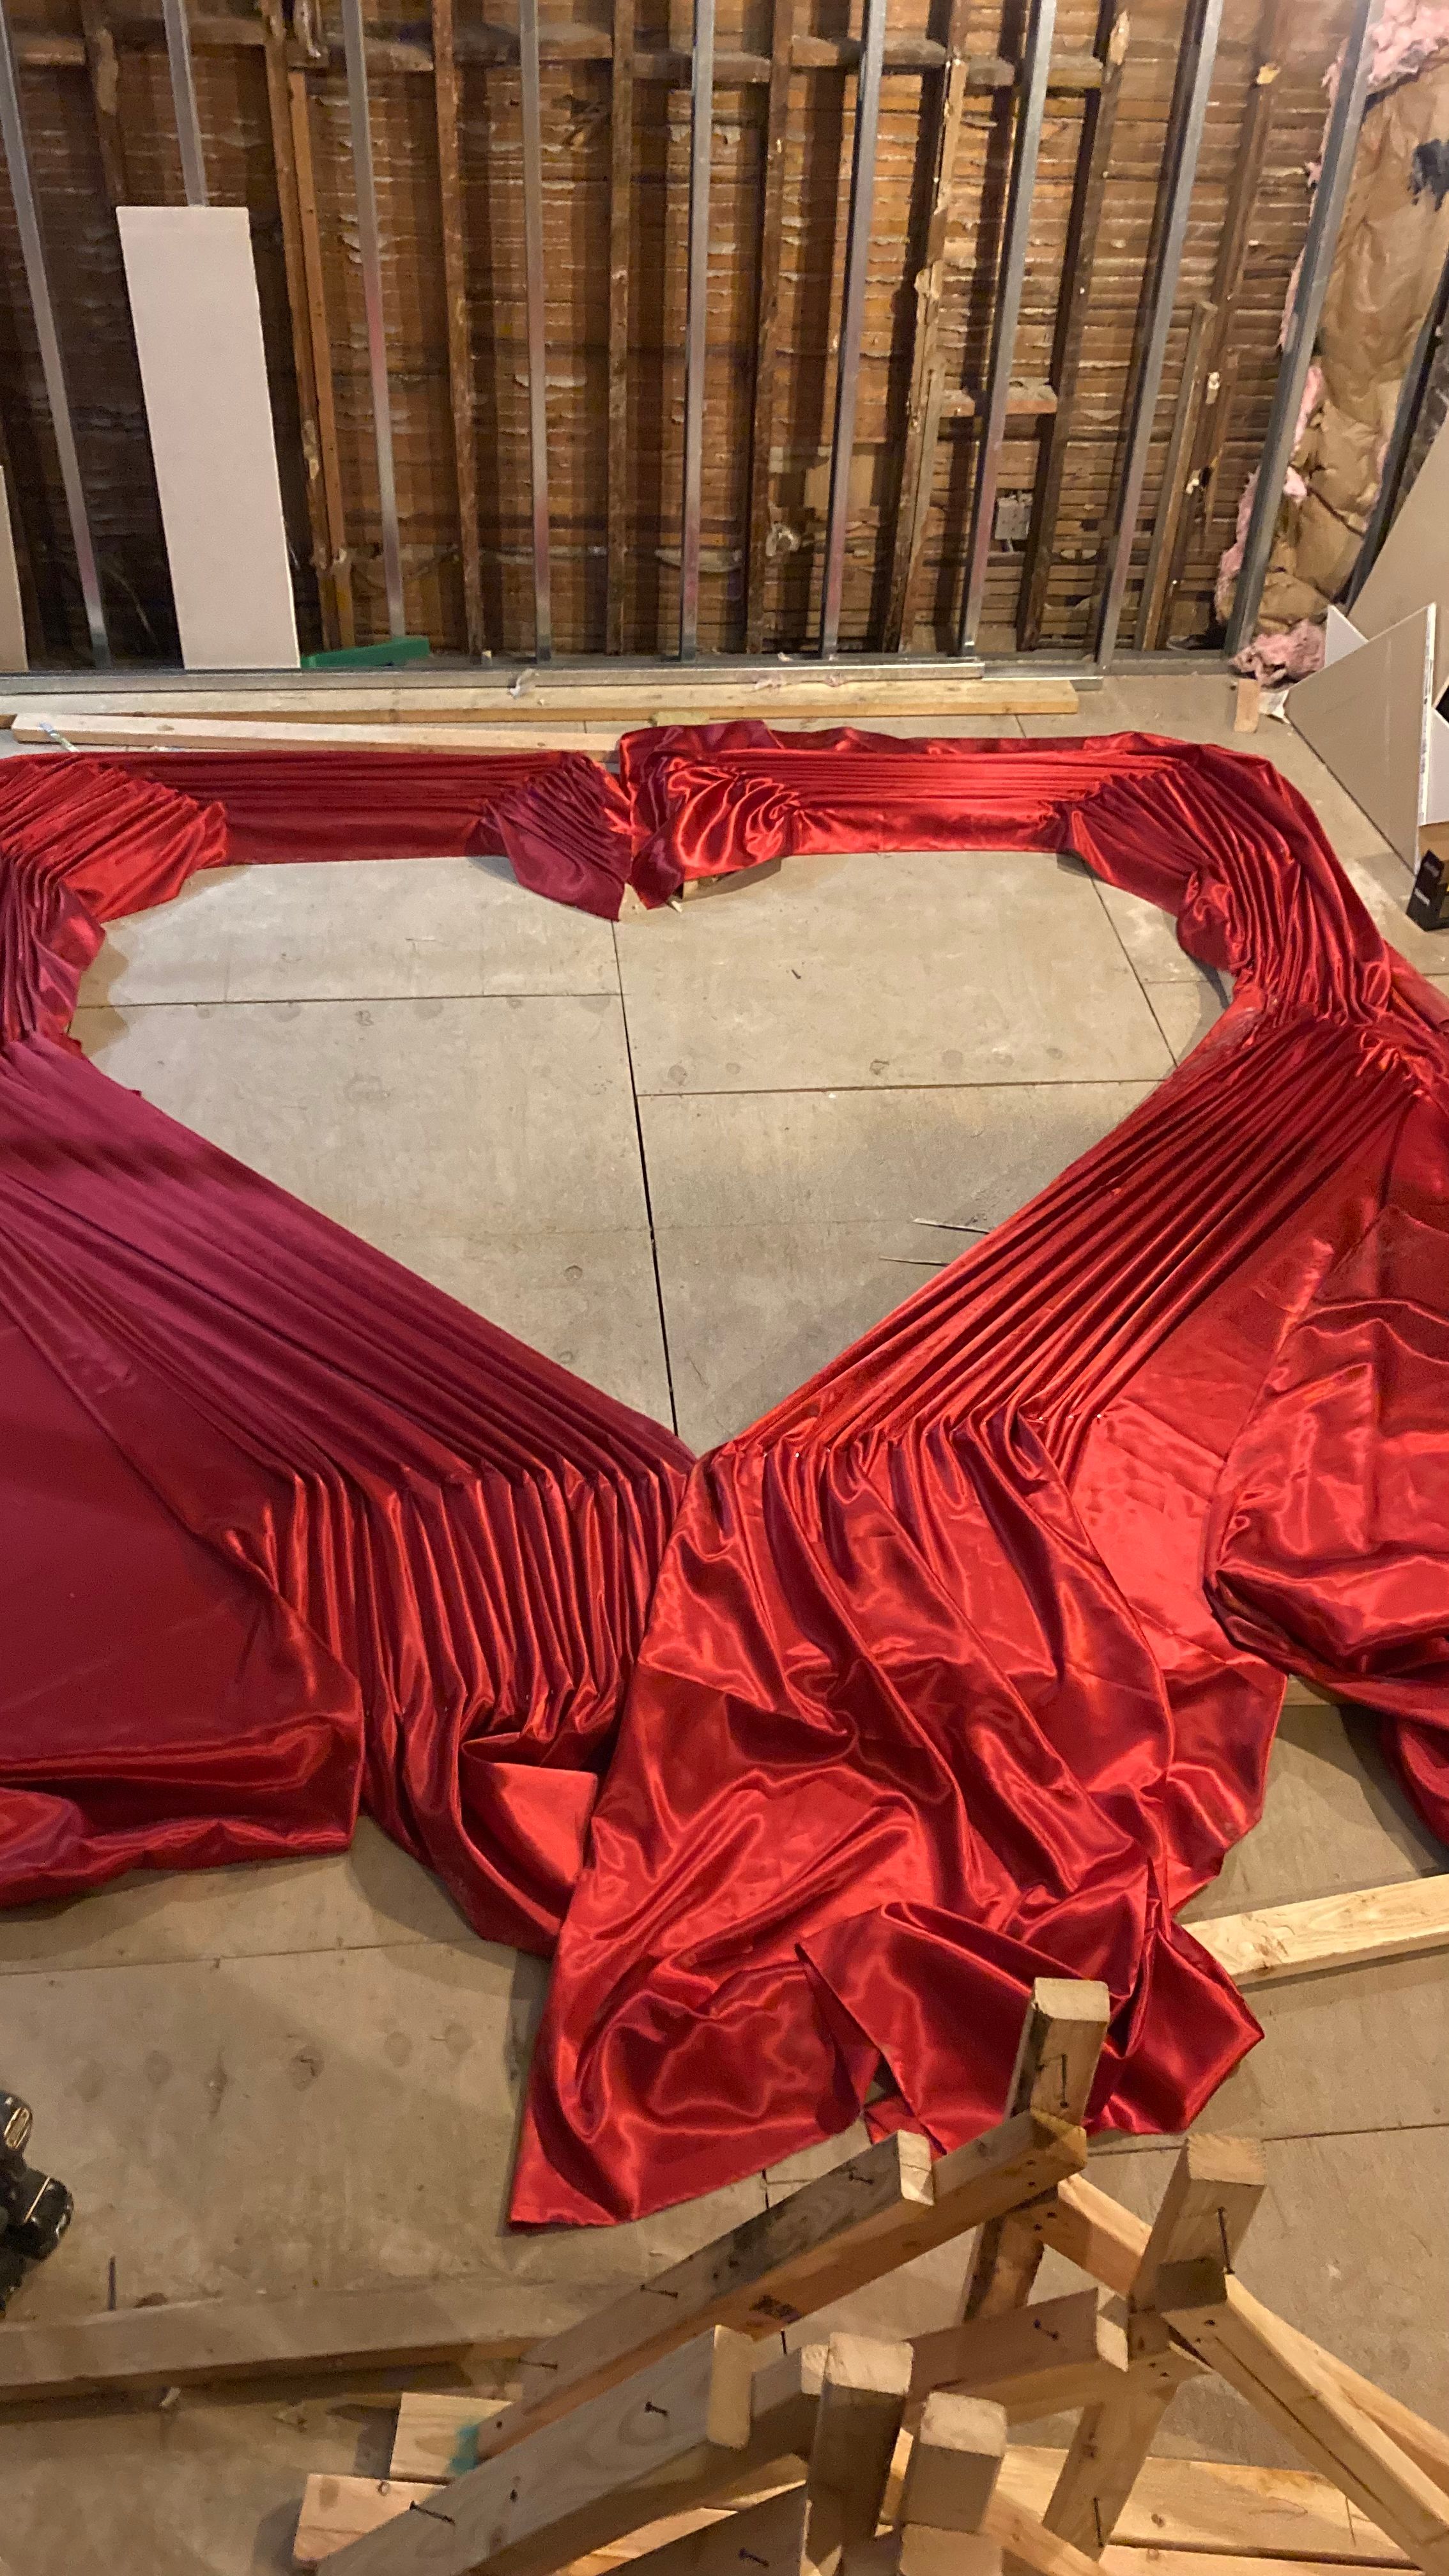
I went to my local fabric shop. I needed two types of fabric: one that will be nailed on the sheetrock and one that will be thrown on a step. The sheet rock fabric needed to be a) shiny and b) hard enough to maintain large folds. As luck would have it, yet again, the owner of the shop was a photographer with experience building sets so he knew exactly what I needed. I wish I remembered what exactly was the fabric, but one side was shinier that the other. We used the shiny side for the red layer while the non-shiny for the white layer.
Sheetrock
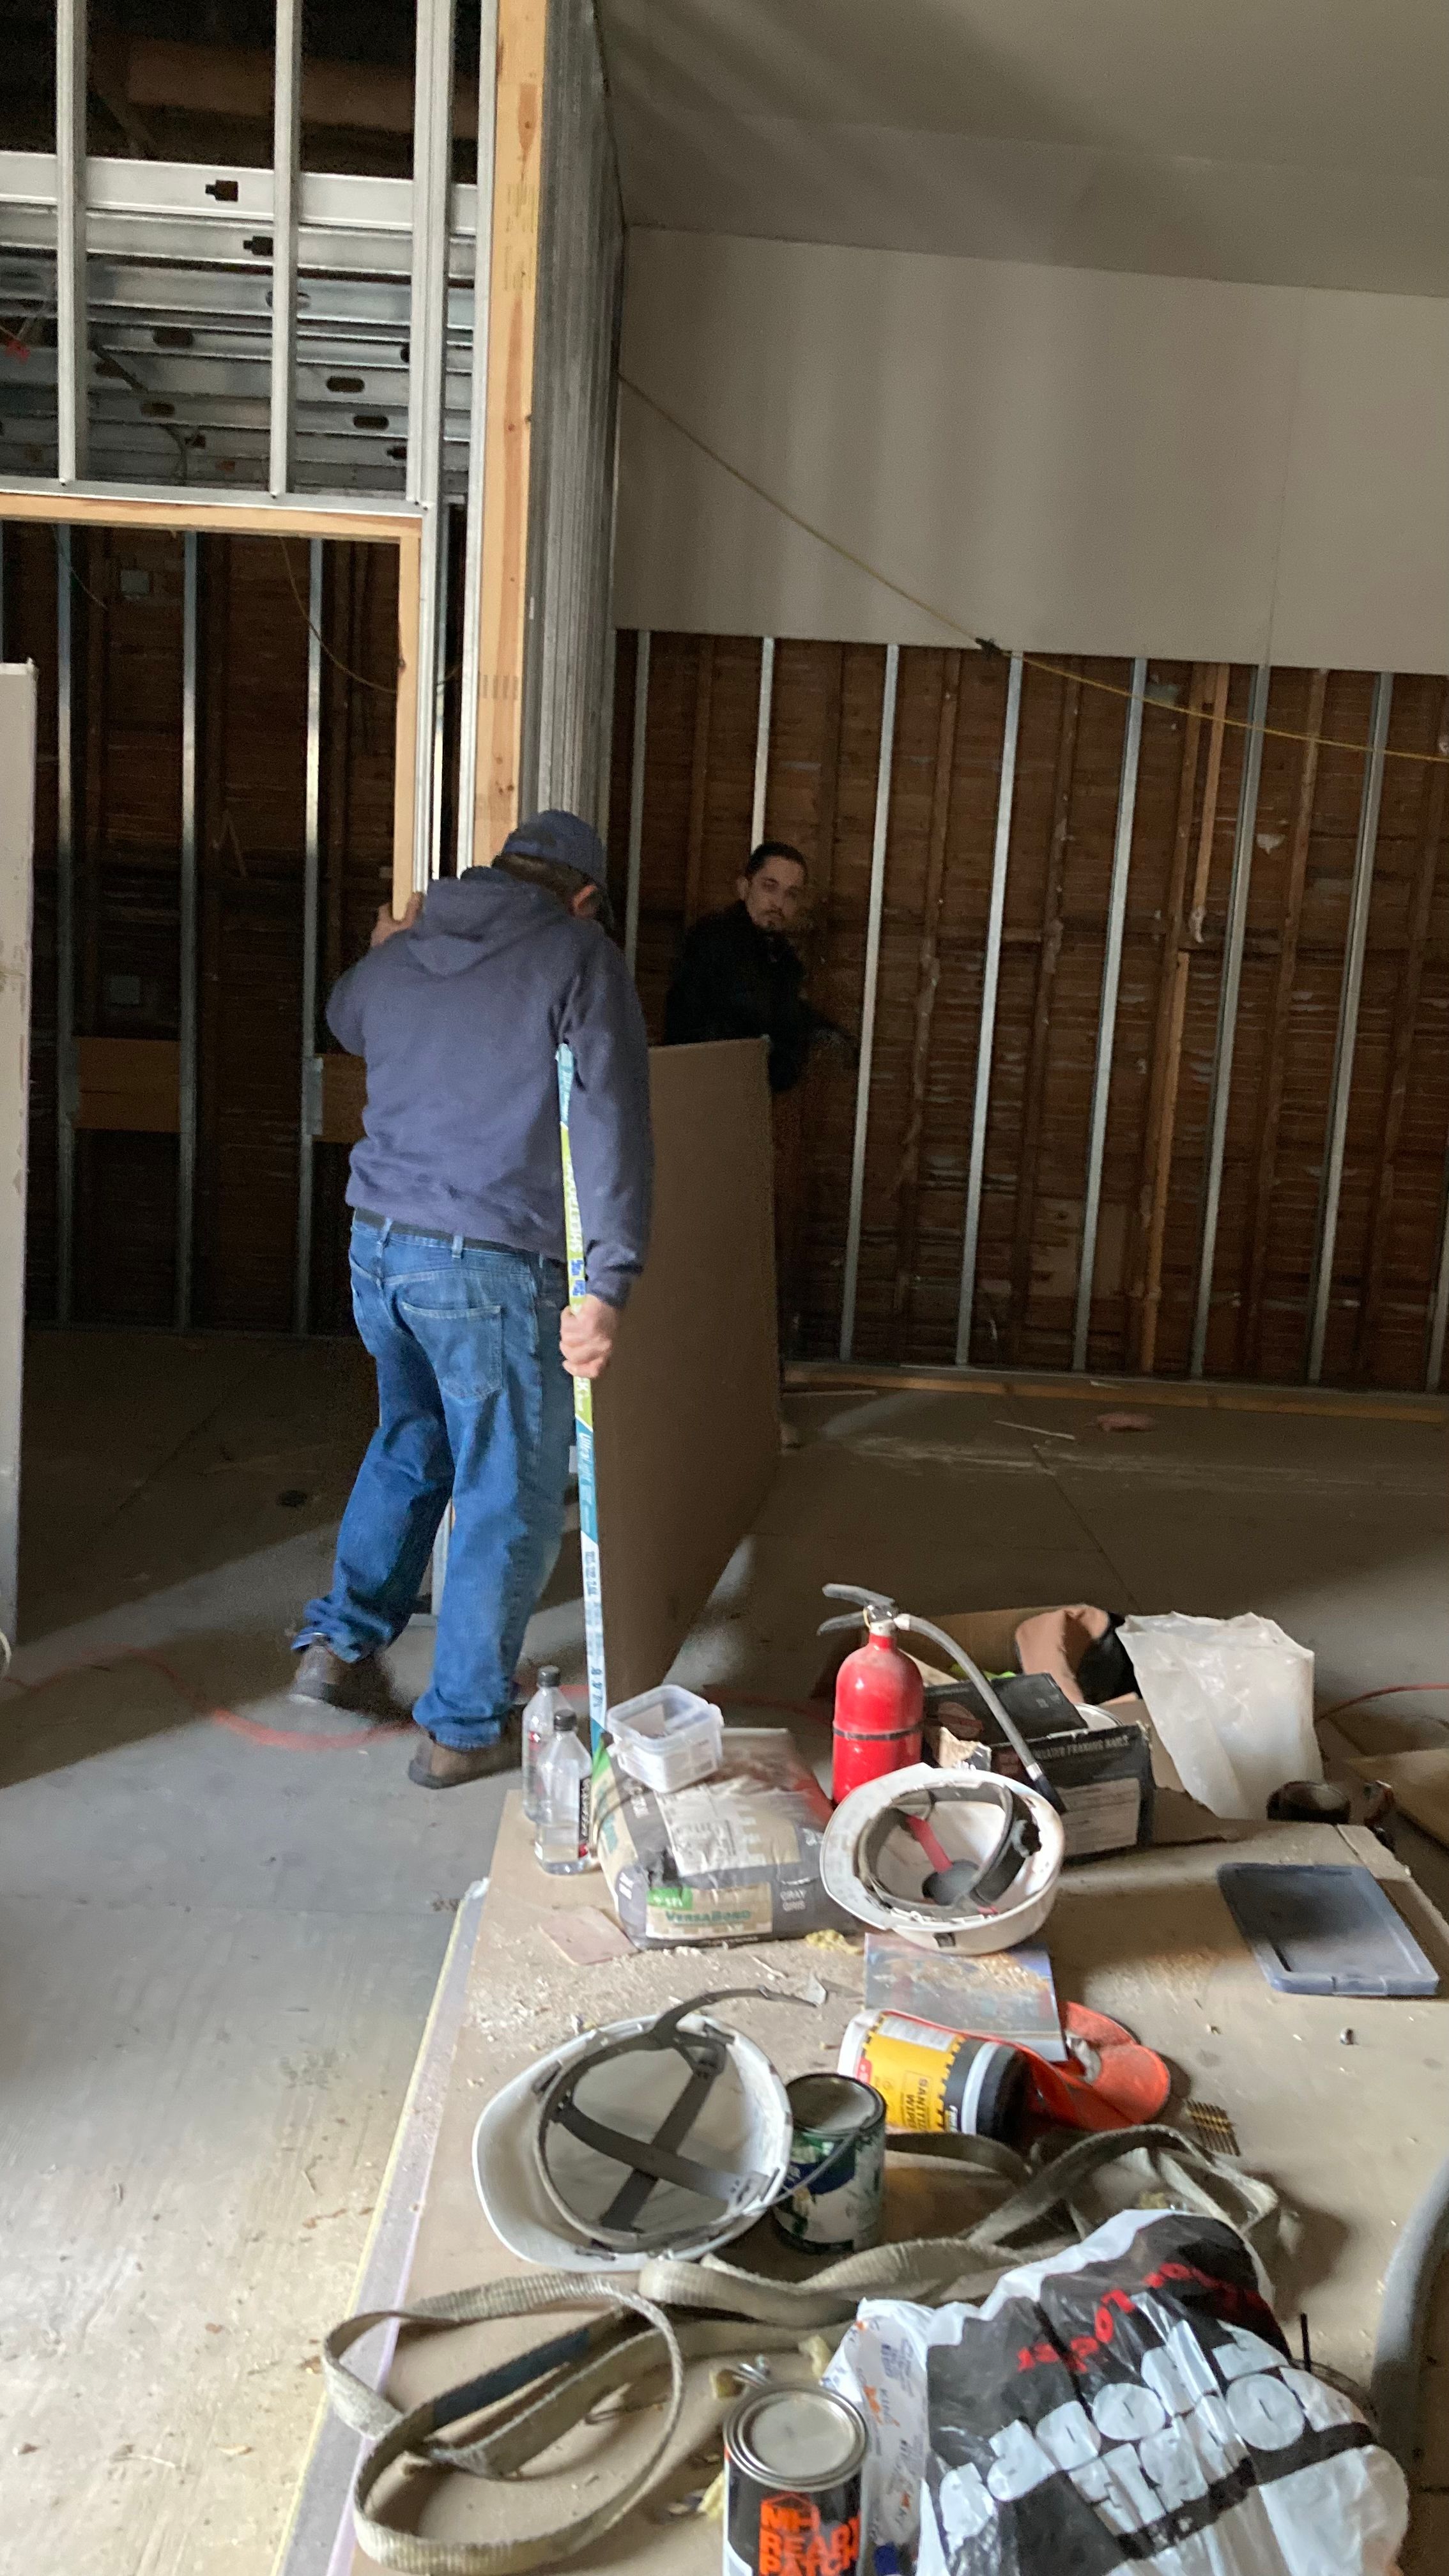
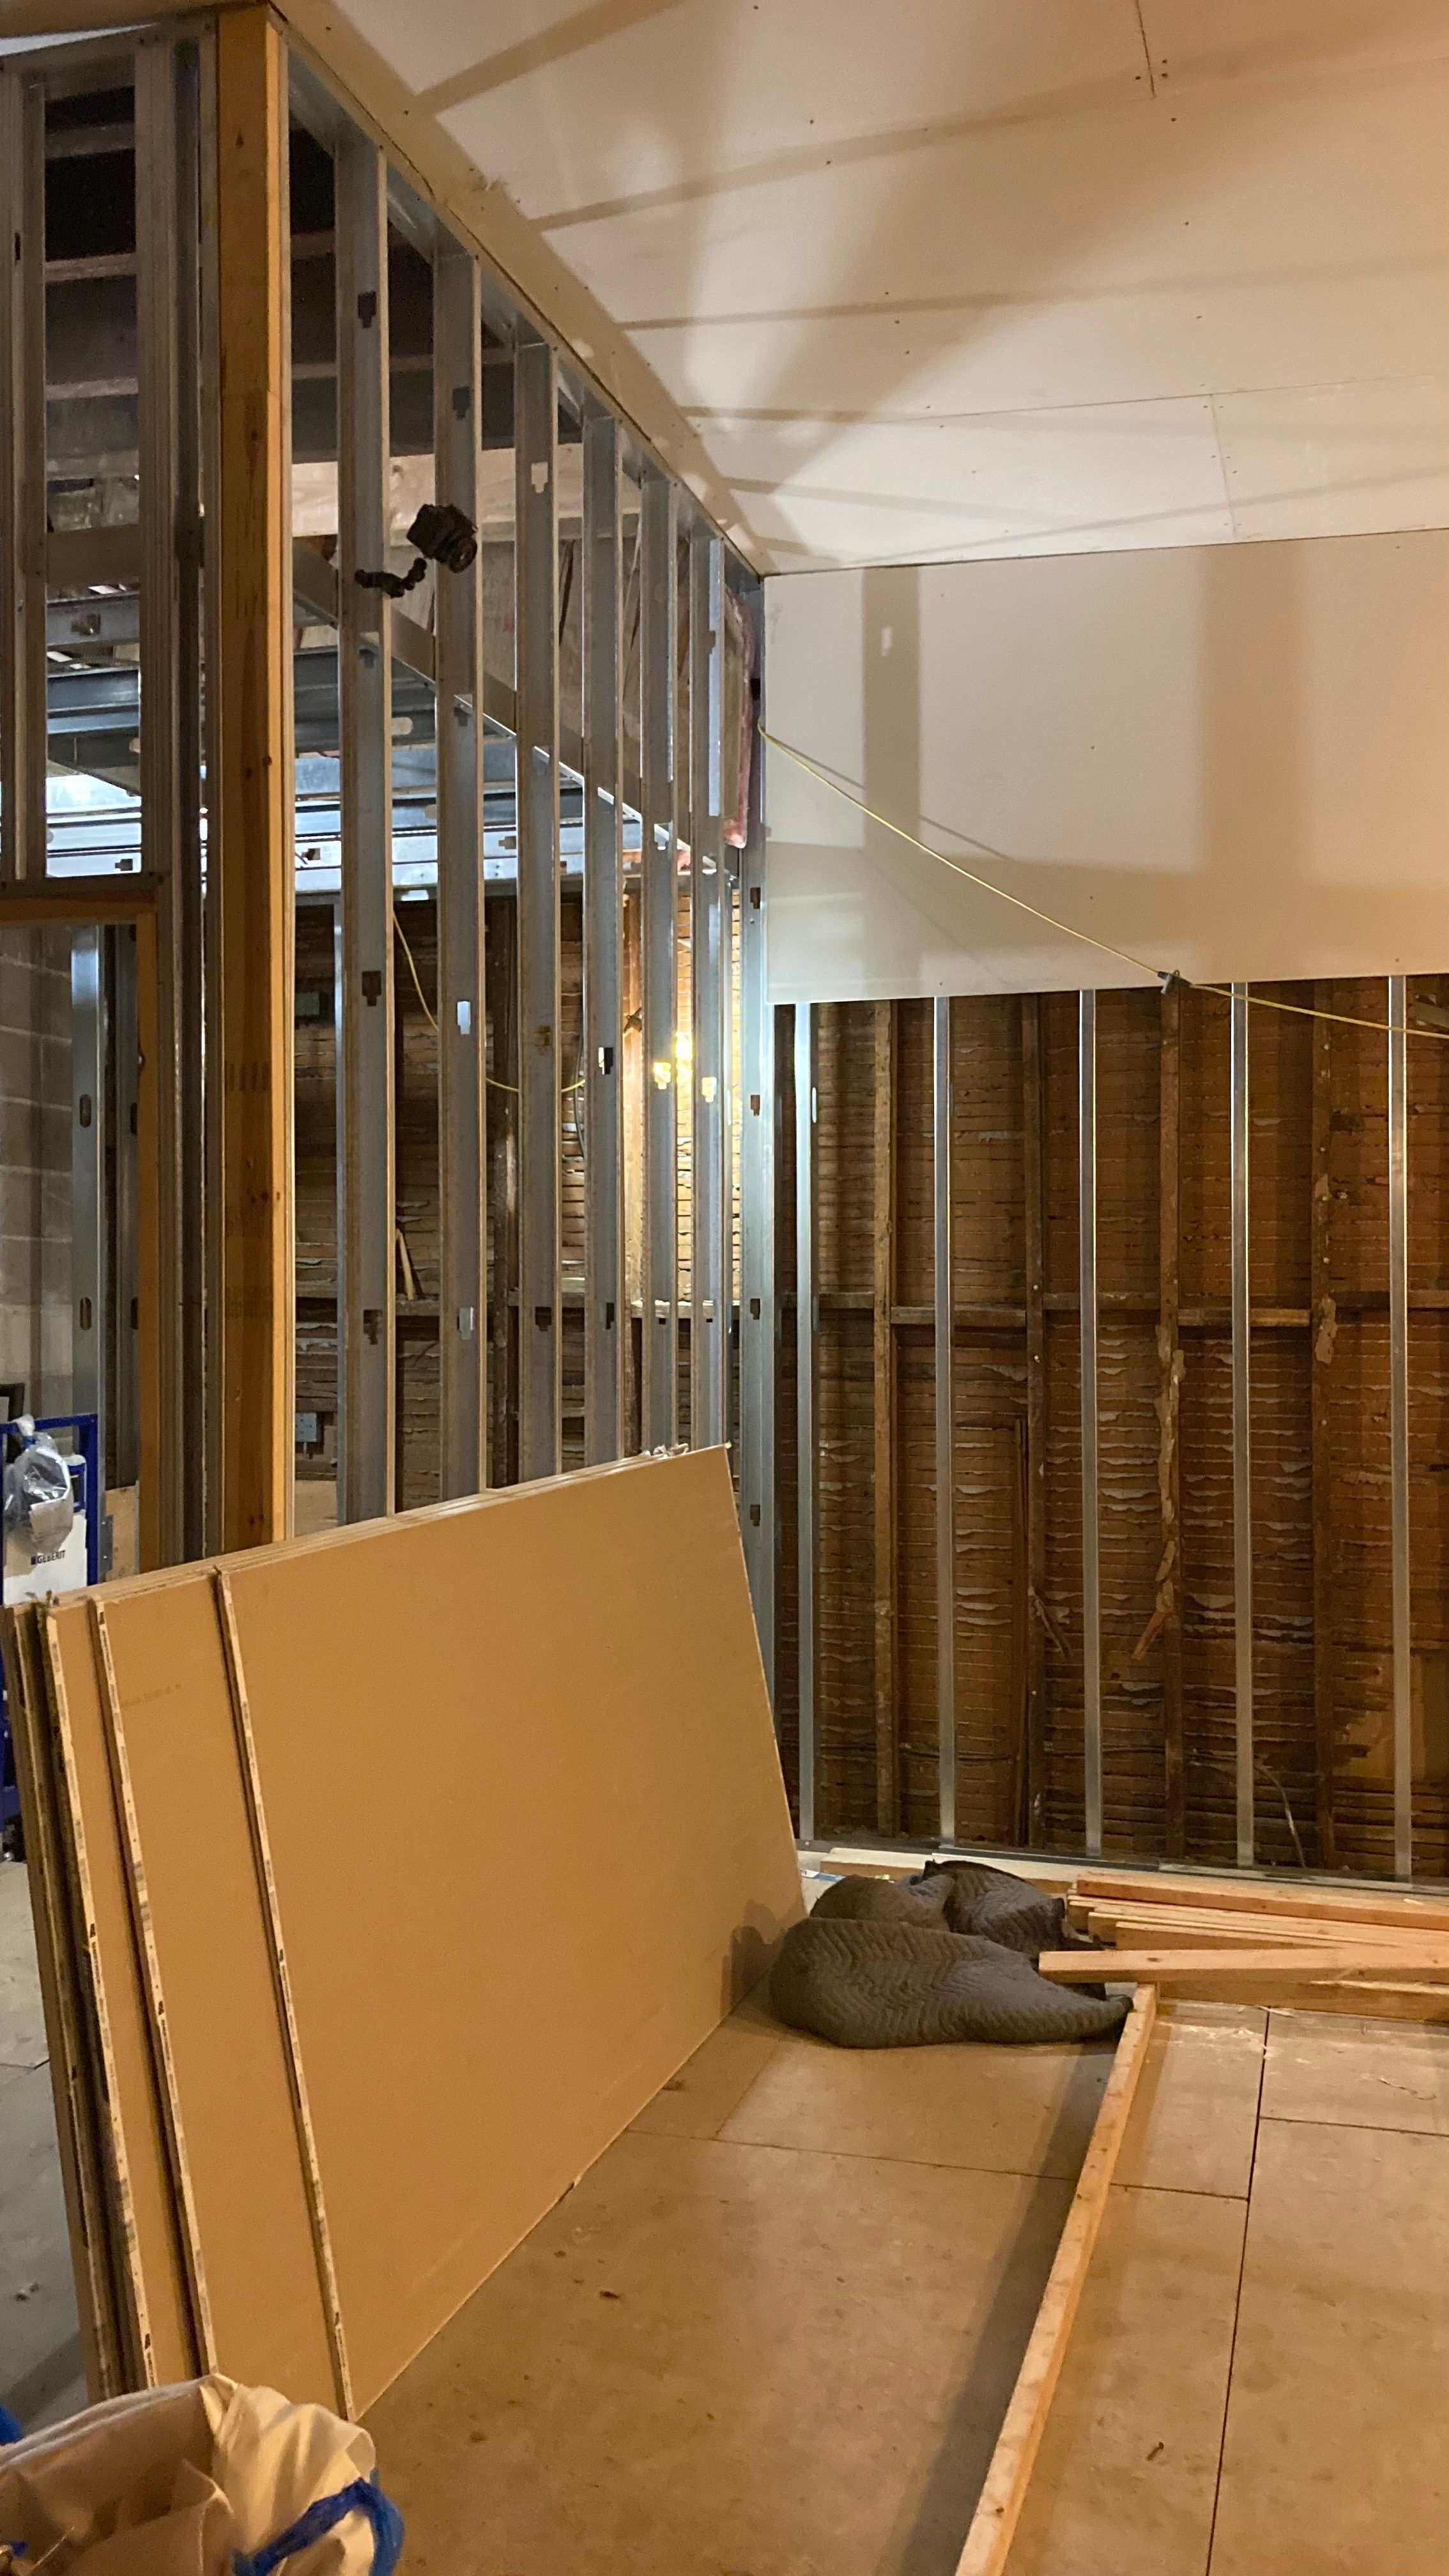
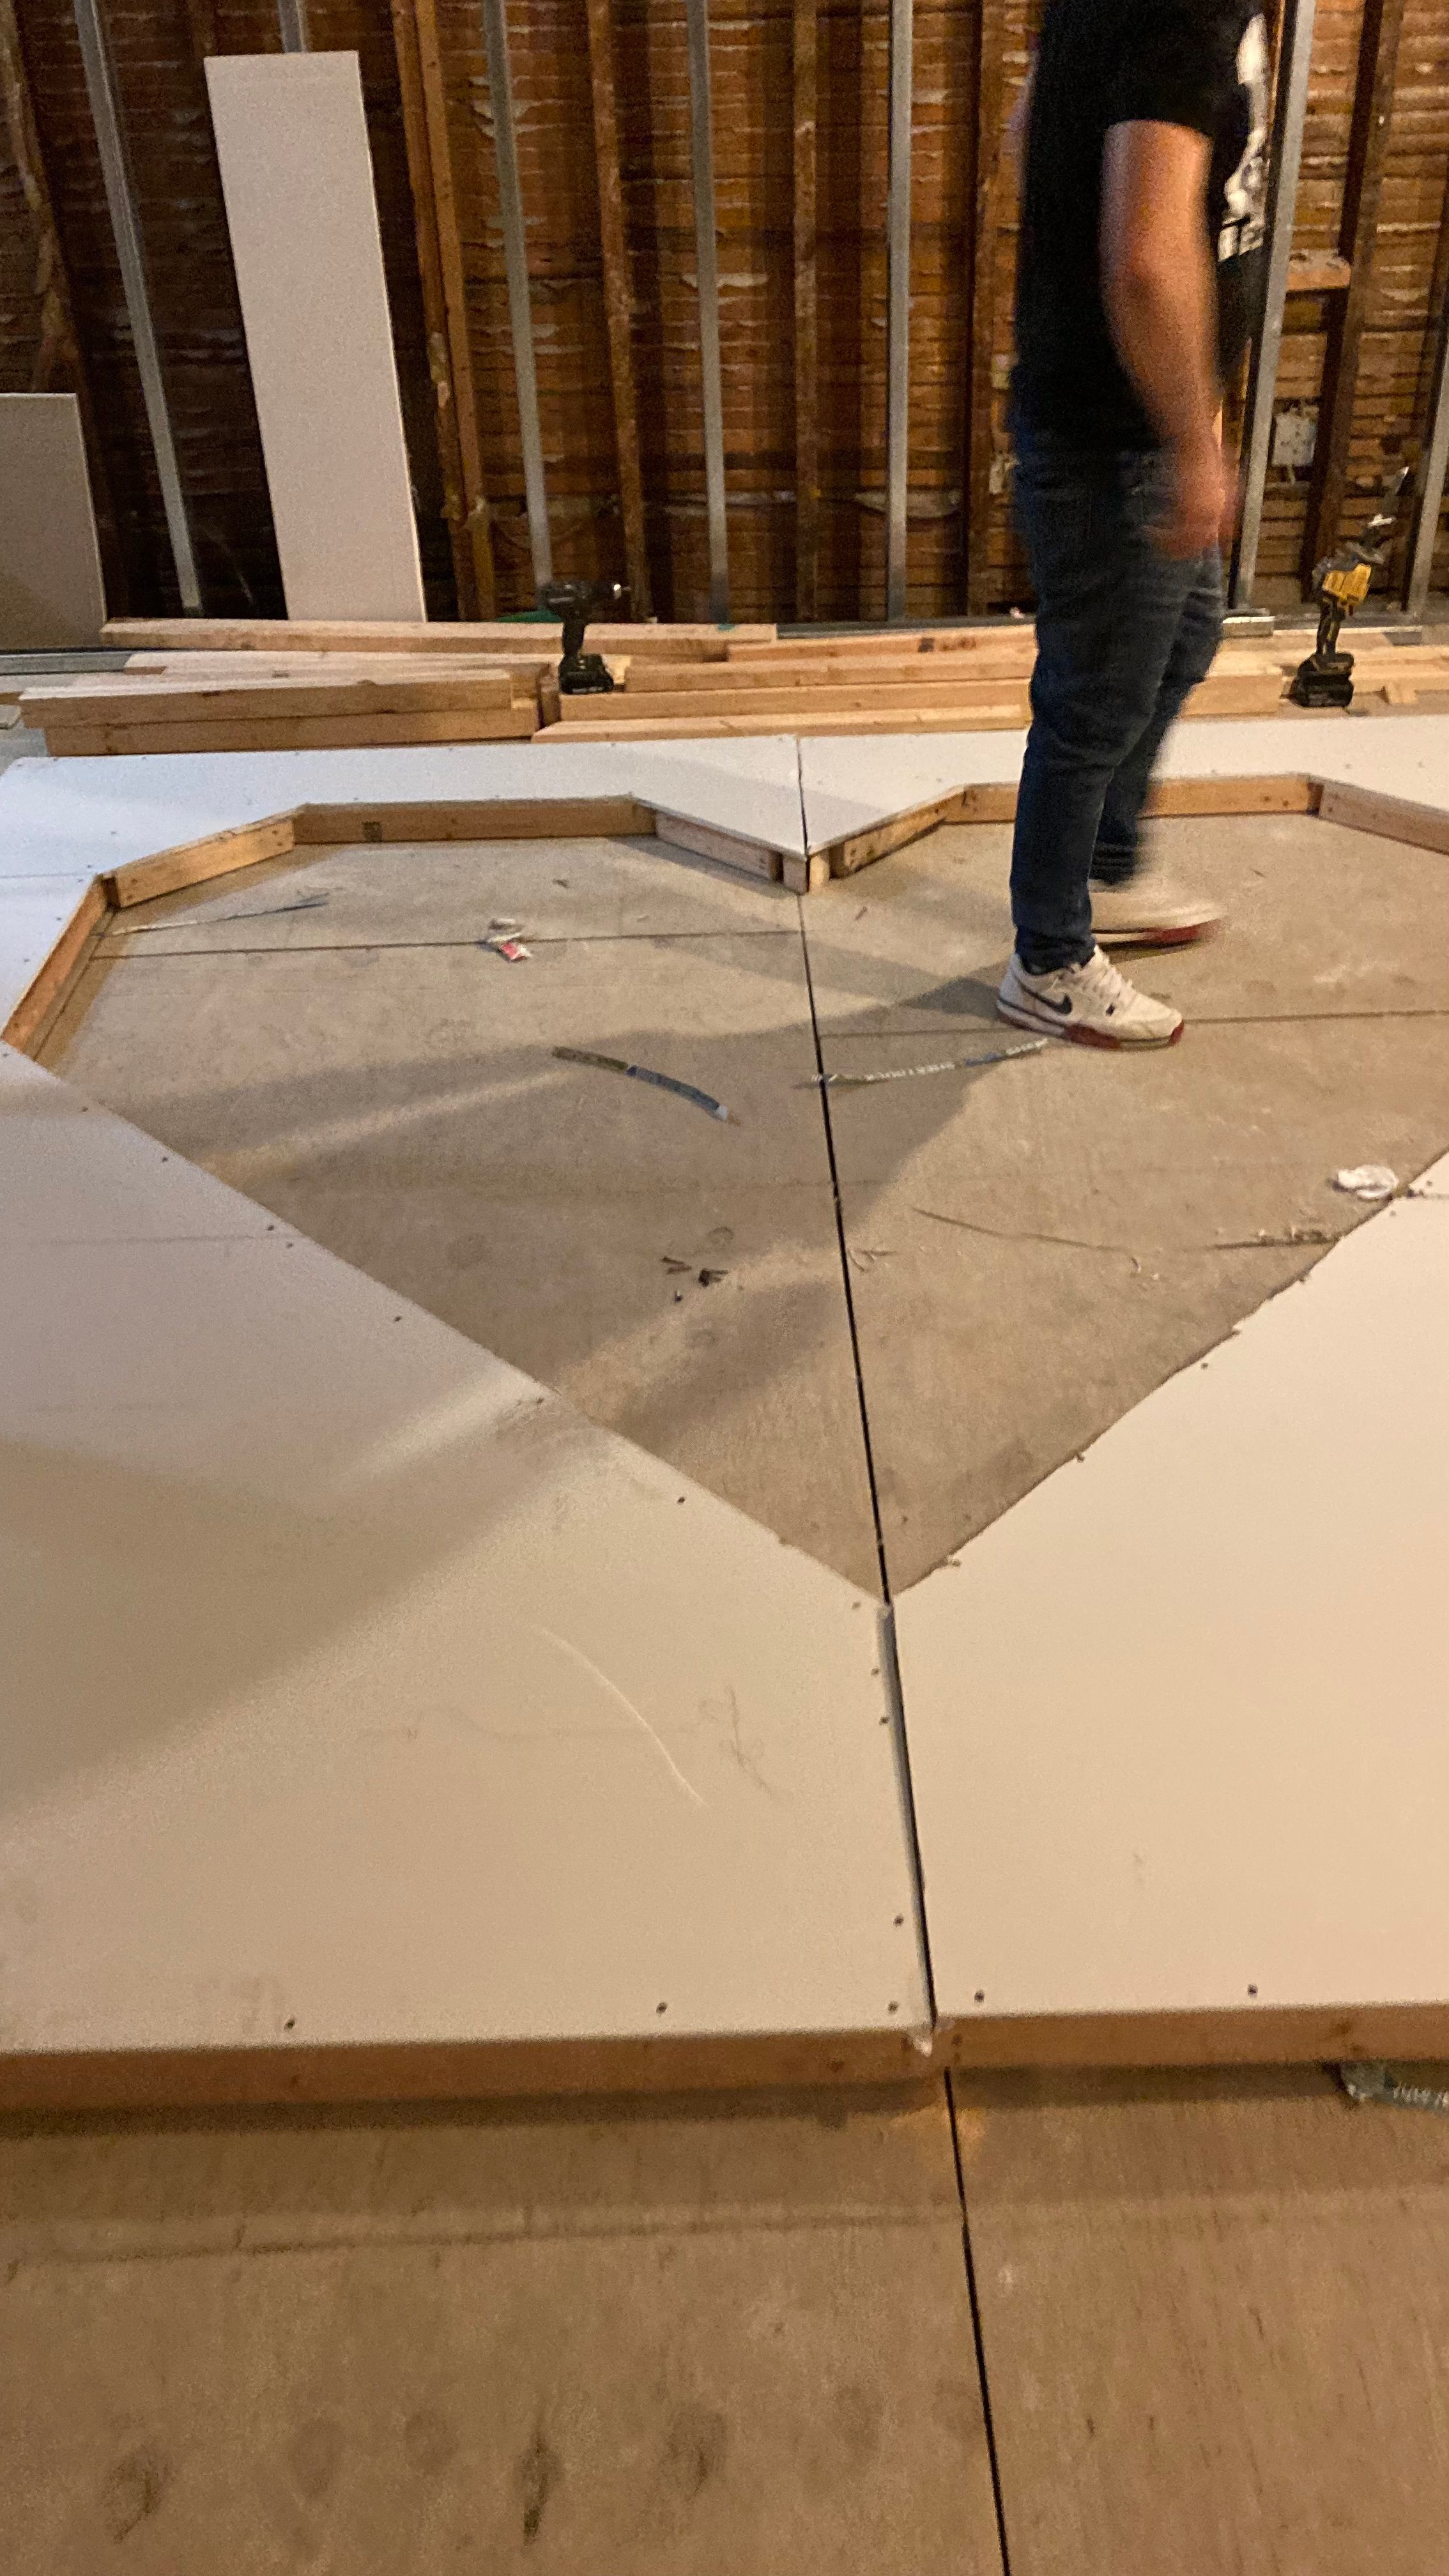
I love sheet rock. It is extremely easy to shape it into whatever you need. It's also very light. 7 half inch 4x8 sheetrock, a bunch of 2x3s, and a few 2x4s was all we needed.
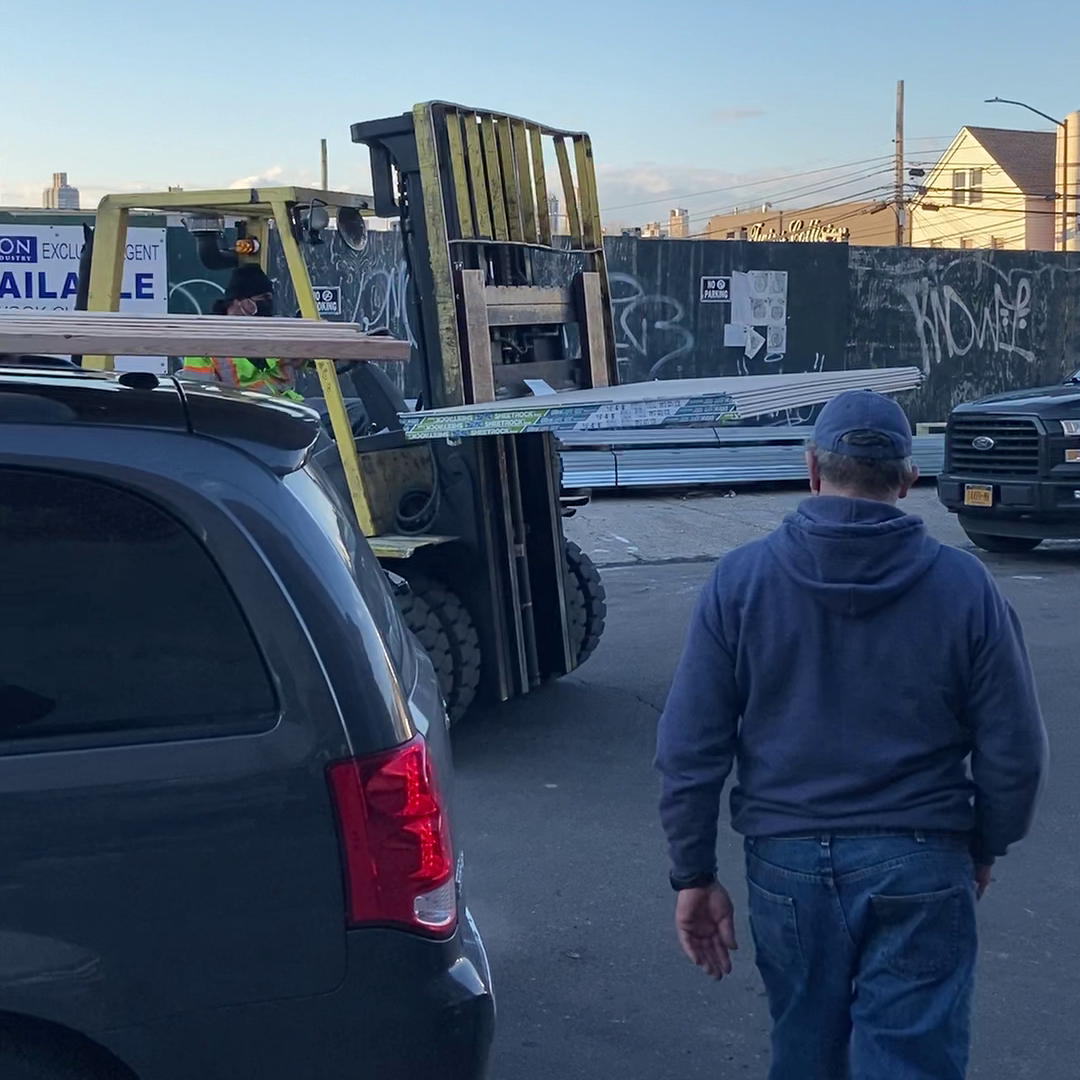
The set took us 3 afternoons to build. I believe it was a total of about 15 hours. The saddest part? It only took 30 minutes to break down the entire set and throw it away :(
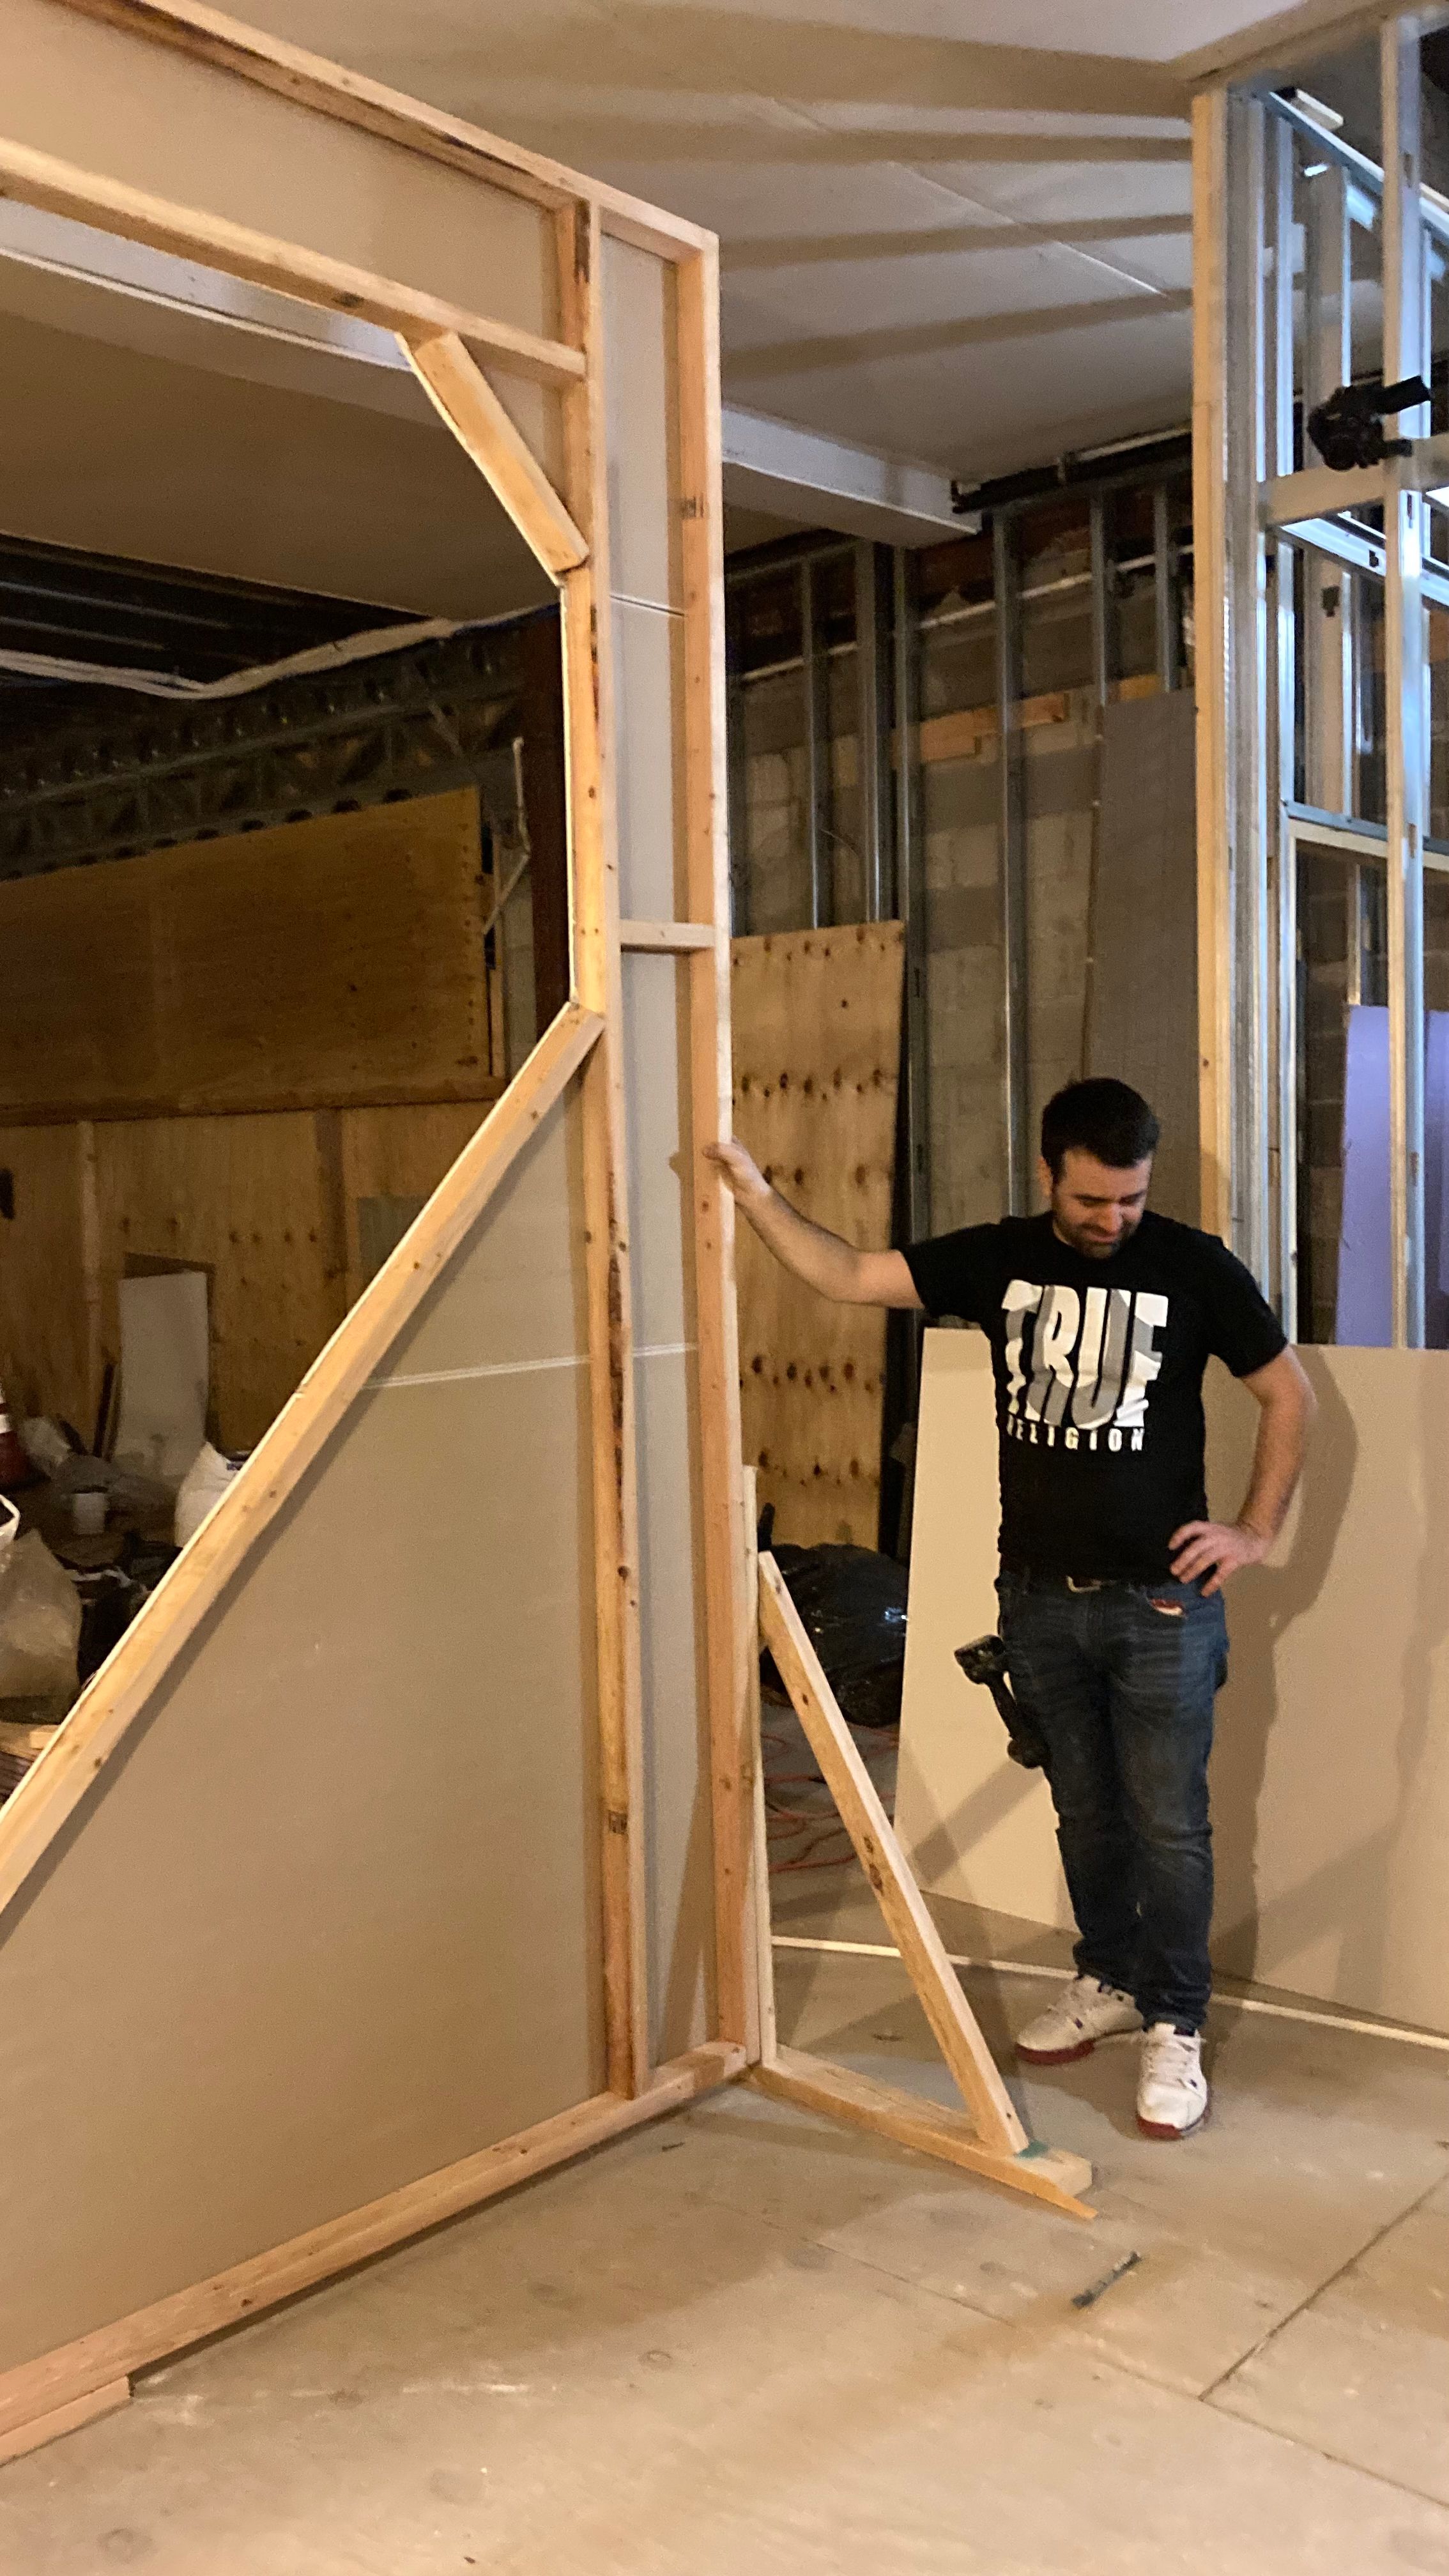
We built the set in a separate large area with the idea that some assembly would be required at the studio on the day of the shoot. We split each layer into two halves that we would screw together at the center and we also built supports that would be screwed on the sides to keep it up right. As mentioned, I love working with sheetrock, so this part was a blast. Can't say the same when it came time to add the fabric.
Shaping the red fabric to form the heart was the most difficult part. It took me a while to realize that the fabric was not stretchy, so each half had to be split into two pieces. Each half also needed additional pieces for the two bottom corners, so all in all we had 6 large pieces of fabric to staple on the sheetrock. Initially we spent a lot of time trying to keep the number of folds consistent throughout the entire length of the shape but it was impossible. I doubt it even matters though.
Eventually we got it, and so we placed them to the side and waited for the day of the shoot. Which was the next day.

THE SHOOT
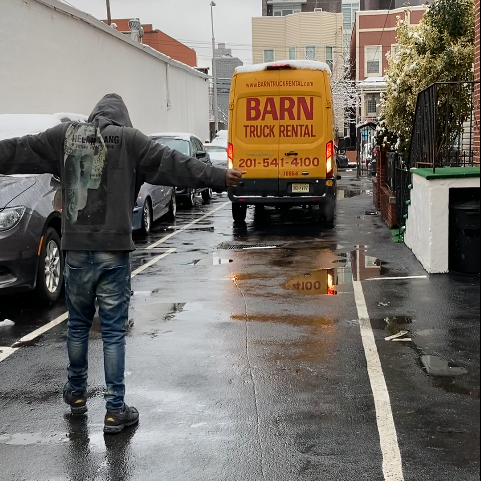
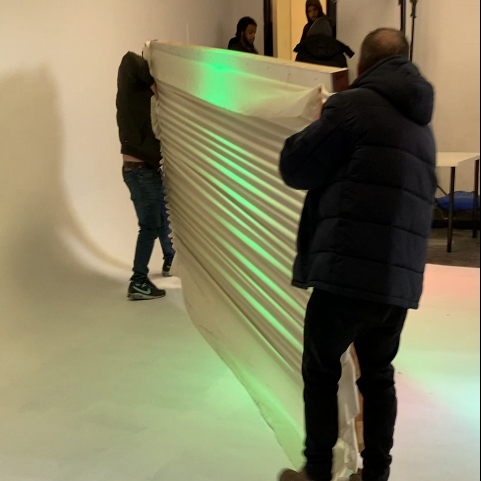
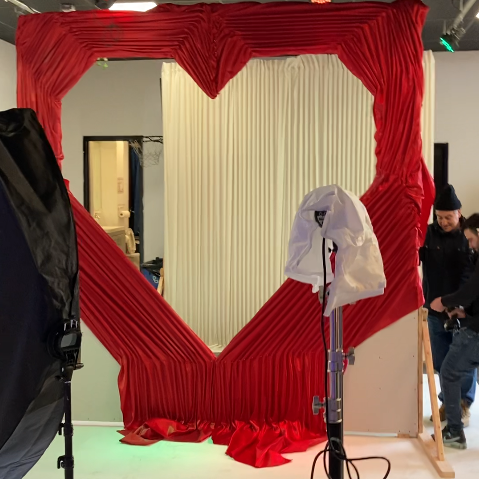
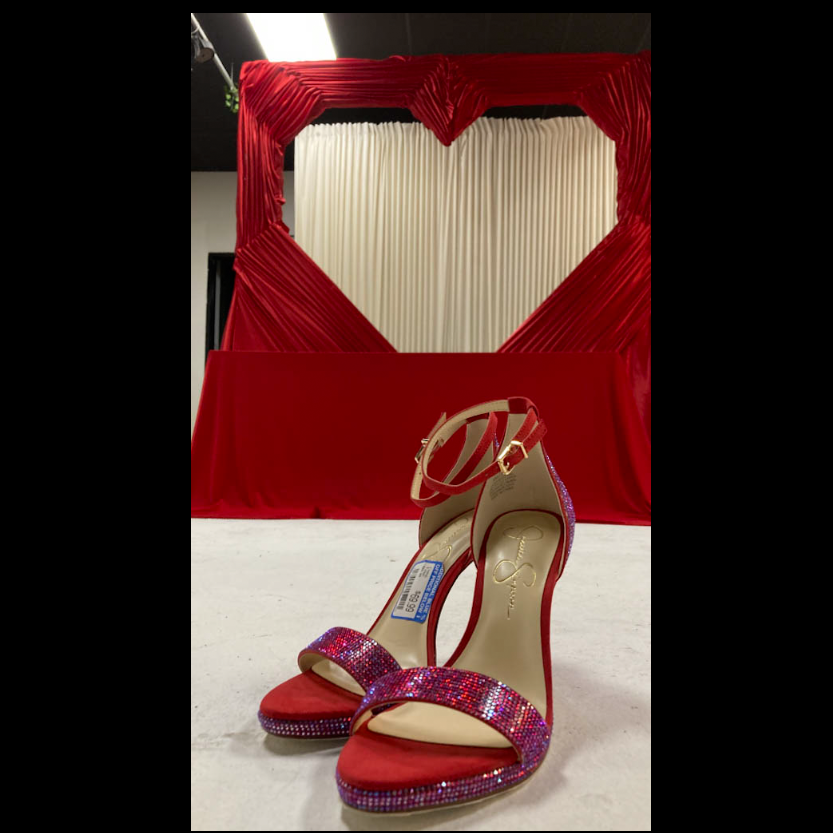
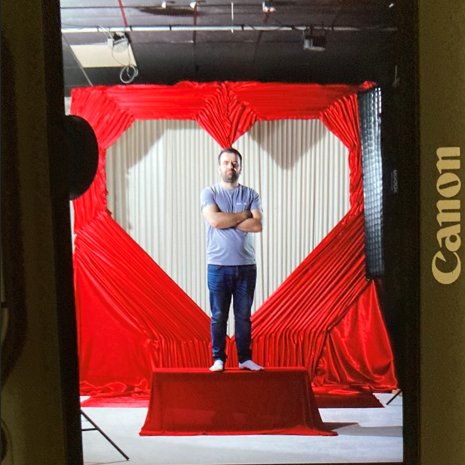

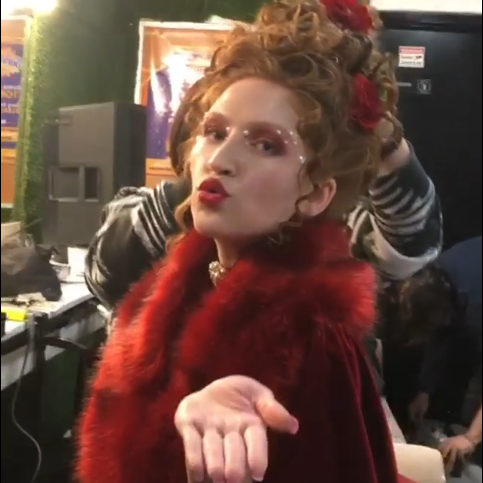
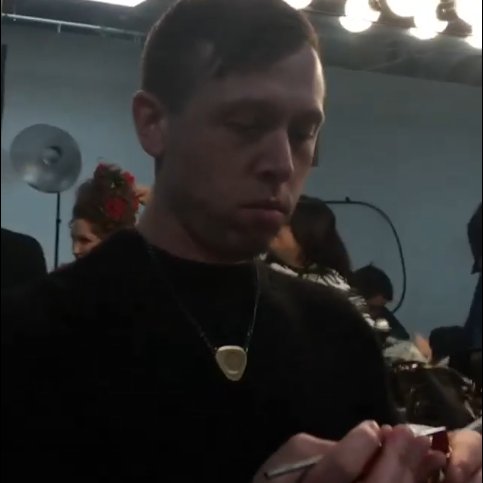
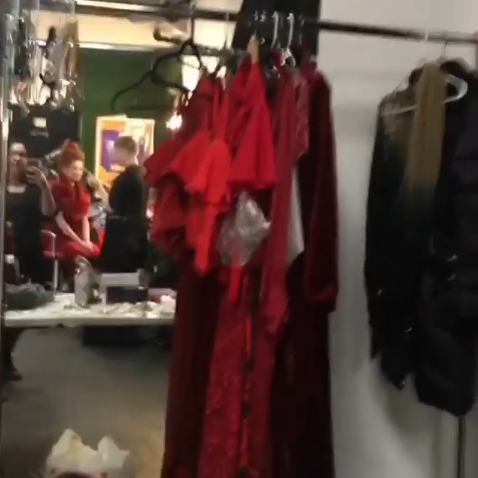
The day of the shoot was hectic, to put it lightly. I knew from experience that a 4 hour shoot in a studio means at least 7 hours of work for me. And I was still off. The shoot was scheduled for 1PM-5PM. Let's see how it went.
The background set team met at 11AM to get ready to transfer the structure. It took us a while to actually find and rent a truck, but thankfully at about 1:15PM we where at the studio. Not bad. The crew was coming in on time and I remember wanting to split myself into two so I can be at both places at once. Alas, by 1:30PM the entire crew was there prepping. The set team built the background in about 15-20 minutes while makeup and hair began doing their magic. For the next two hours I was between setting up my lights, doing test shots, and coordinating with wardrobe, hair, and makeup.
At 4PM we were finally ready... to shoot the first look. Luckily the studio was kind enough to let us go for another hour, which allowed us to shoot the second look. Thankfully so because the second look was a two-thirds portrait, which is typically what I shoot. Being the first time building and shooting a set, I wasn't feeling confident, so the second look was really important.
Light setup
I ended up using 5 lights: 1 for the background, 1 for the face, 1 main light, and 2 rim lights.
Links for all my gear can be found at my Kit.co profile.
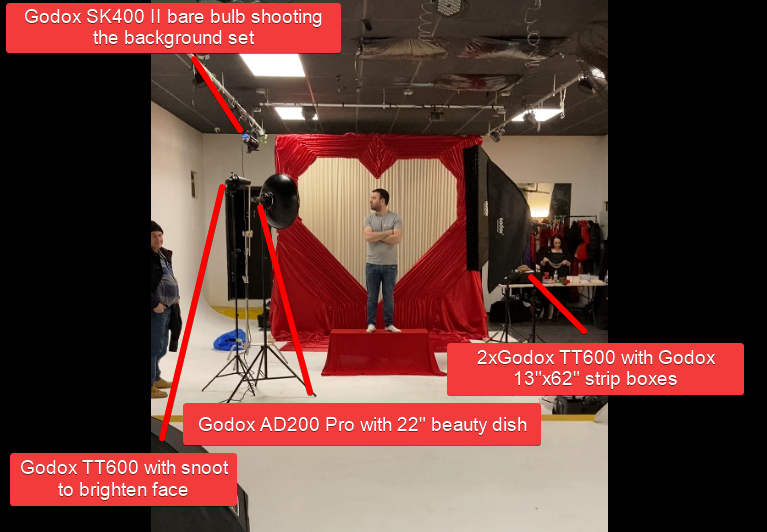
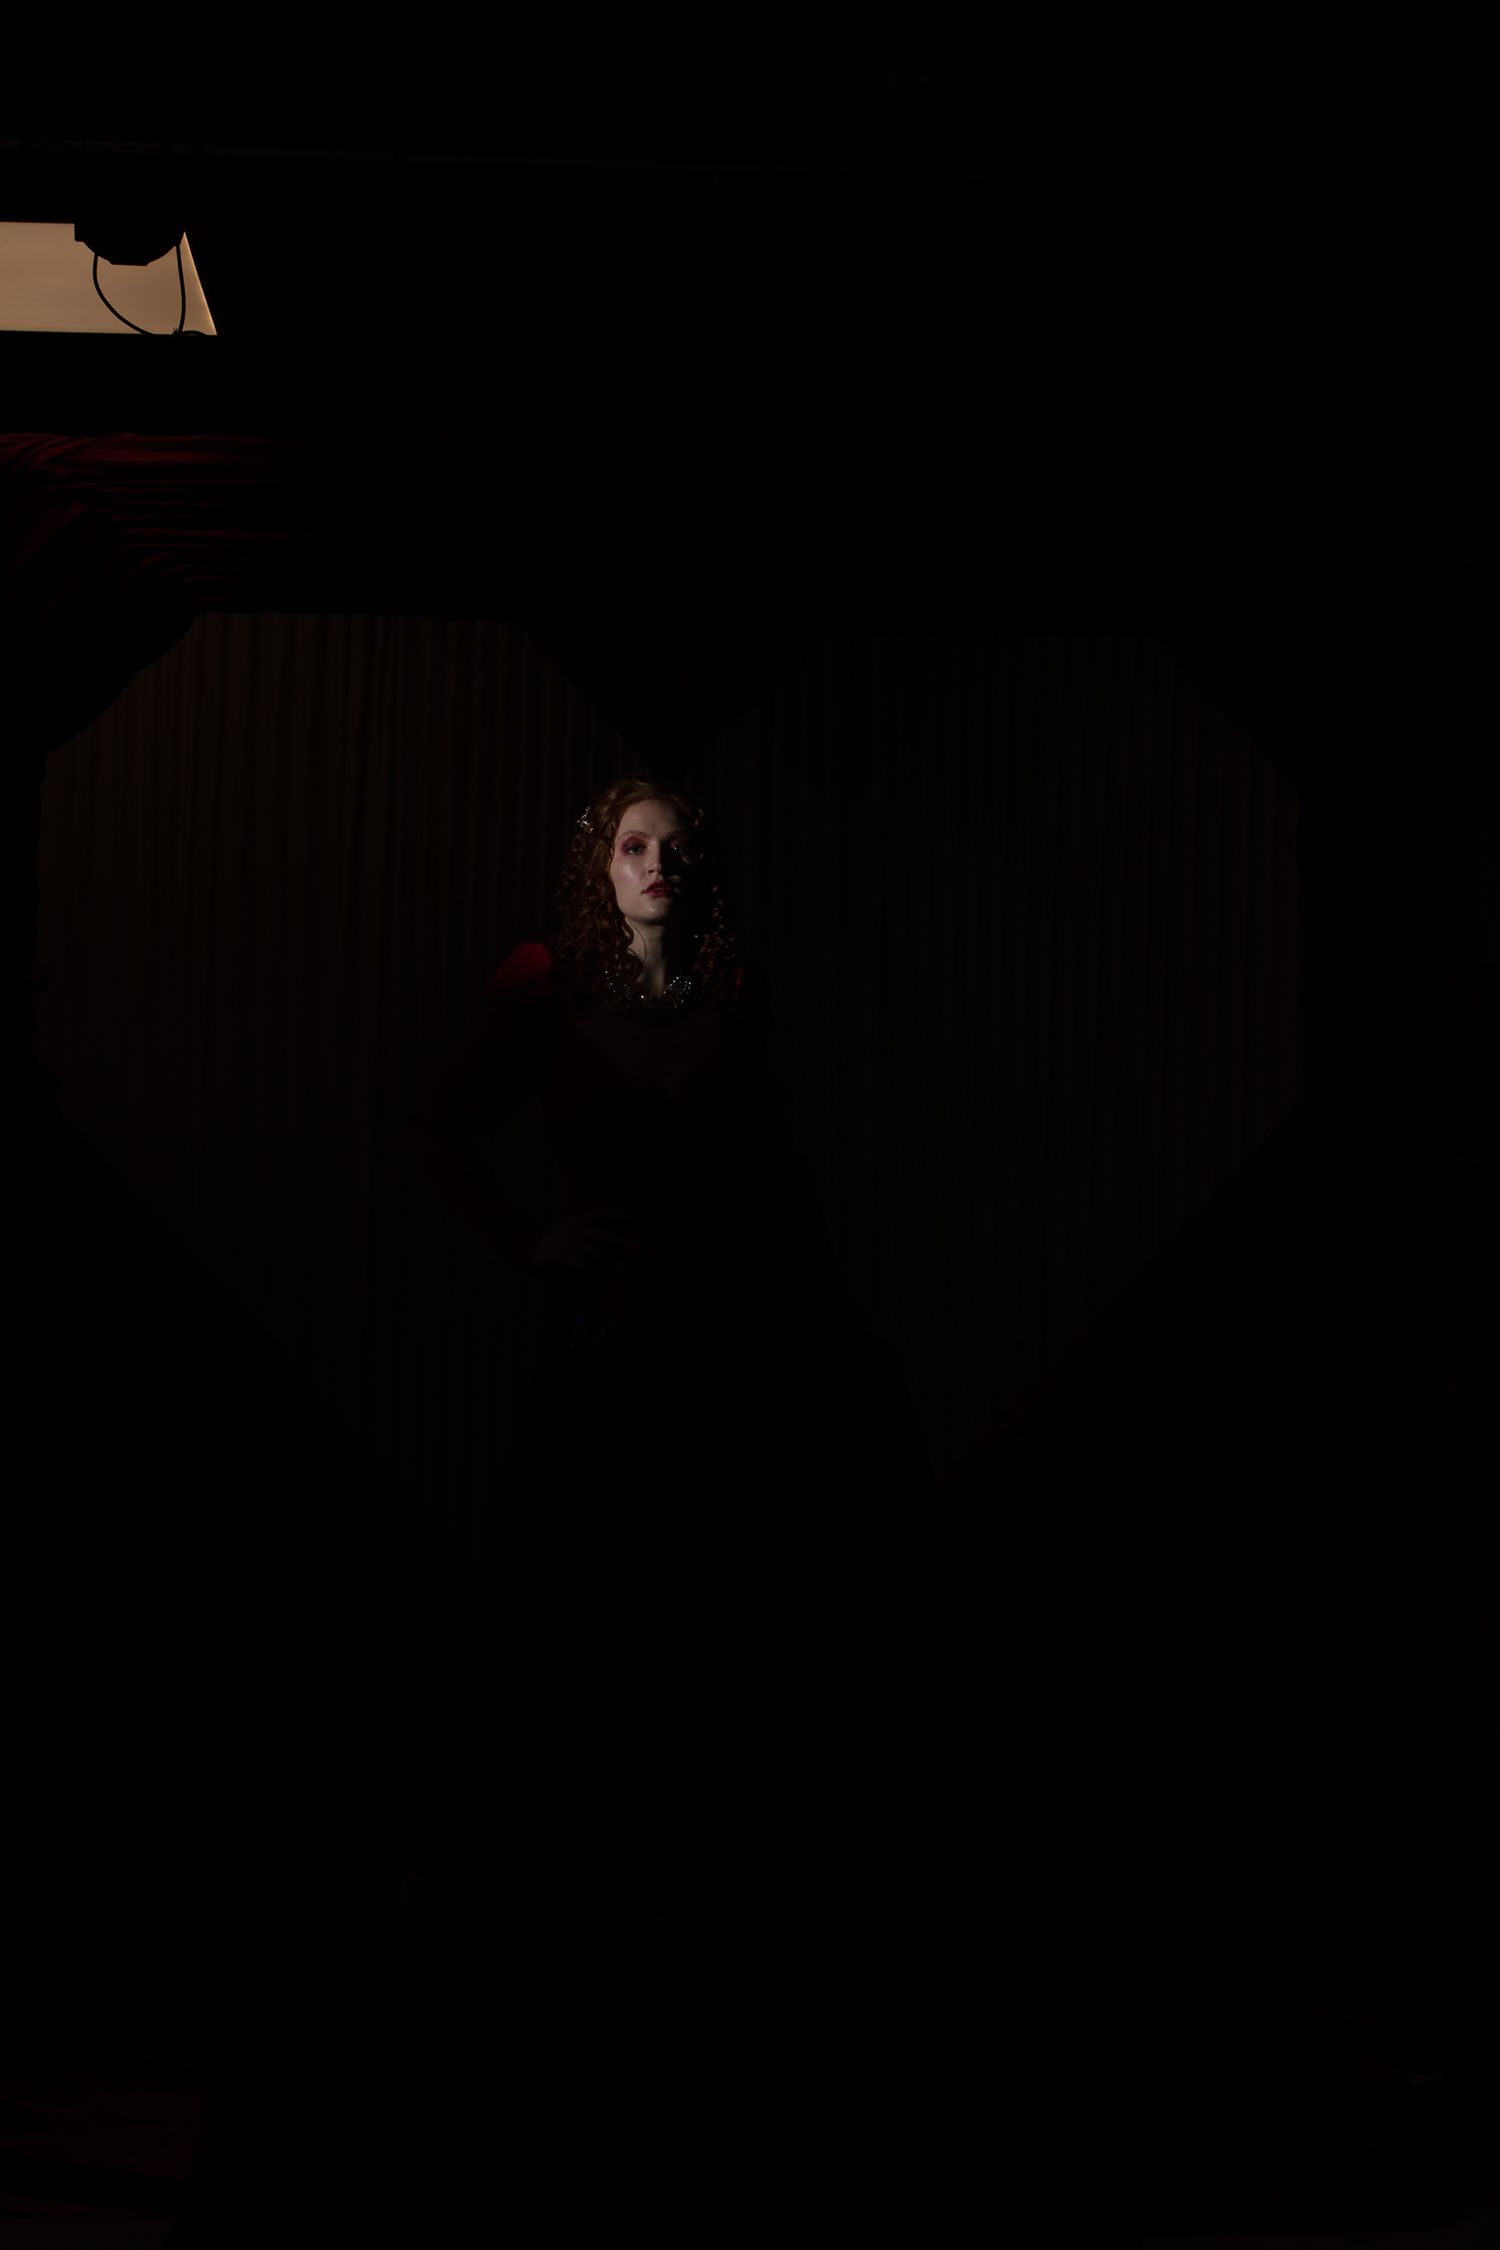
Face light
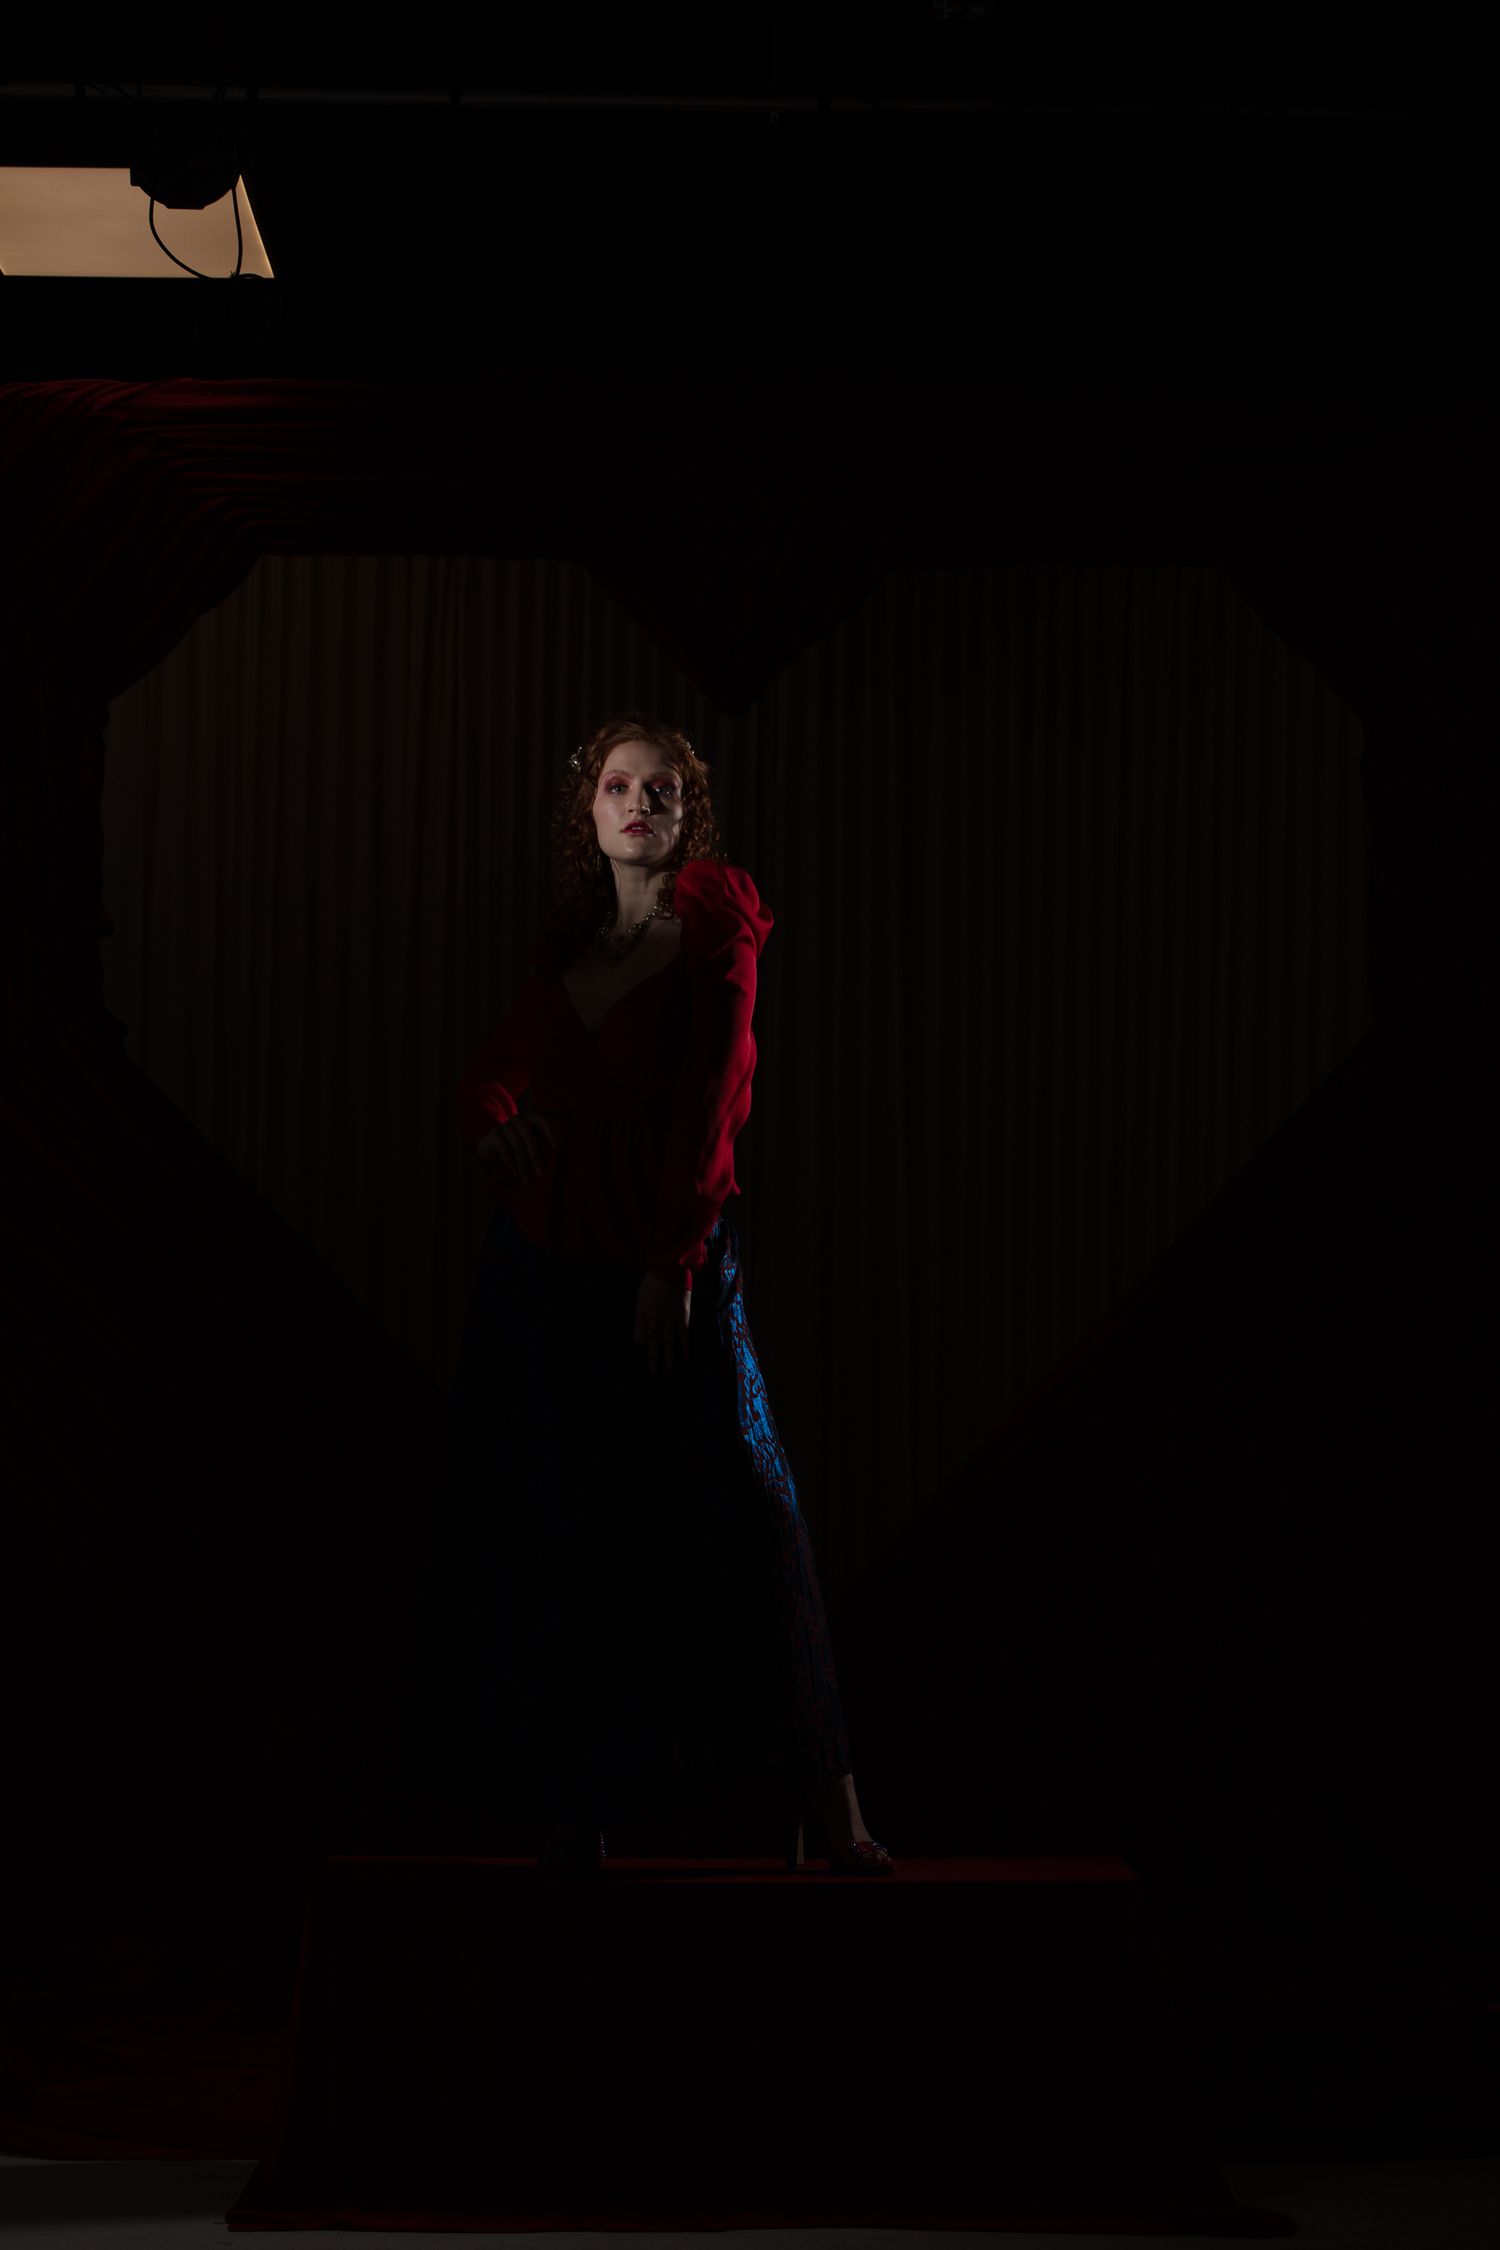
Rim light
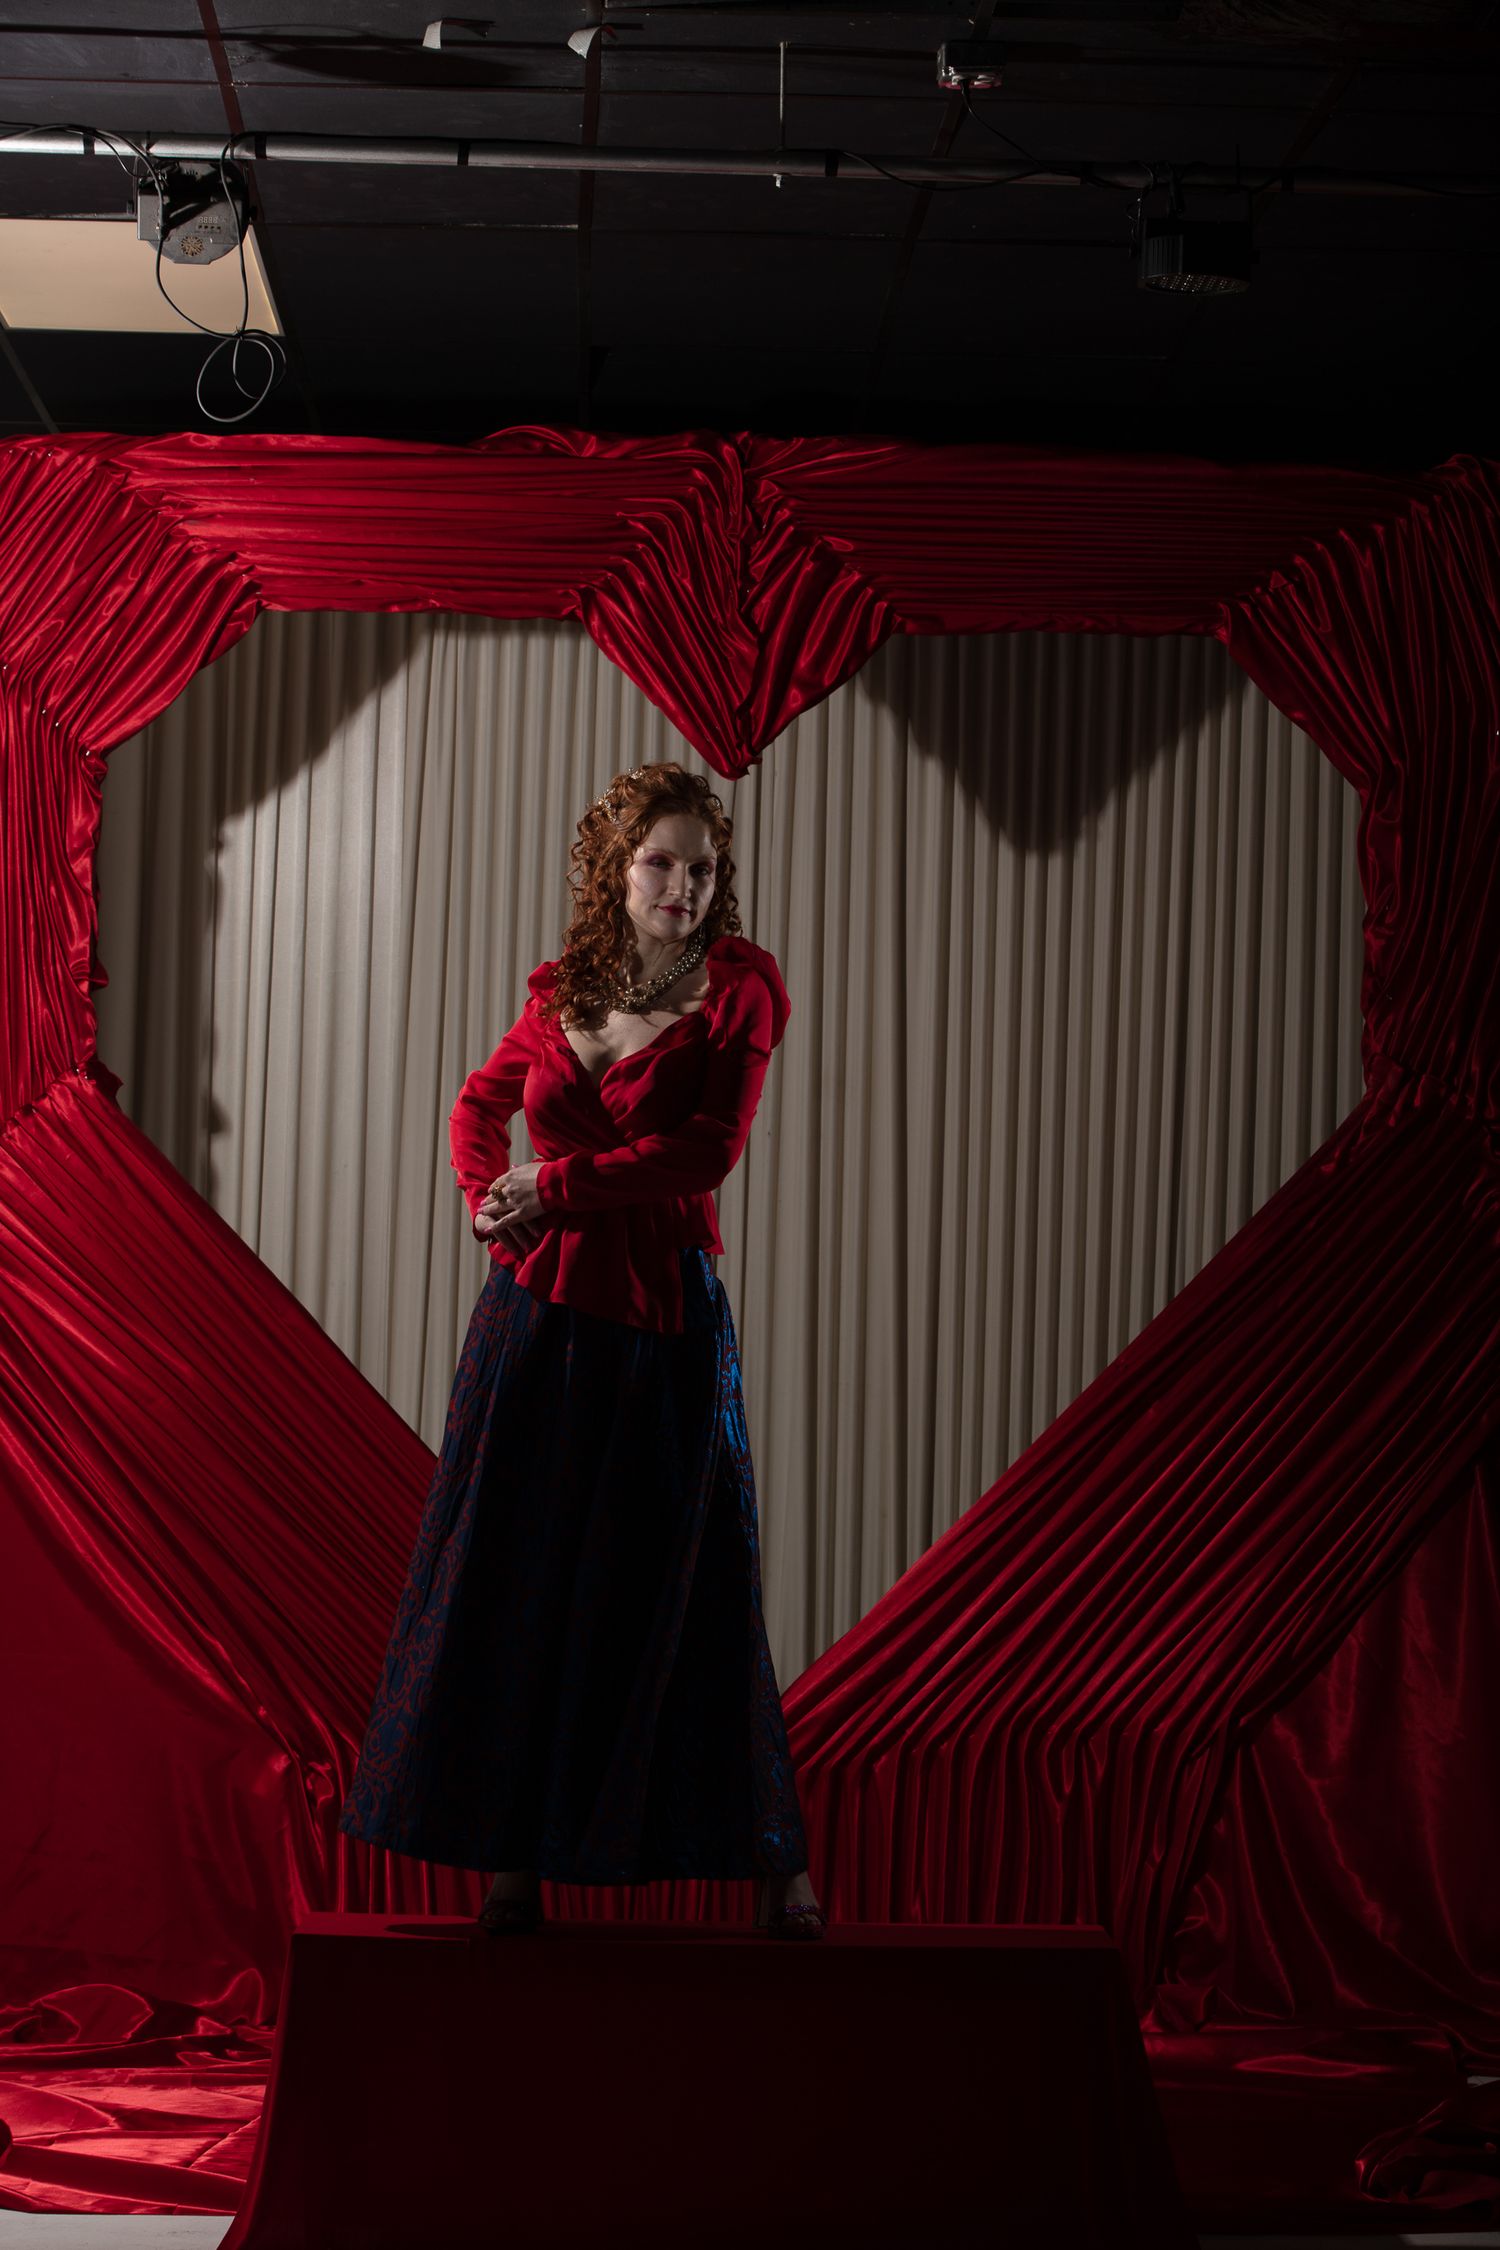
Background light
Key light
THE RESULTS
While we didn't win Lindsay Adler's monthly competition, nevertheless I'm really happy with the results. The entire experience was incredible; from building the set, to working with the talented team, to editing the beautiful photos. I've done many shoots, but this was by far the most effort I've put in for a single look. It is crazy to think what goes behind these photos. And I can't wait to find another excuse to do the same. Hopefully with more time than 6 days!